As an Amazon Associate, we earn from qualifying purchases. Some links on this site are affiliate links at no extra cost to you. Our recommendations are based on thorough research and editorial judgment.

Why Is My Candle Turning Black? Causes & Easy Fixes

Black soot on your candle jar? Here’s the thing—it almost always comes down to wick size, burn duration, drafts, or wax quality. Trim your wick to a quarter-inch before each burn, keep sessions under four hours, and avoid drafty spots. Low-quality paraffin wax soots more than soy or beeswax alternatives. A quick wipe with a damp paper towel removes residue, but addressing the root cause prevents it from coming back. Stick around for the specific fixes that’ll transform your burn experience.
Key Takeaways
- Oversized or untrimmed wicks pull excess wax, causing incomplete combustion and black soot buildup on the jar.
- Drafts from windows and doors create flickering flames that burn wax unevenly, producing excessive soot and discoloration.
- Burn sessions longer than three to four hours promote high flames and increased carbon residue accumulation.
- Poor room ventilation limits oxygen availability, causing incomplete combustion and dark residue on candle containers.
- Lower-quality wax formulations, especially paraffin, burn less efficiently and produce more soot than premium alternatives.
Visible Soot on Your Candle Jar: What It Means
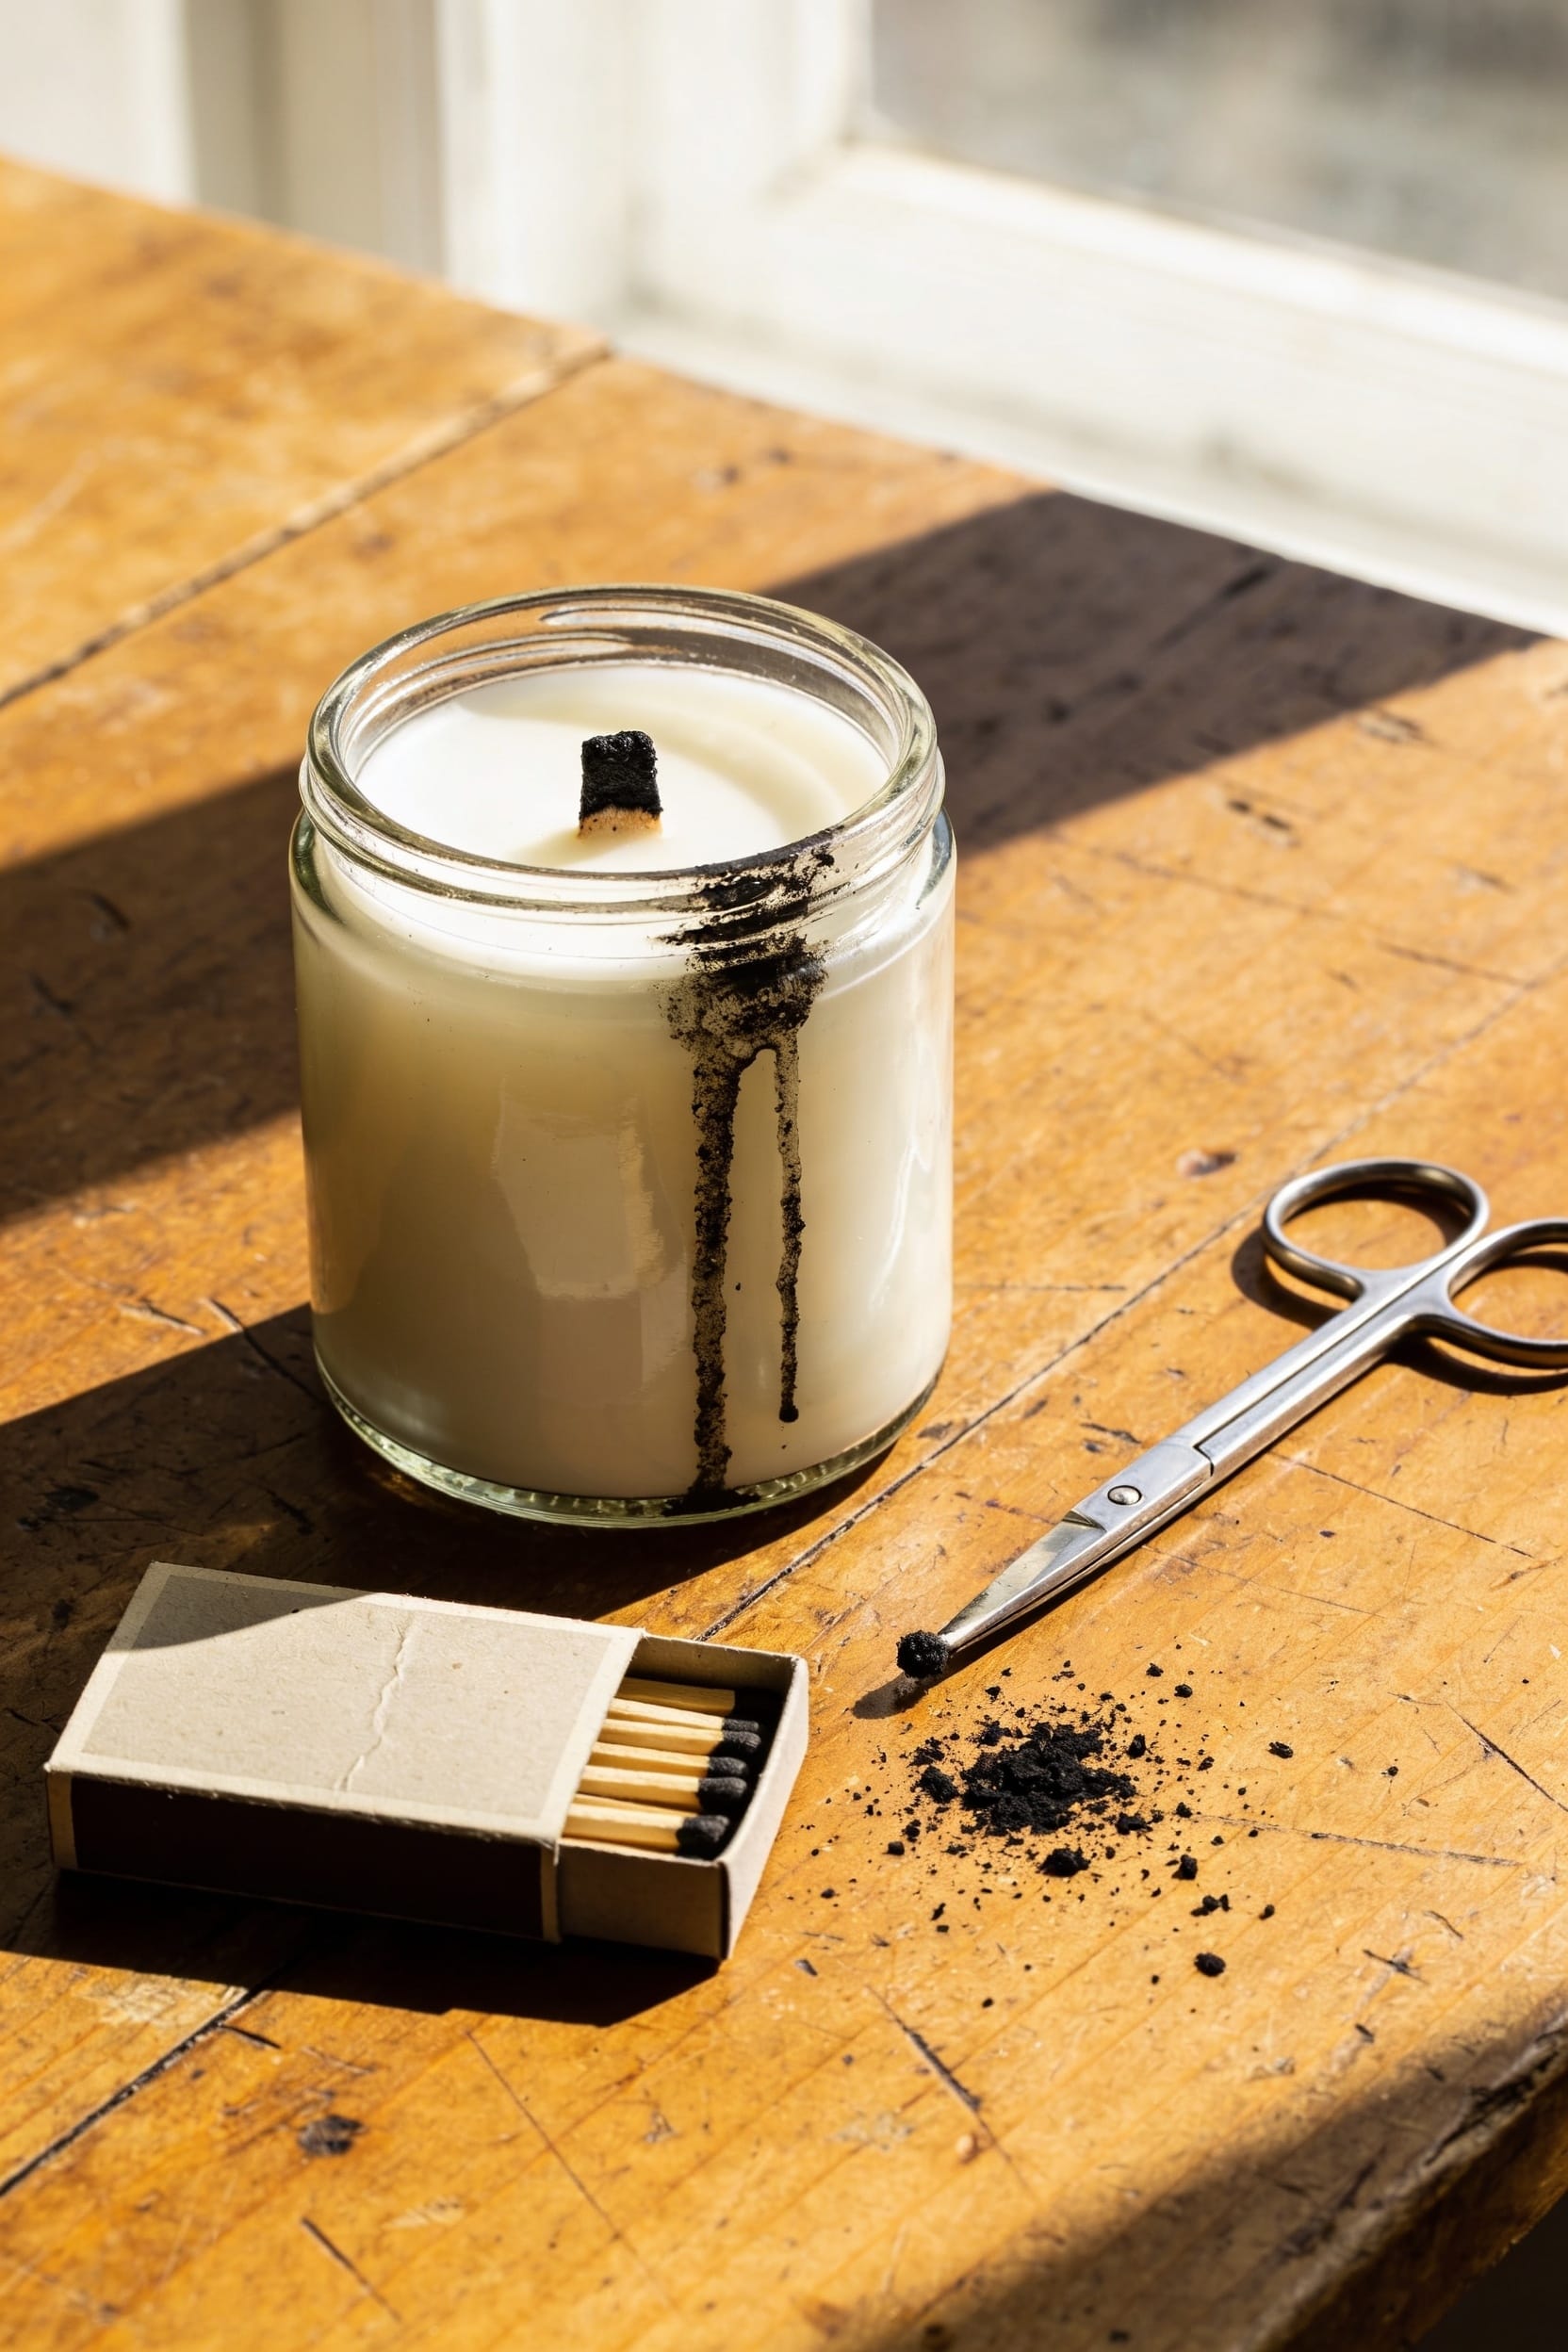
When you notice that dark, sooty residue creeping up the inside of your candle jar, it’s not a sign you’ve done something catastrophically wrong—but it is your candle trying to tell you something. That surface discoloration and container staining typically signals incomplete combustion, meaning your flame isn’t burning cleanly. Now, all candles produce some soot. It’s normal, especially near the jar bottom where flames naturally deposit carbon. But excessive buildup? That’s worth investigating. Your candle’s doing its job of lighting your space, but something in the burn equation—whether it’s wick size, airflow, or burn duration—needs adjusting. Look at it as feedback, not failure. Understanding what that soot means puts you in control of fixing it.
Quick Fixes: Clean and Relight Right
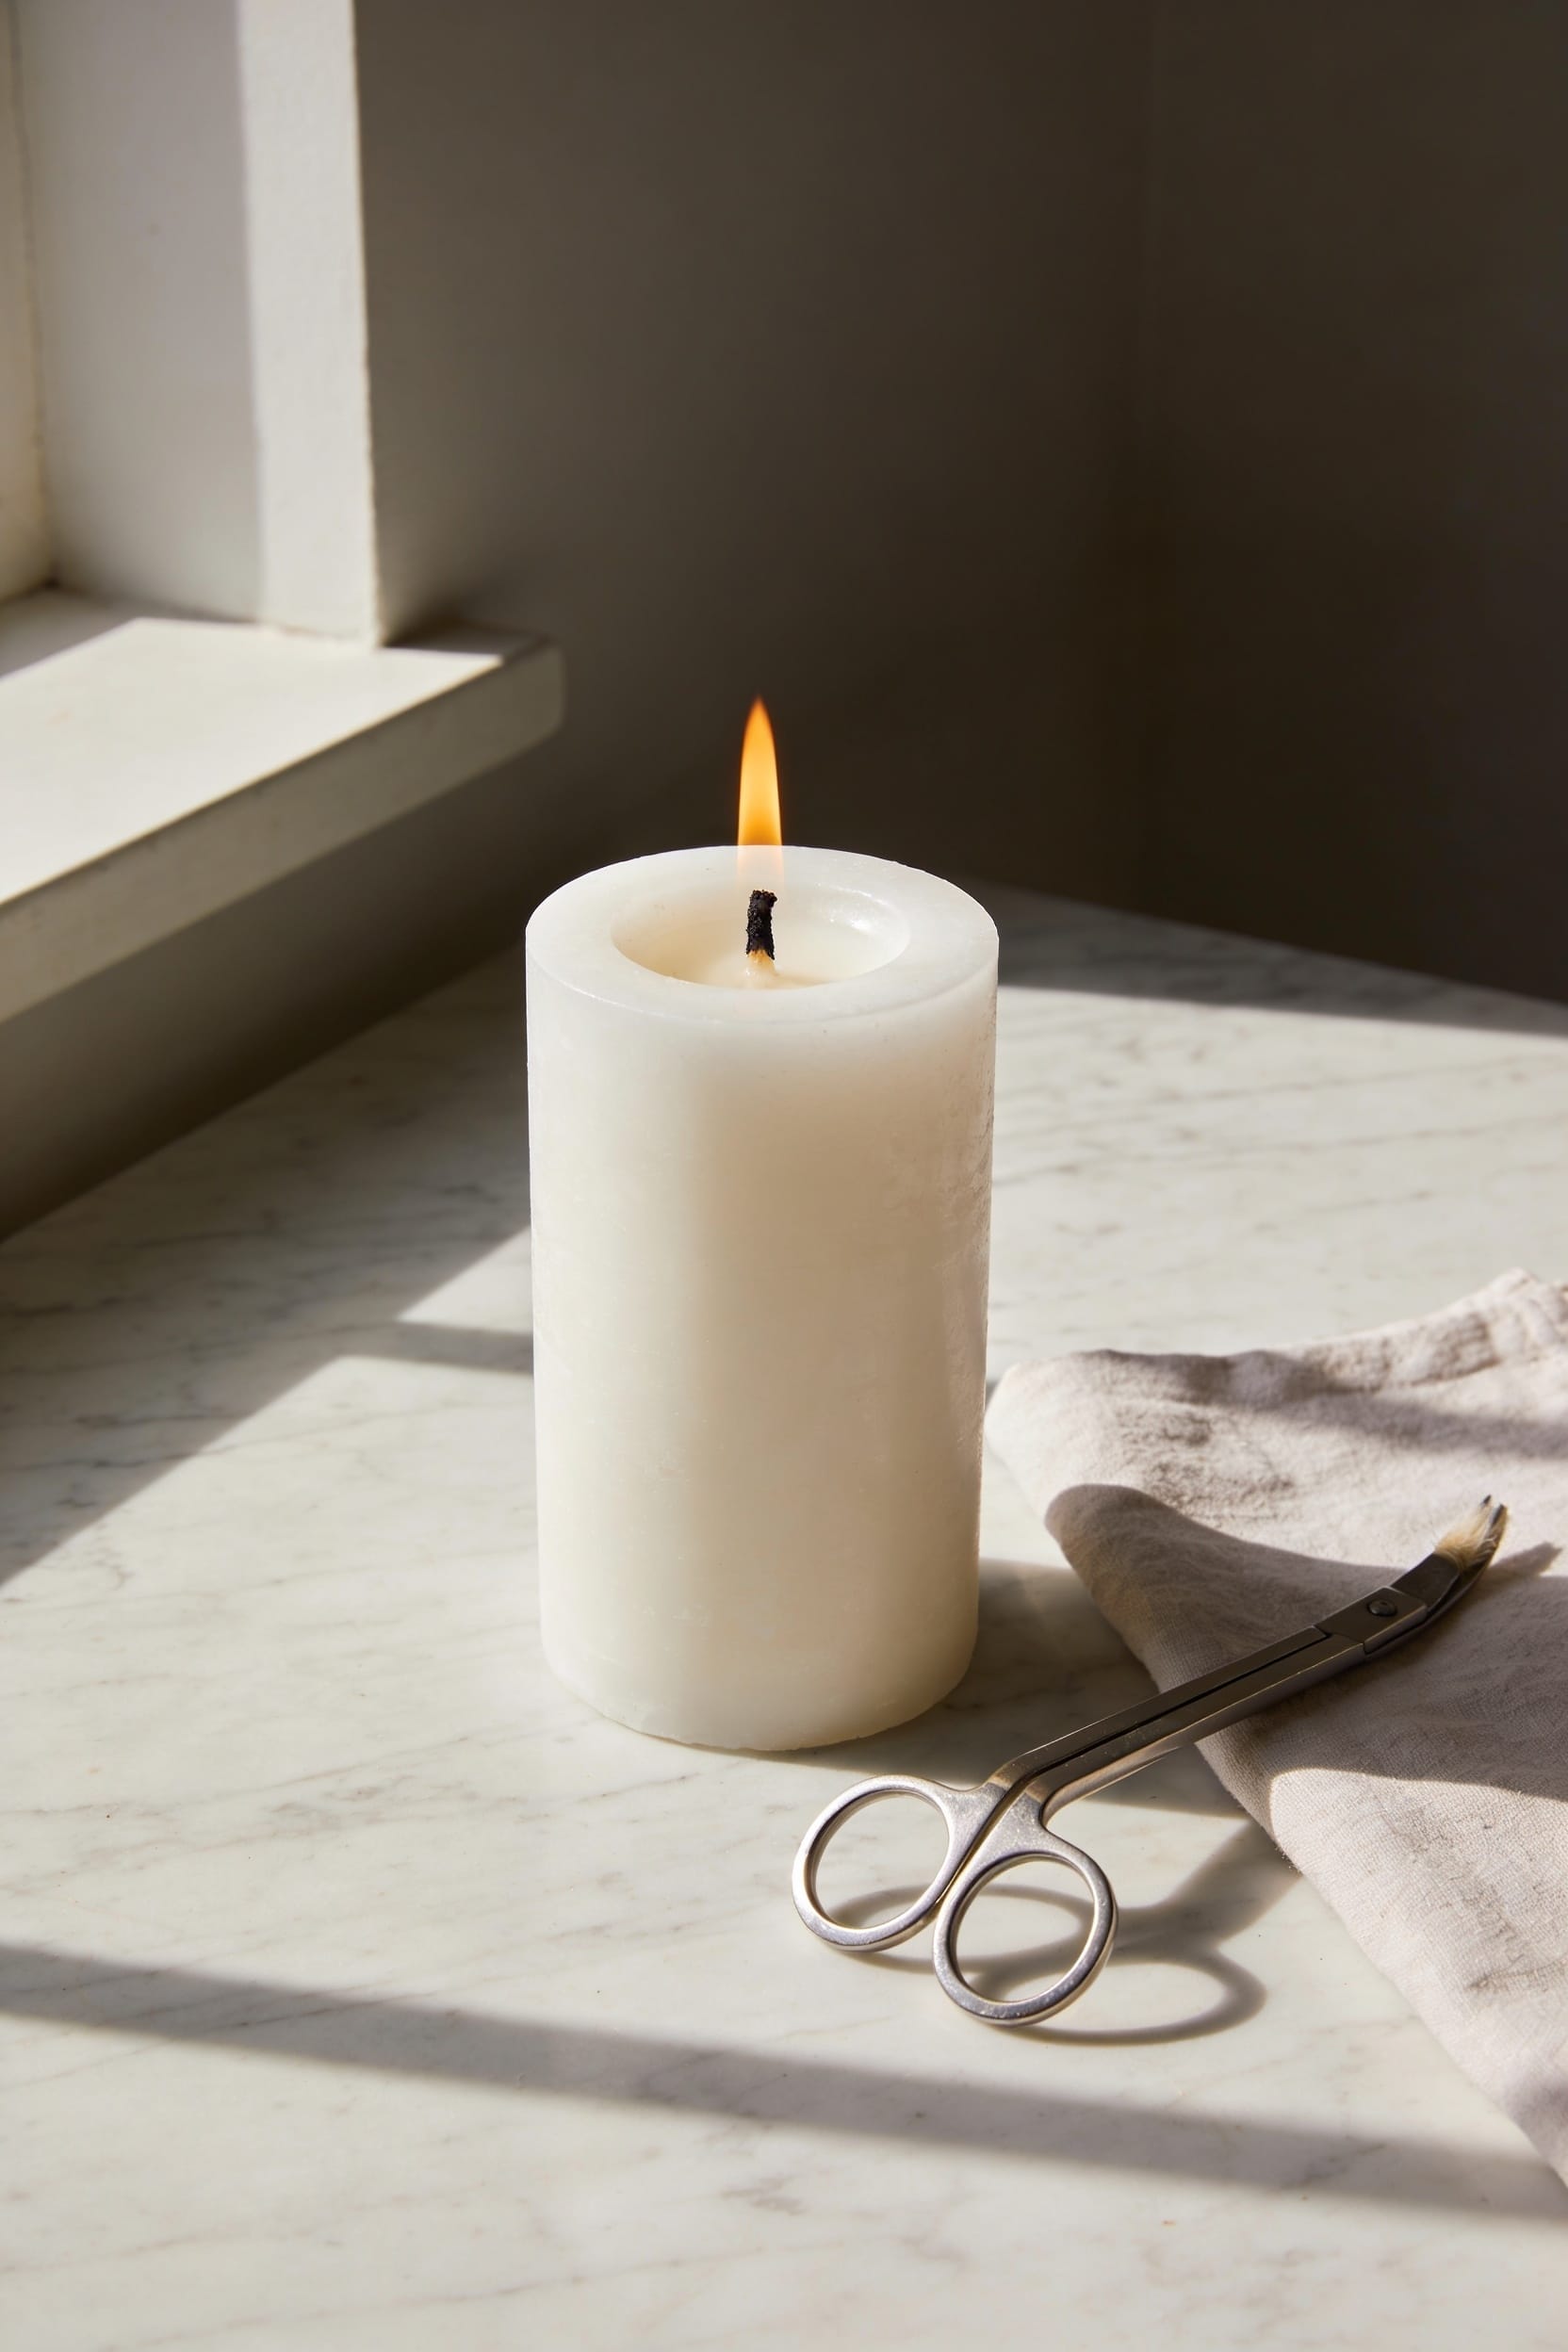
Now that you’ve identified the soot and understand what it’s telling you, here’s the good news: you can actually fix this. Start with your snuffer technique—use it instead of blowing out your flame, which scatters wax particles everywhere and makes sooting worse. Let the wax cool completely, then grab a damp paper towel for jar polishing. Wipe away that black residue gently; stubborn spots yield to vinegar or rubbing alcohol. Dry everything thoroughly before relighting. Going forward, trim your wick to a quarter-inch before each burn, keep your candle away from drafts, and limit sessions to three or four hours. These simple habits prevent most sooting issues. You’ve got this.
Recommended Products

Pick Your Favorite Finish: No matter your interior design preference, we have a wick trimmer tailored for you. Choose from Black, Gold, Rose Gold, Silver, Brushed Gold, and Brushed Copper to complement your candles, decor, and gifting style


Dimensions: 6.5 x 2.5 inches (17 x 6 cm)
Your Wick Is Too Large or Untrimmed
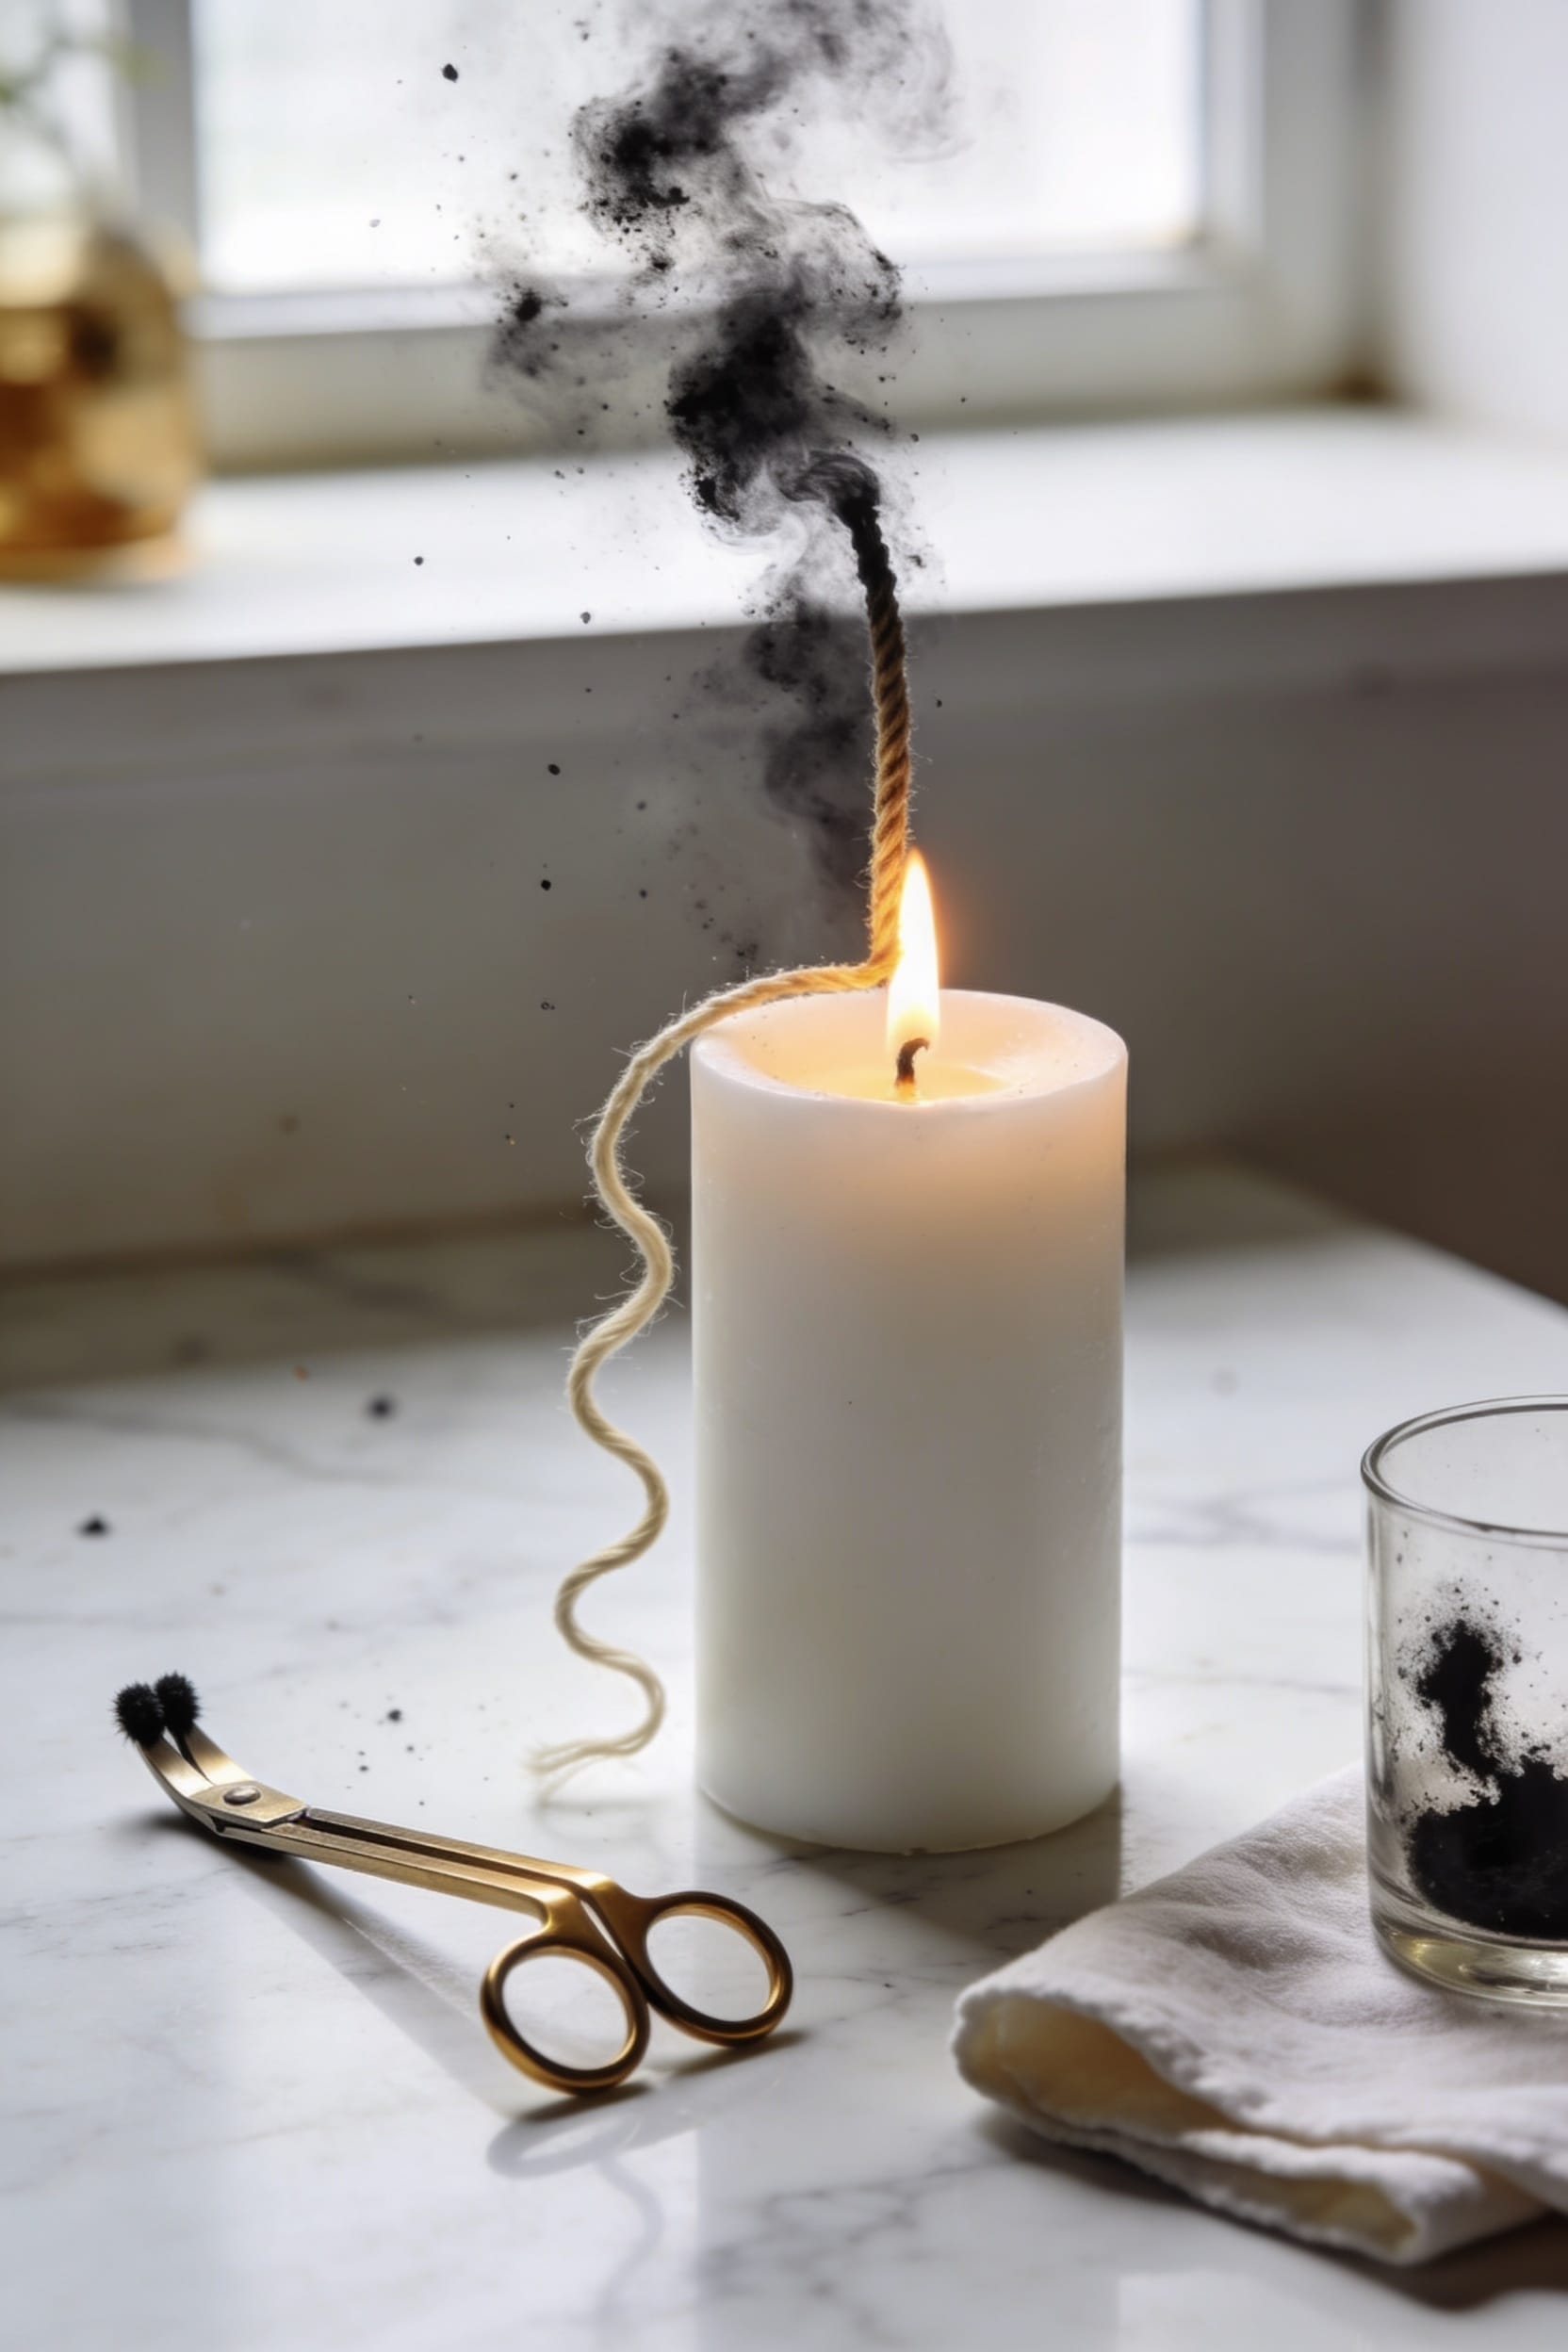
If you’re watching your candle flame climb higher than it should, odds are your wick’s working harder than it needs to. An oversized wick pulls excess wax into the flame faster than combustion can handle it, creating that telltale black smoke and soot buildup. Here’s the thing: proper wick maintenance is fundamental to flame dynamics. I’ve learned this the hard way—watching an untrimmed wick mushroom into a tiny torch while my jar turned gray. Trim yours to a quarter-inch before each lighting. It’s not complicated, but it genuinely transforms your burn. If your wick still seems too large even when trimmed, you’ve got a formulation mismatch. That’s worth noting for next time. Small adjustments create cleaner, steadier flames.
Recommended Products
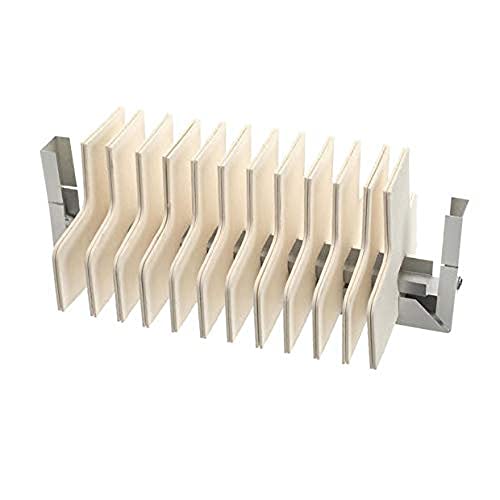
This is a genuine OEM (Original Equipment Manufacturer) part

Complete Wick Bundle (6 Sizes) – Includes one 33' roll each of 3/8", 1/2", 5/8", 3/4", 7/8", and 1" widths

Drafts and Poor Airflow Fuel Black Residue
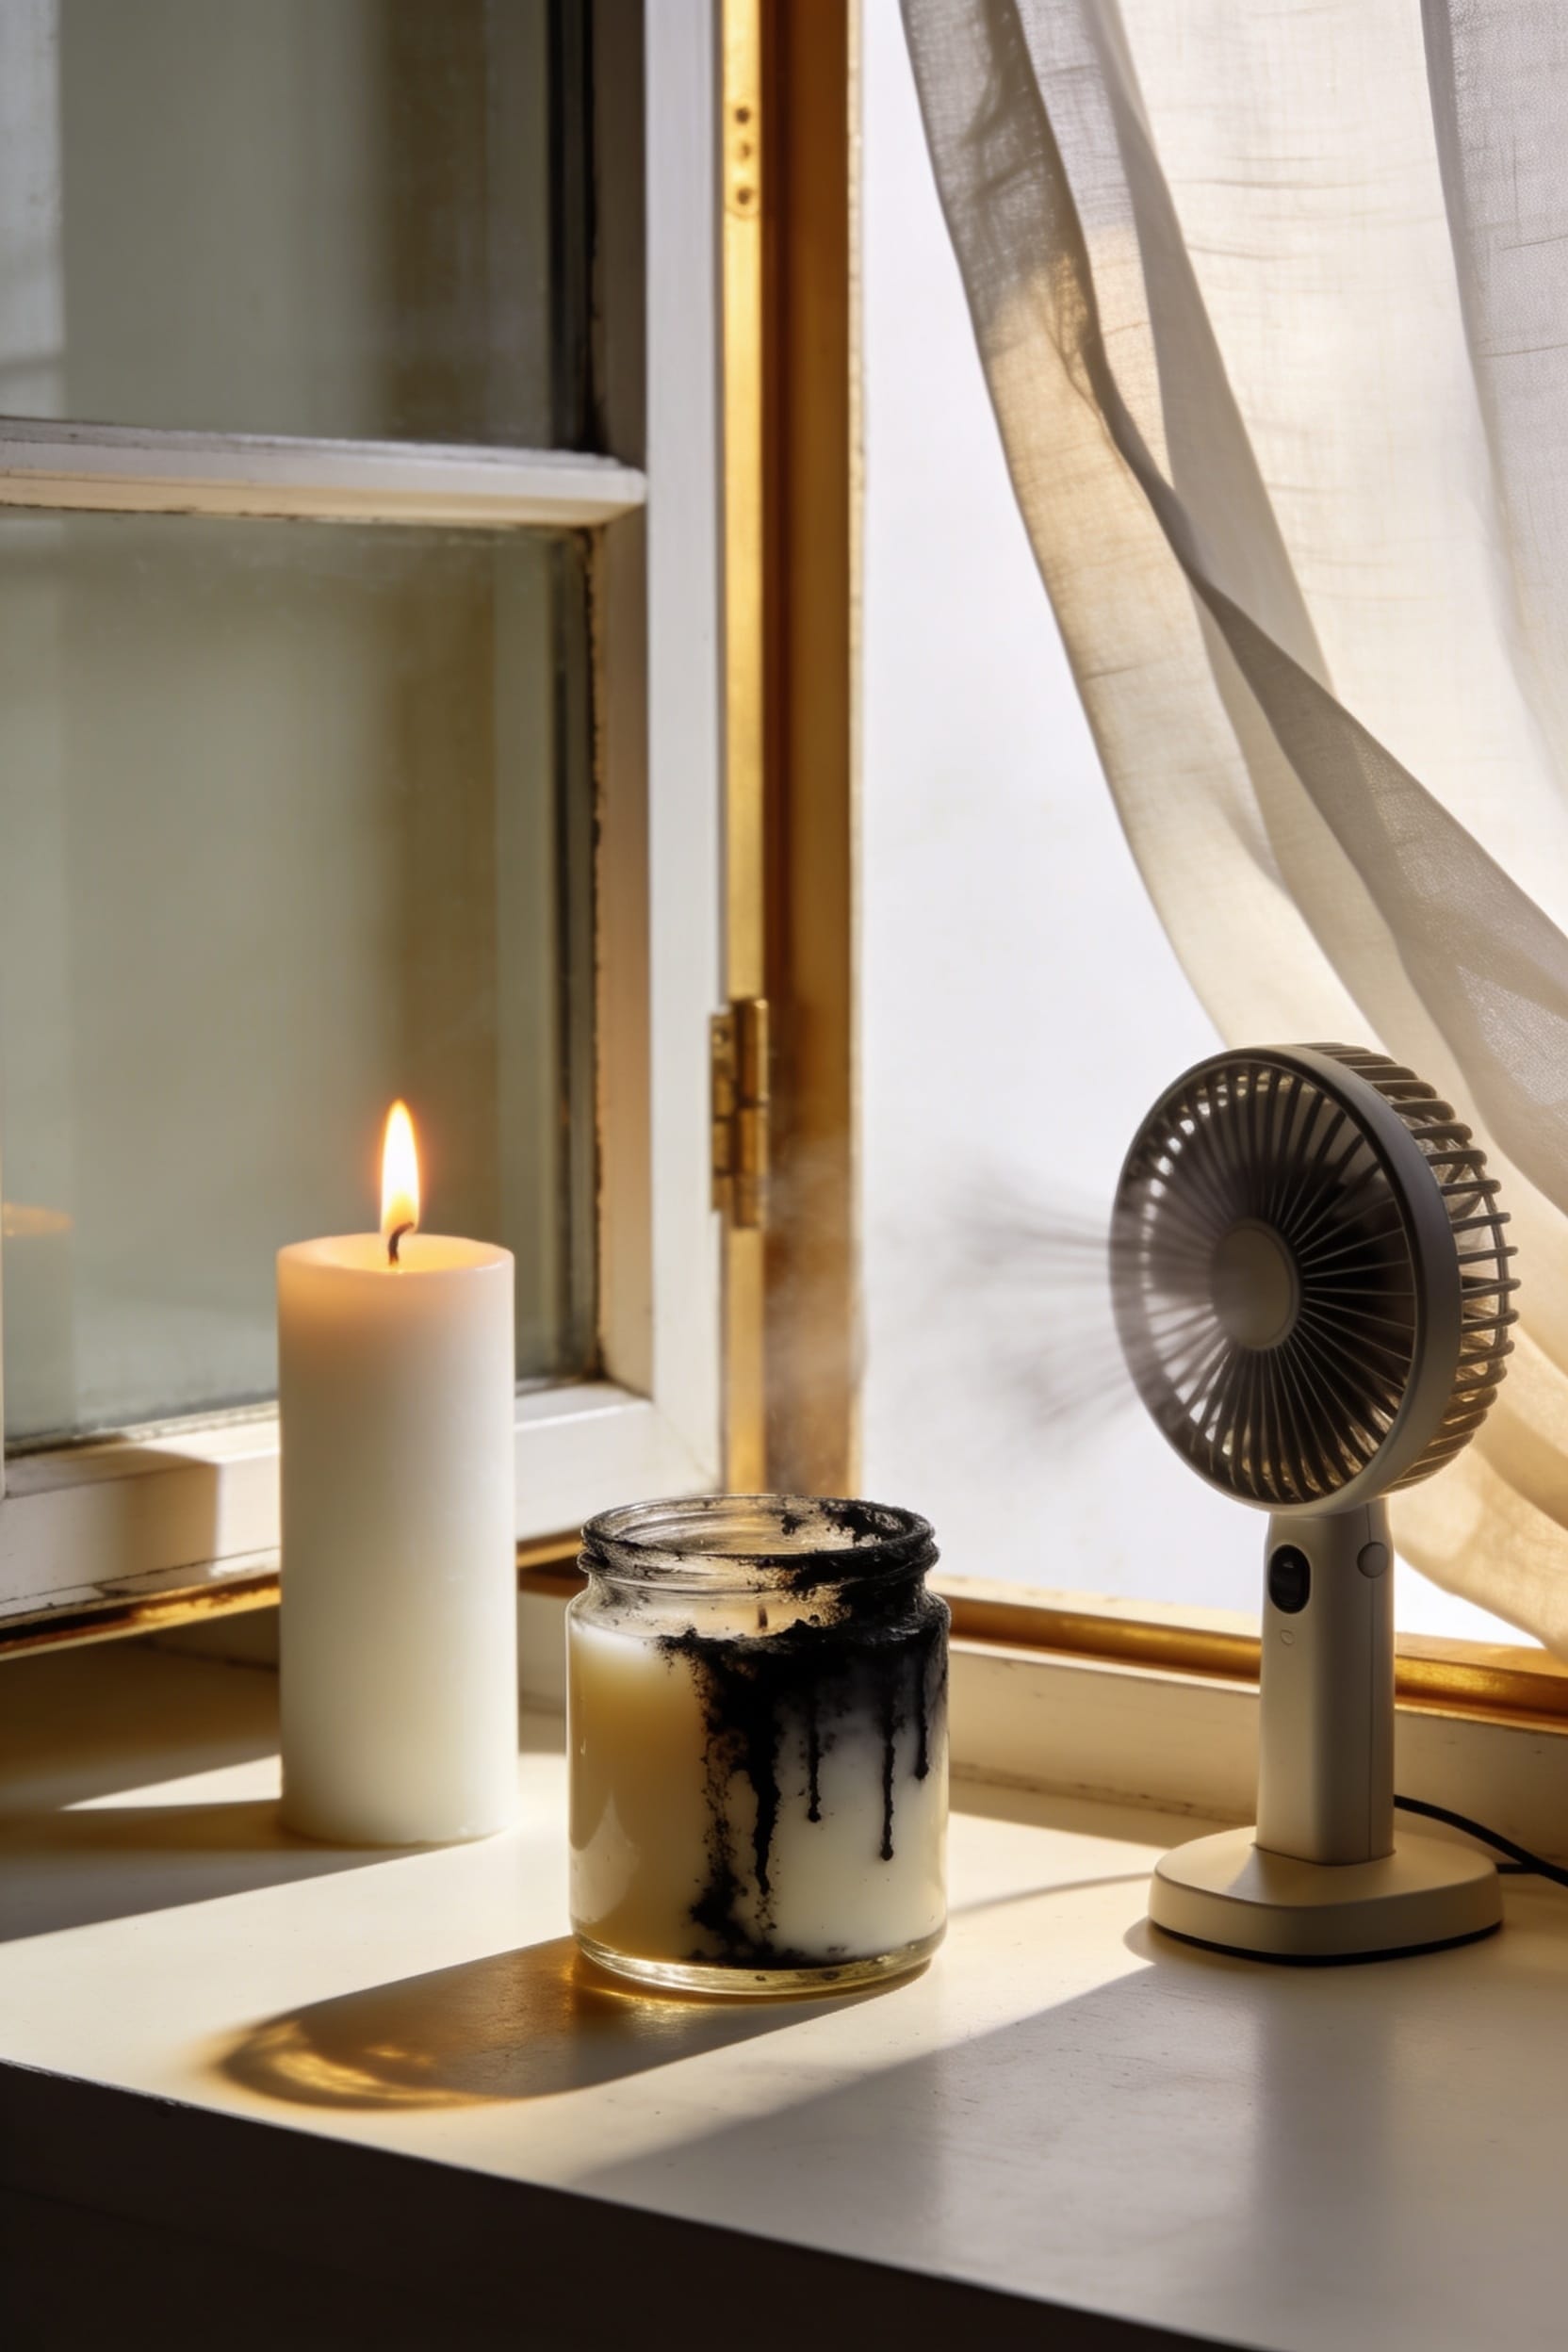
Your candle’s environment matters just as much as what’s inside the jar, and I learned this the hard way by burning candles near an open window and wondering why I’d ended up with a sooty mess. Air currents from drafts—whether they’re coming from windows, doors, or vents—create unstable flames that flicker and pull excess wax into the fire faster than it can combust cleanly. Meanwhile, poor room ventilation compounds the problem by limiting available oxygen depletion worsens as your candle burns down, starving the flame and forcing incomplete combustion that releases black carbon. The fix? Burn your candles in still, well-ventilated spaces away from drafts. You’ll notice the difference immediately—steadier flames, less soot, and a cleaner burn overall.
Recommended Products

Include: 12 pieces clear glass chimney candle holder with two sides open, carefully packaged, vase filler not included

【Premium Durability & Clarity】Crafted from hightransparency, lead-free glass, these 12.6" tall open-ended hurricane candle holders showcase your candles with brilliance while resisting heat and cracking. Glass taper candle holders are designed for long-term use in weddings, events, and everyday decor.

【Modern Minimalist Table Decor】Designed for creating a cozy atmosphere.Crafted from high-transparency glass, this candlestick holder beautifully displays the soft glow of a burning candle. Ideal for placement on dining tables, fireplace mantels, or side tables, it adds a warm and tranquil ambiance to meals, reading time, or relaxing evenings
Burning Too Long and Low-Quality Wax
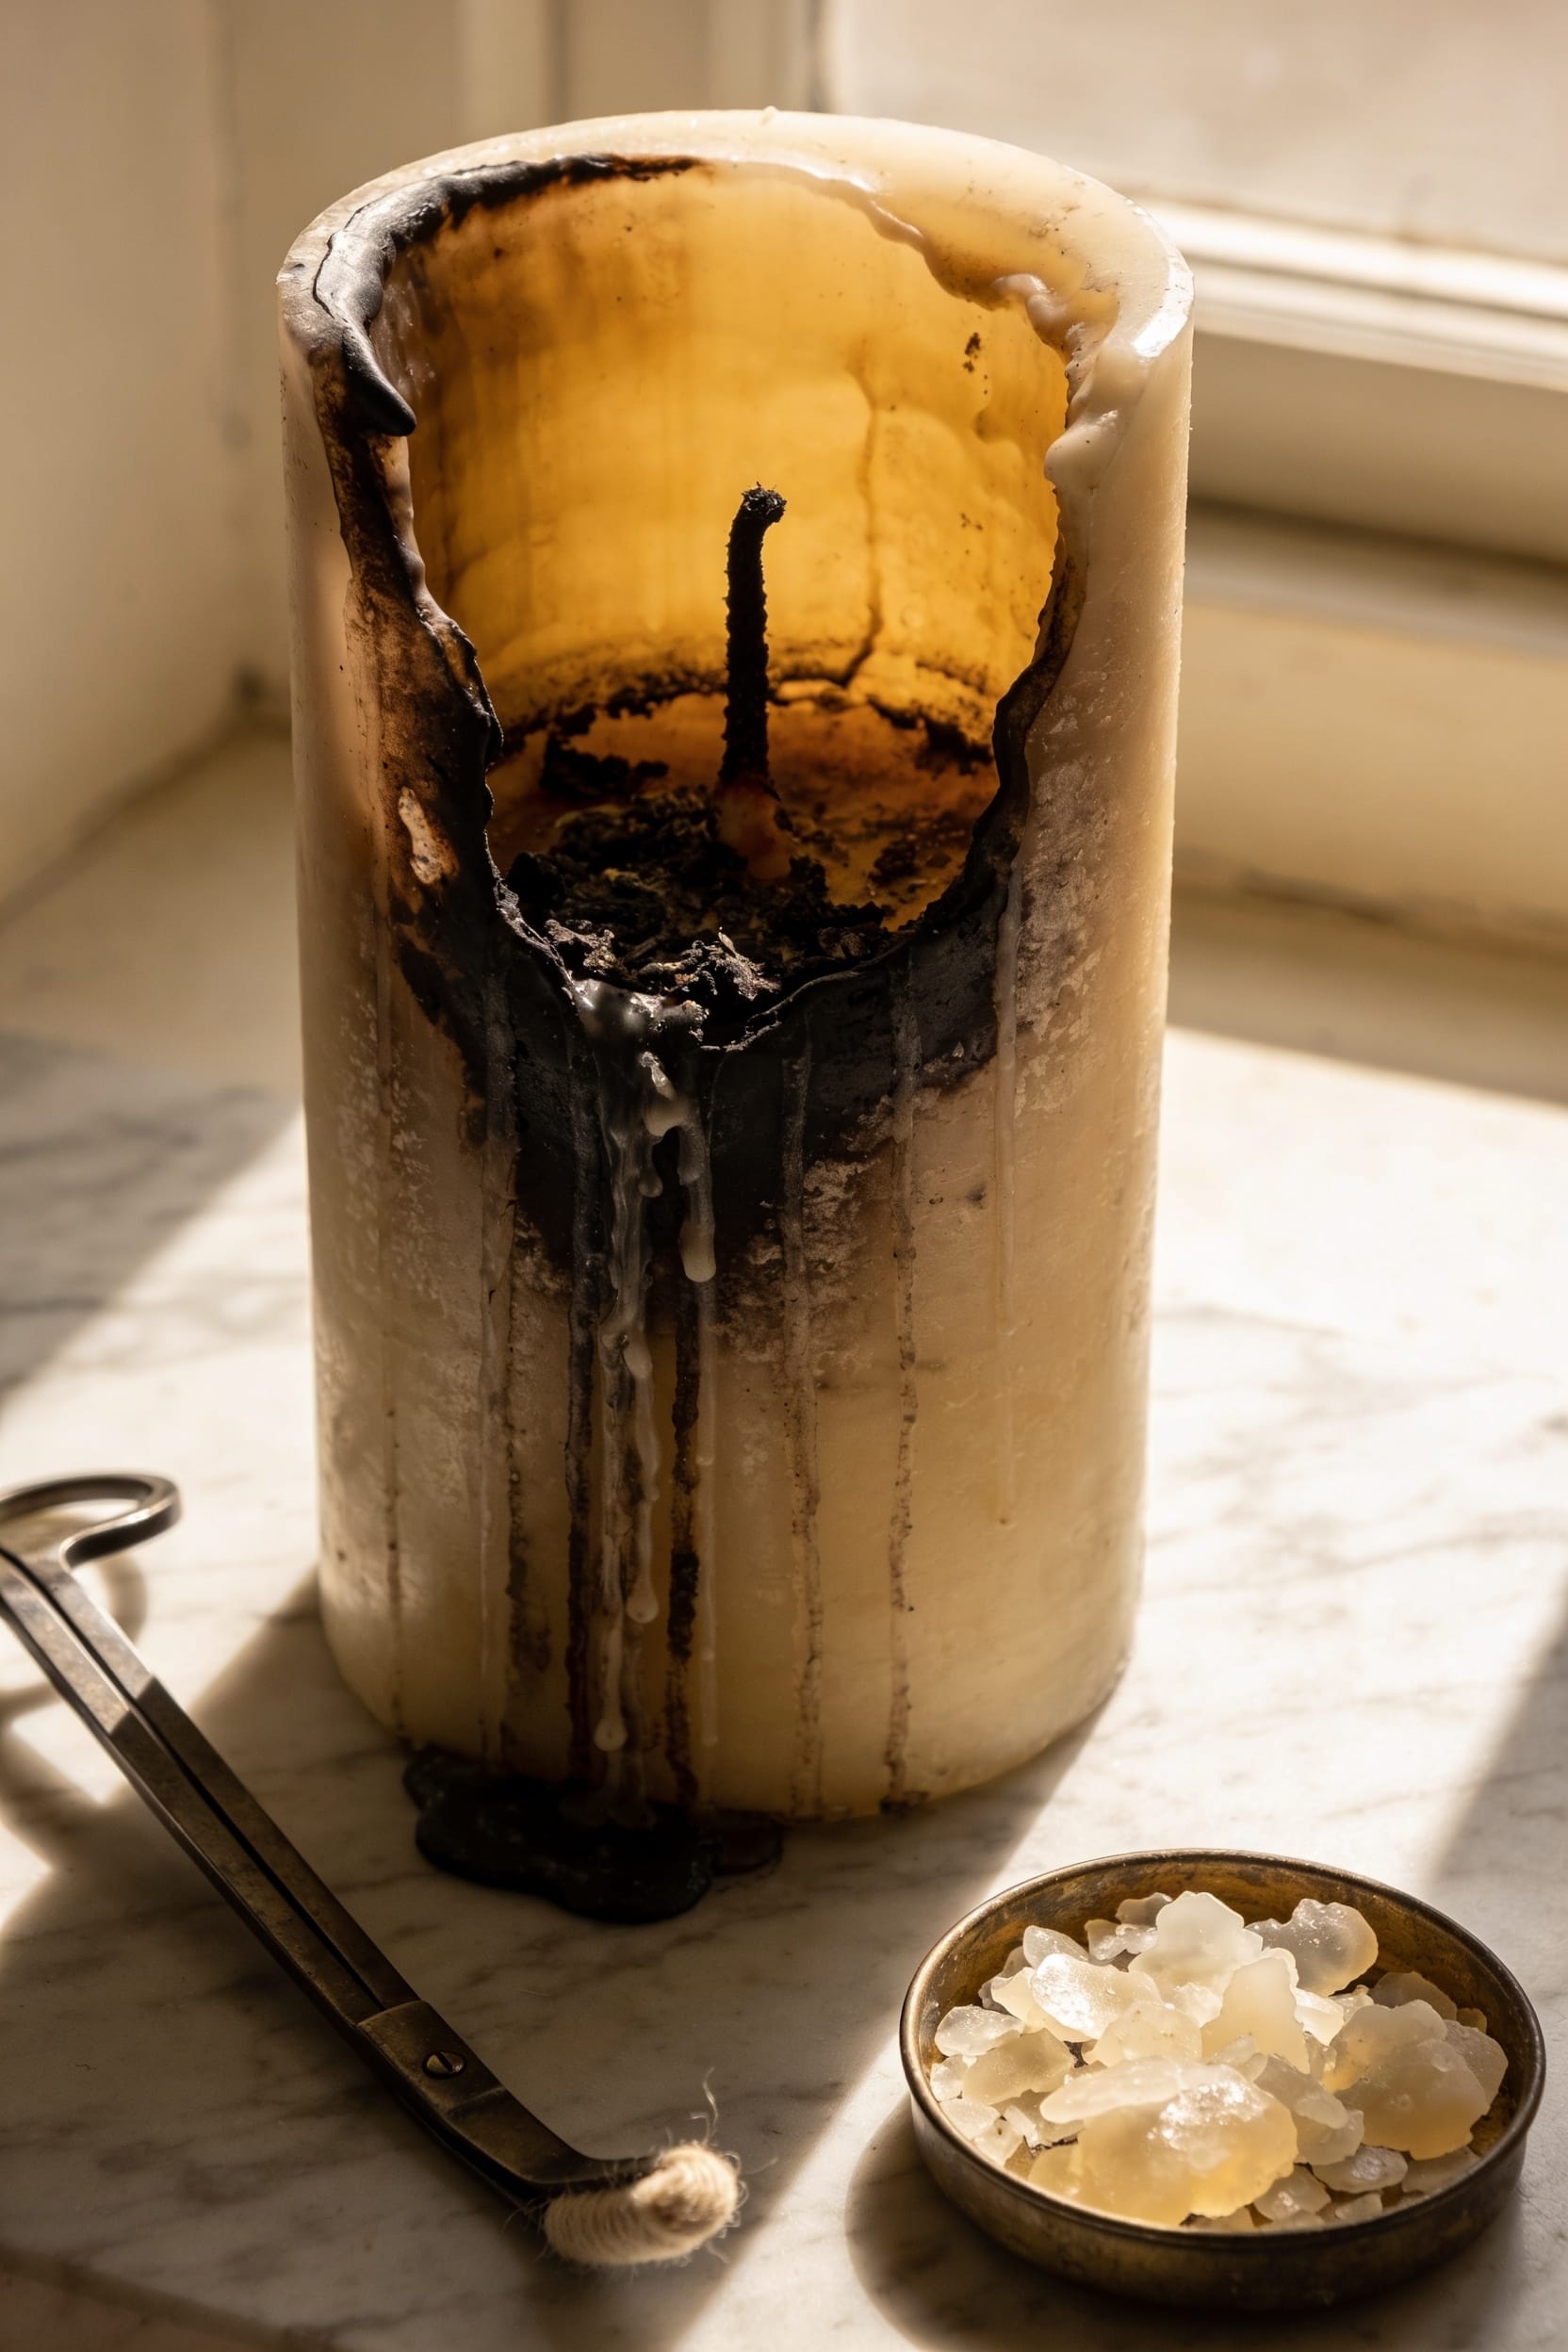
Pushing your candle past its recommended burn time might seem harmless, but here’s what I’ve discovered through plenty of trial and error: sessions longer than three to four hours create consistently high flames that pull more wax than the fire can actually combust cleanly. That unburned carbon? It’s what coats your jar black.
Now, wax quality matters enormously here. Cheap candles with poor formulation burn less efficiently regardless of how carefully you monitor them. I’ve learned that paraffin wax produces markedly more soot than soy or beeswax alternatives.
The fix is straightforward: keep your short burns intentional. Stick to three-to-four-hour sessions maximum, and invest in better wax quality when possible. Your jar—and your walls—will thank you.
Prevent Soot Before It Starts
All right, the best way to handle soot isn’t actually fighting it after it’s already coating your jar black—it’s stopping the problem before it even starts. Before you light that wick, commit to proper ventilation in your space. Burn your candle in a room without drafts, vents, or open windows pulling oxygen away from the flame. Pre burn conditioning matters too—trim that wick to a quarter inch before the first light, ensuring a stable, controlled burn from the beginning. Choose quality wax formulations, ideally soy or beeswax over cheap paraffin. These small upfront moves prevent the excessive carbon buildup that turns your beautiful candle into a smoky mess. You’re basically setting yourself up for success before striking that match.
Recommended Products

Perfectly trims wicks to maintain optimal candle burn

1" x 33' Cotton Flat Wick (2 Pack) – Two long rolls for large oil lamps & lanterns

100% ORGANIC HEMP WICK - BEESWAX COATED. Undyed premium organic hemp beeswaxed twine.
Frequently Asked Questions
Does Blowing Out My Candle Instead of Snuffing It Cause More Soot Buildup?
Yes, blowing out your candle causes more soot buildup. When I blow out the flame, I scatter wax and soot onto the jar sides. I’d recommend using a snuffer instead and maintaining regular wick maintenance for cleaner burns.
Why Does Soot Accumulate More at the Bottom of My Candle Jar?
Did you know 80% of candle problems stem from wick issues? I’ll tell you—soot pools at your jar’s bottom because less oxygen reaches there as wax burns down. Wick tunneling and jar condensation trap unburned carbon particles, creating that dark residue you’re seeing.
Can Paraffin Wax Candles Produce Significantly More Soot Than Natural Wax Alternatives?
Yes, paraffin wax candles produce considerably more soot than natural alternatives. I’d recommend switching to soy or beeswax if you’re concerned about paraffin emissions and synthetic soot buildup in your home.
How Does Oxygen Availability Change as My Candle Burns Down Completely?
As your candle burns down, you’ll notice less oxygen reaches the lower vessel areas—imagine a jar where the oxygen gradient weakens near the bottom. Increased wick exposure then pulls wax faster than combustion can handle, creating excess soot.
What Cleaning Products Safely Remove Stubborn Soot Without Damaging the Wax?
I’d use vinegar or rubbing alcohol on microfiber cloths as gentle solvents—they’ll lift stubborn soot without harming your wax. Dab carefully, avoid scrubbing, and let the jar dry completely before relighting.
Conclusion
I’ve learned that soot doesn’t have to be your candle’s destiny. A study from the National Candle Association found that over 60% of soot issues stem from wick trimming alone—something you can fix in seconds. You’ve now got the knowledge to prevent black residue before it starts. Trim that wick, check your airflow, and you’re golden. Your candles—and your lungs—will thank you.