As an Amazon Associate, we earn from qualifying purchases. Some links on this site are affiliate links at no extra cost to you. Our recommendations are based on thorough research and editorial judgment.
Candle Care Tips: Get the Most Scent From Every Burn
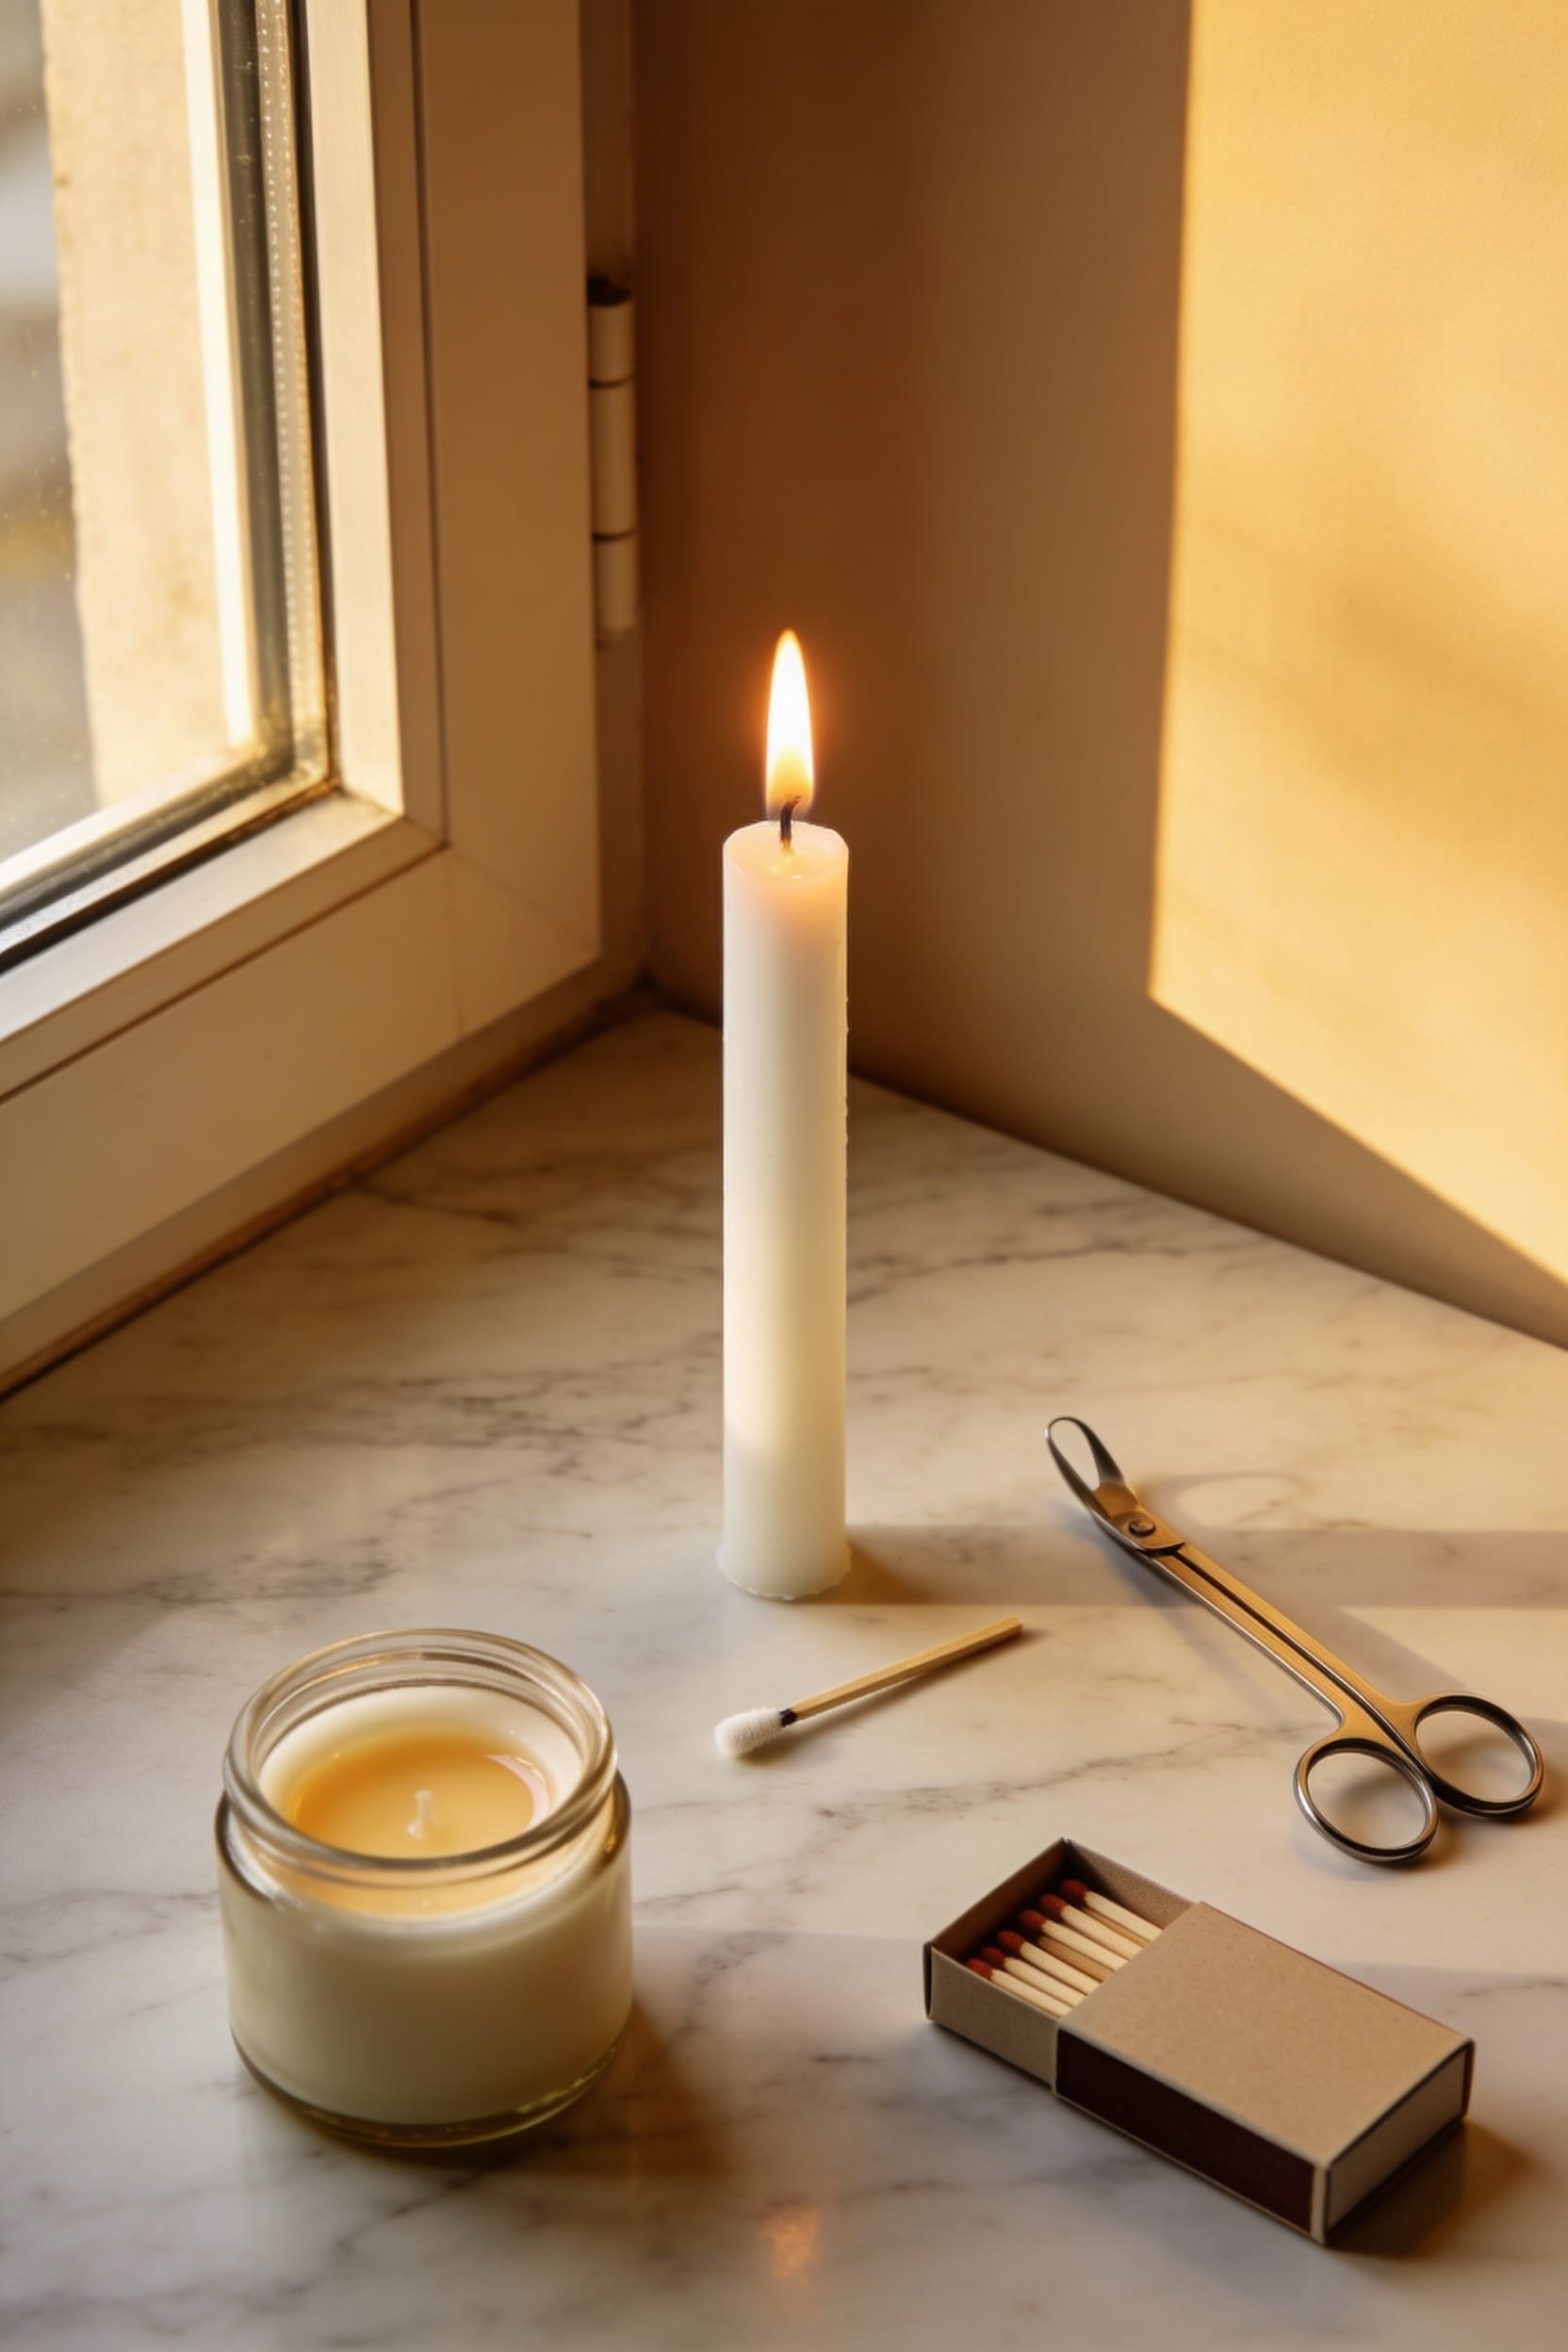
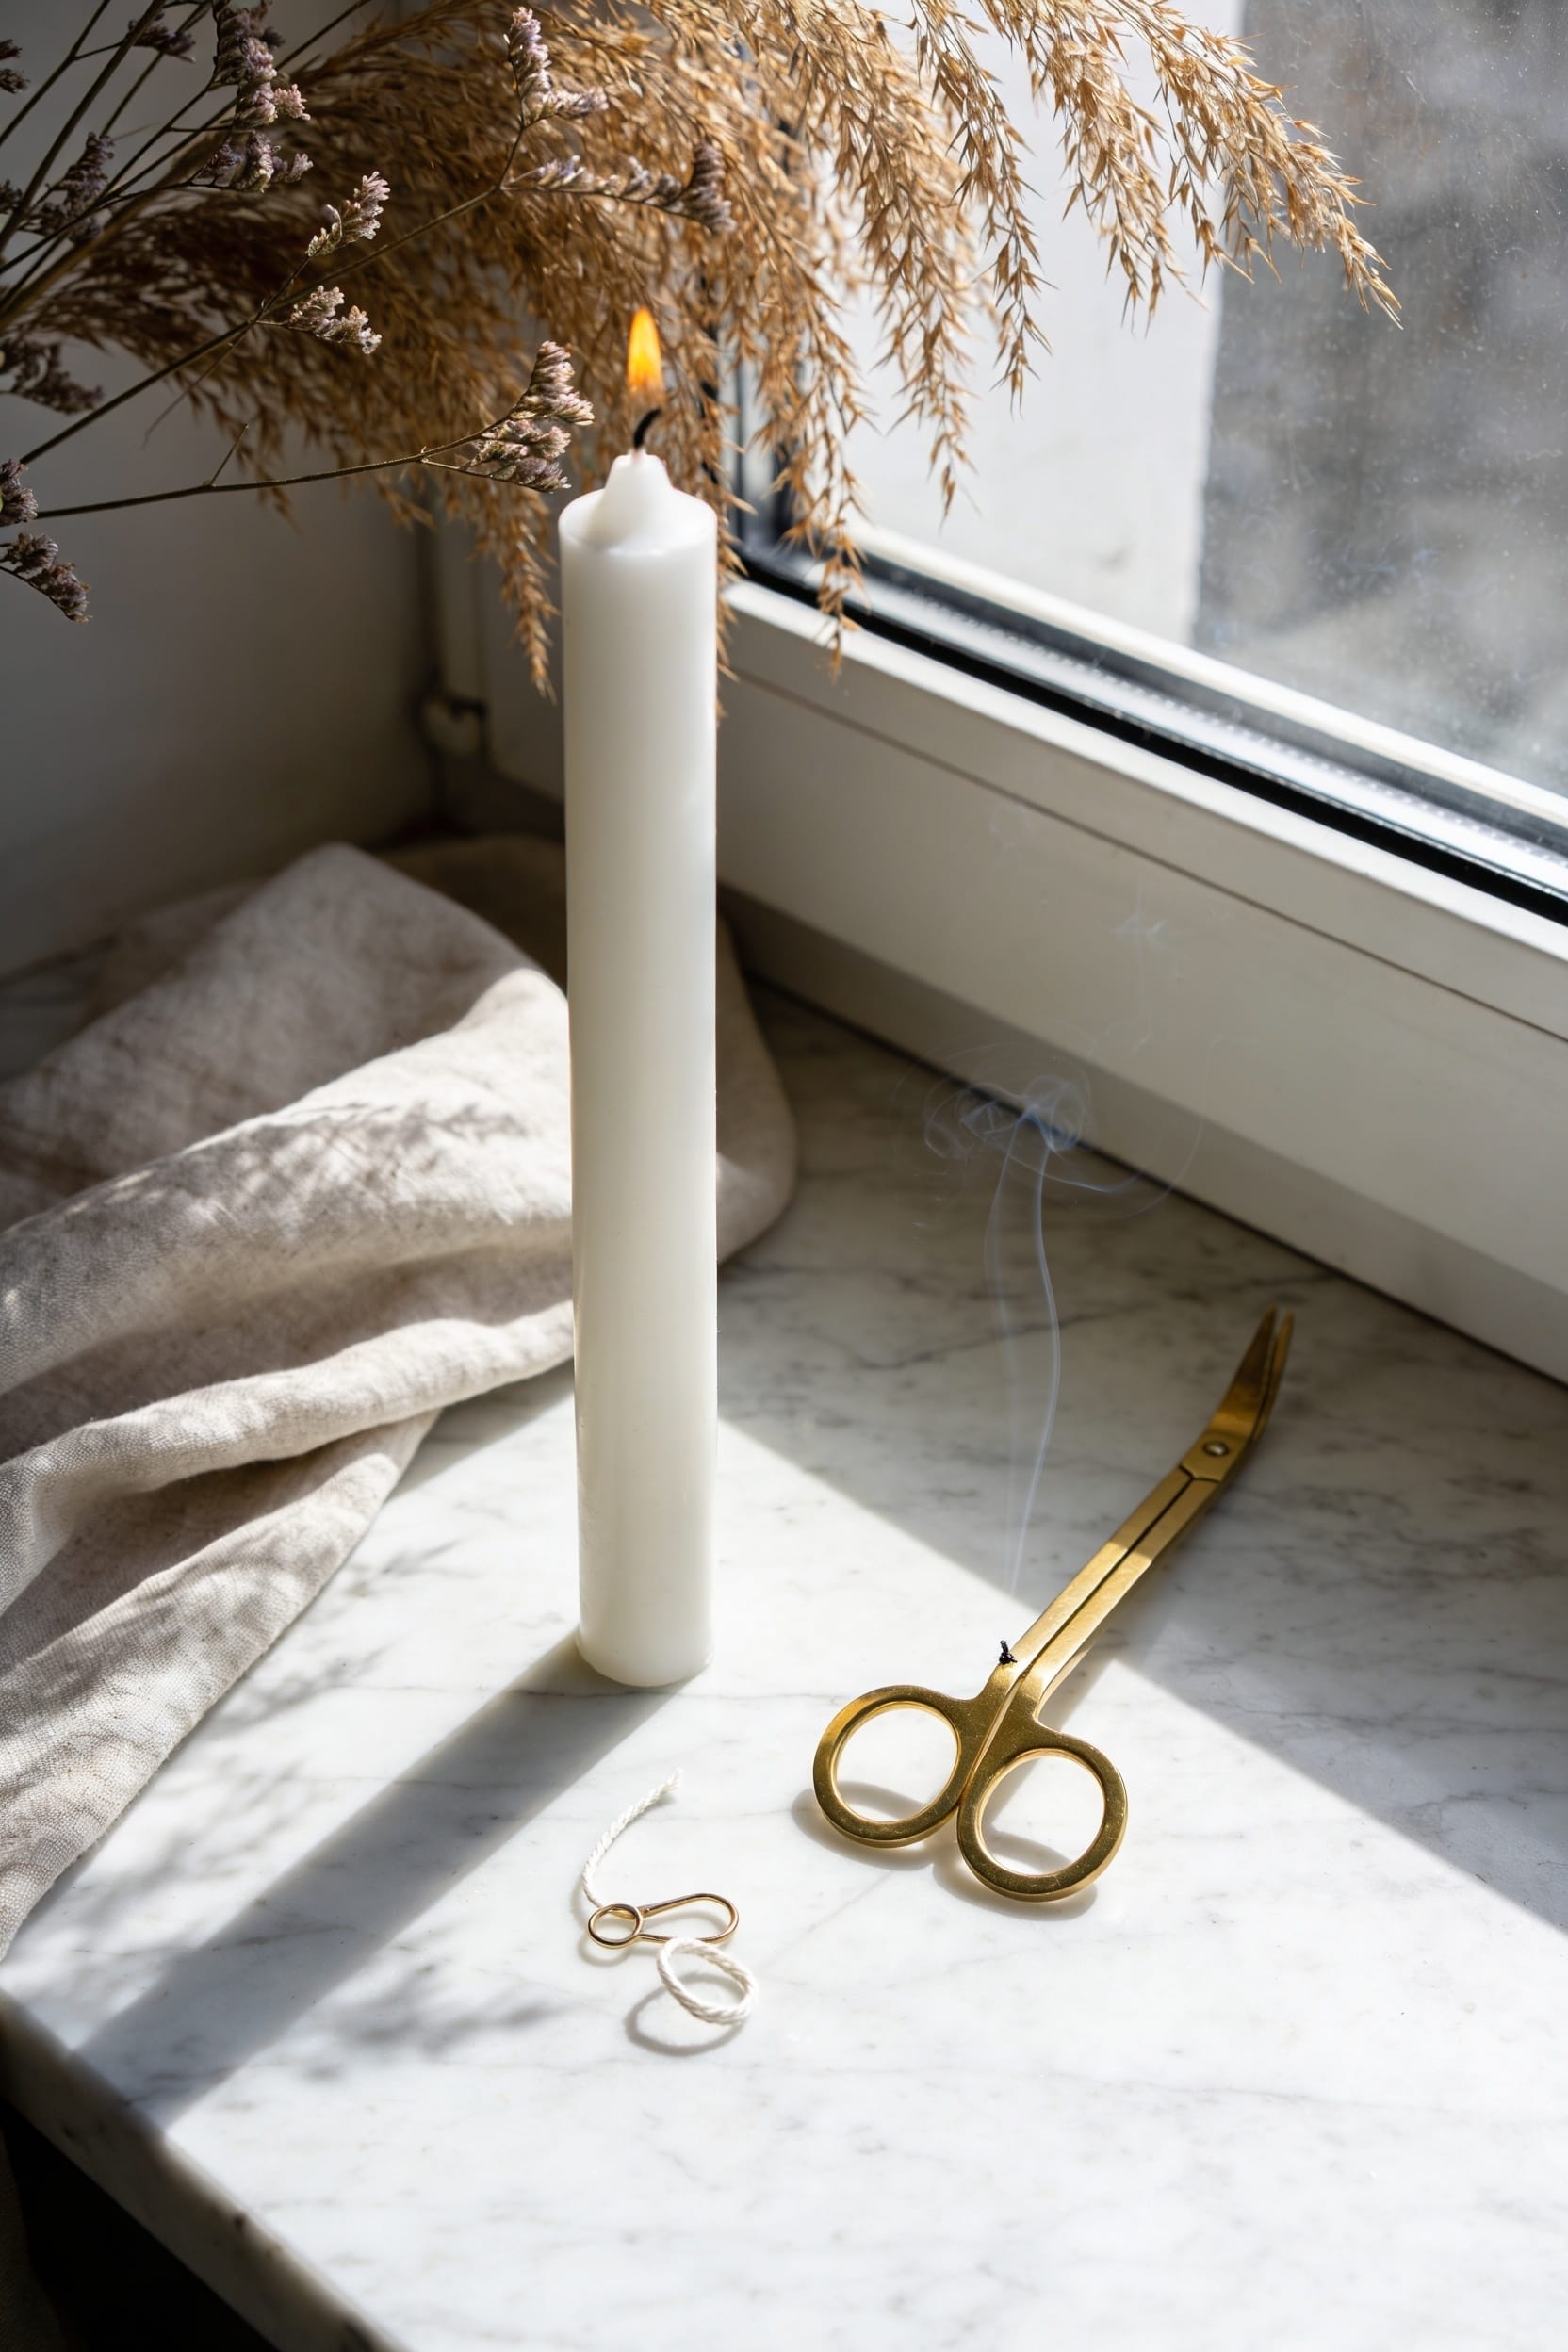
All right, here’s the thing: you’re probably losing scent potential before you even light the wick. Trim it to a quarter inch, let that first burn pool completely across the surface—don’t extinguish early—and keep it away from drafts. Burn in two to four hour sessions, wipe away wax buildup before each light, and always use a snuffer. Store it lidded in a cool spot. These habits compound into noticeably longer-lasting candles that actually smell like what you paid for, and there’s plenty more technique to master.
Key Takeaways
- Trim the wick to 1/4 inch before each burn to prevent excessive soot and ensure optimal fragrance release.
- Allow the entire wax surface to melt completely during the first burn to activate fragrance layering and prevent tunneling.
- Burn candles in 2–4 hour sessions to preserve scent potency and prevent rapid wax consumption from long burns.
- Keep candles in a draft-free environment away from windows, fans, and vents for even melting and consistent scent throw.
- Wipe inner jar walls before each burn and store candles lidded in cool, dark places to maintain fragrance quality.
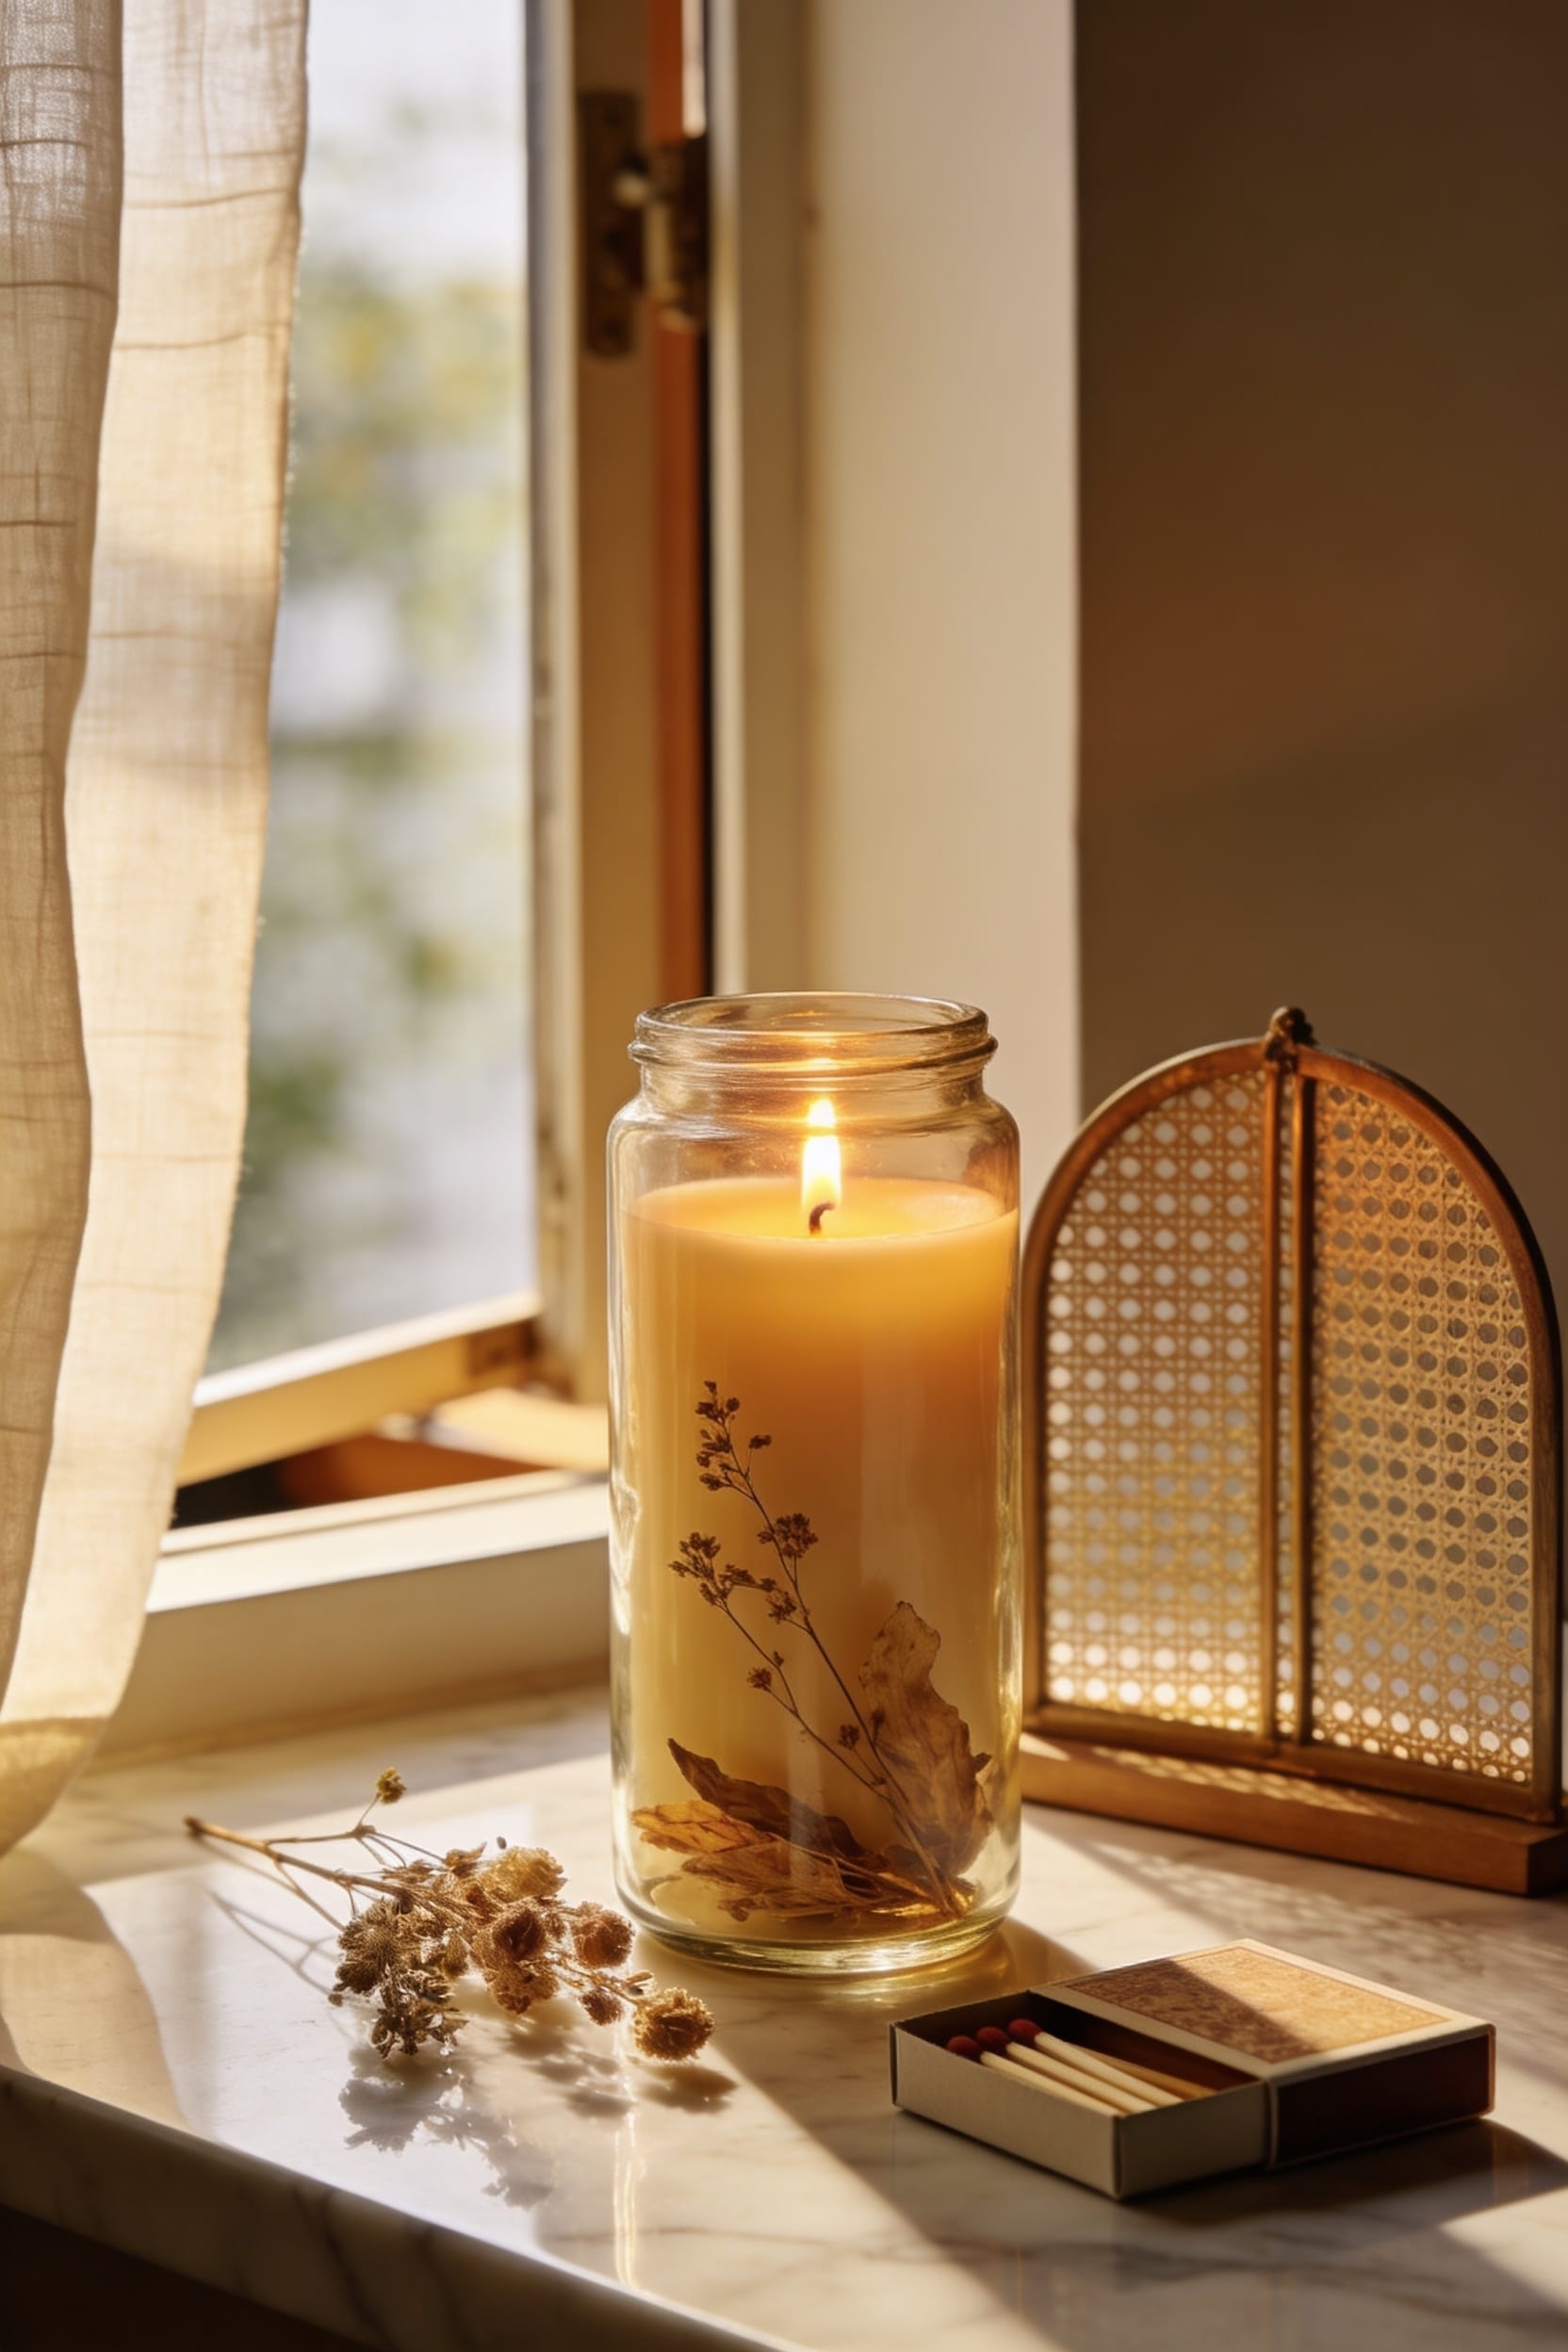
Prepare Your Candle for the First Burn
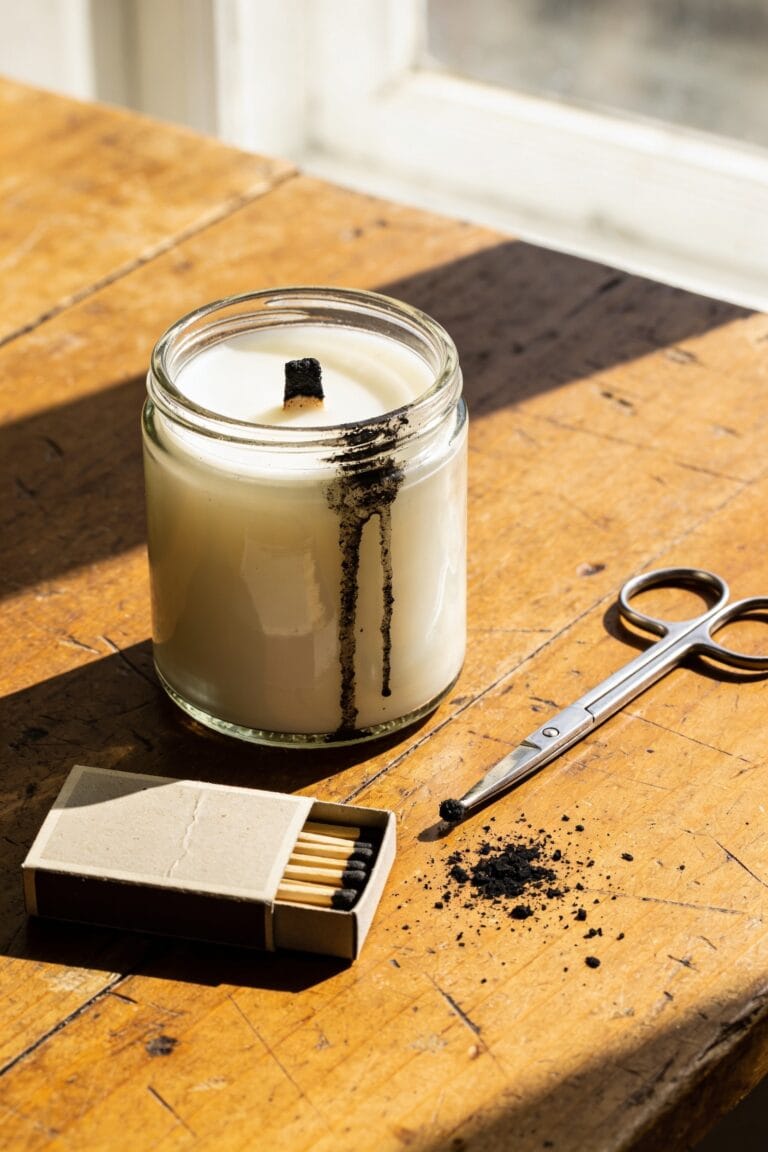
Before you light that candle for the first time, there’s actually a pivotal step that’ll determine how well it performs for the rest of its life—and I’m not being dramatic. Here’s the thing: you need to trim that wick to roughly 1/4 inch before ignition. This prevents excessive soot and guarantees an even burn from the start.
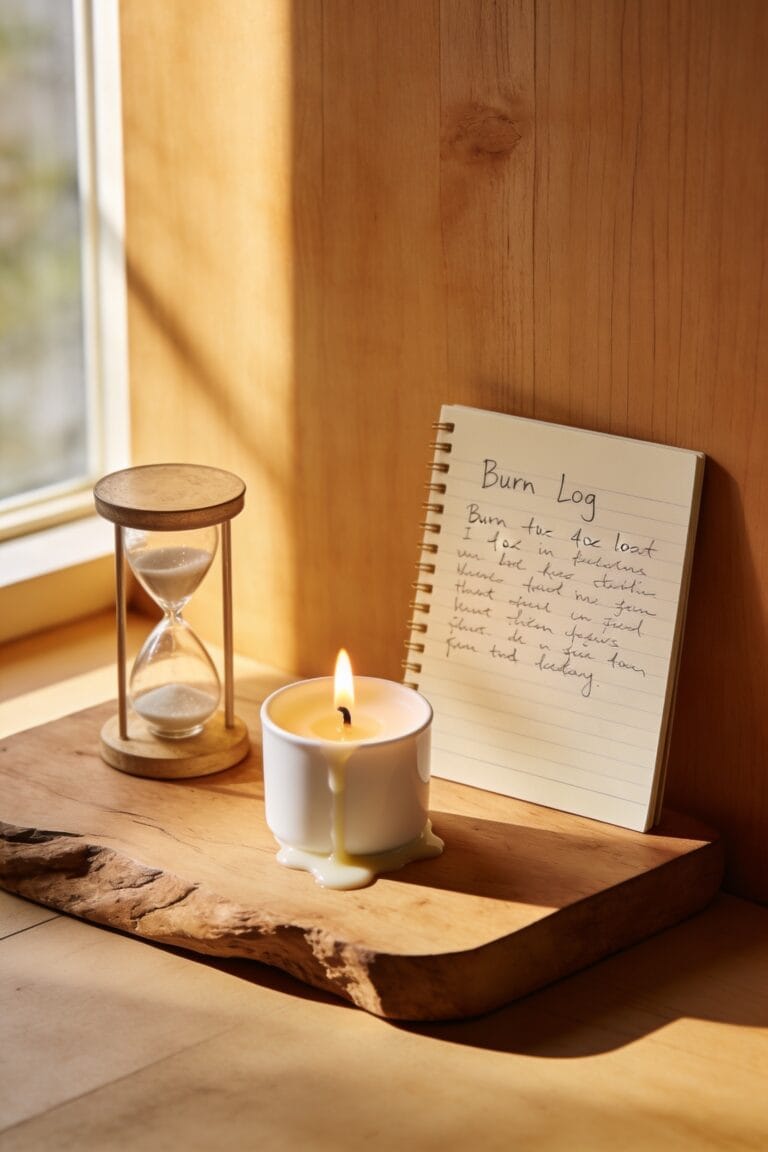
Now, let your candle sit at room temperature for a bit before lighting. When you do light it, allow that first burn to last up to four hours maximum. This is pivotal because you want the entire wax surface to melt completely—what we call pooling. Complete pooling prevents tunneling and lets you do a proper scent testing throughout your candle’s life. I know waiting feels tedious, but trust me on this one.
Recommended Products
This is a genuine OEM (Original Equipment Manufacturer) part
Pick Your Favorite Finish: No matter your interior design preference, we have a wick trimmer tailored for you. Choose from Black, Gold, Rose Gold, Silver, Brushed Gold, and Brushed Copper to complement your candles, decor, and gifting style

Let the Wax Pool Completely Across the Surface
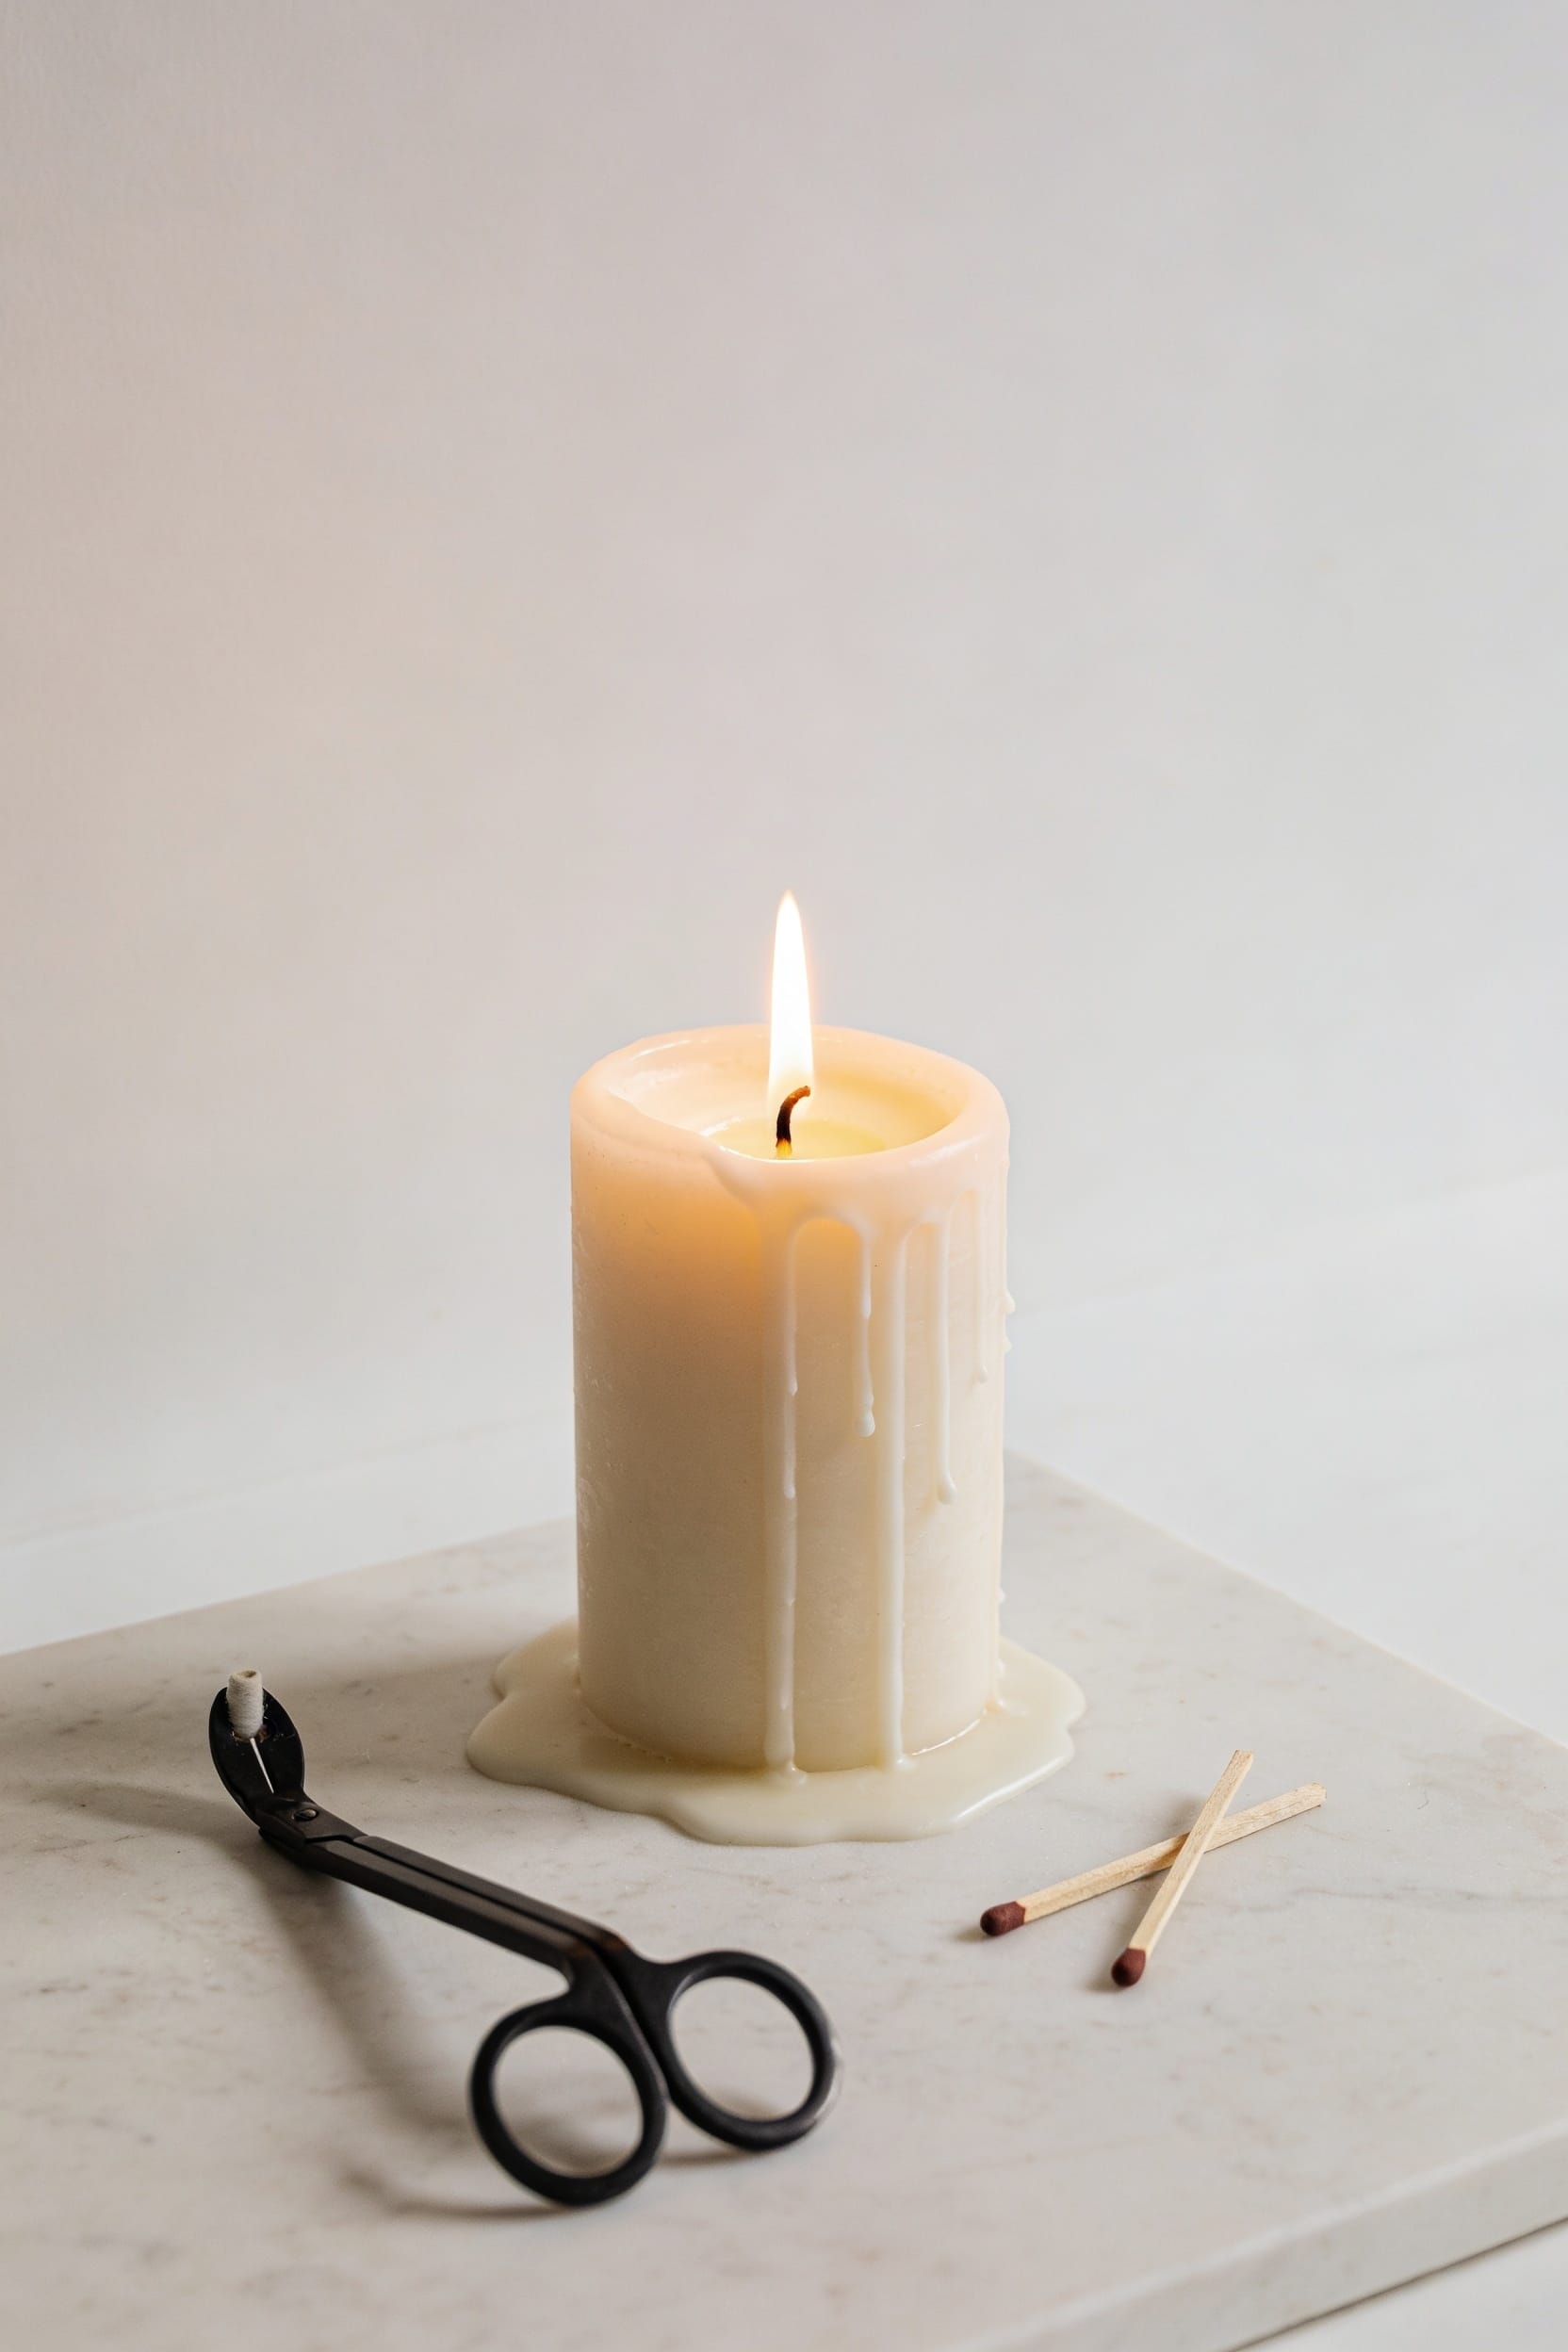
All right, so you’ve trimmed that wick and you’re four hours into your first burn—now comes the part where you actually just… wait. I know it’s tempting to blow it out early, but here’s why you shouldn’t: that complete wax pool across the surface is everything. When the entire top layer becomes fluid, the fragrance layering actually activates. You’re not just melting wax; you’re releasing the scent potential that’s been locked inside. Plus, the glass temperature rises evenly, preventing tunneling—that annoying situation where wax clings to the sides while the center burns down like a well. Let it pool completely. Your future burns depend on this foundation.
Trim the Wick to 1/4 Inch Before Each Light
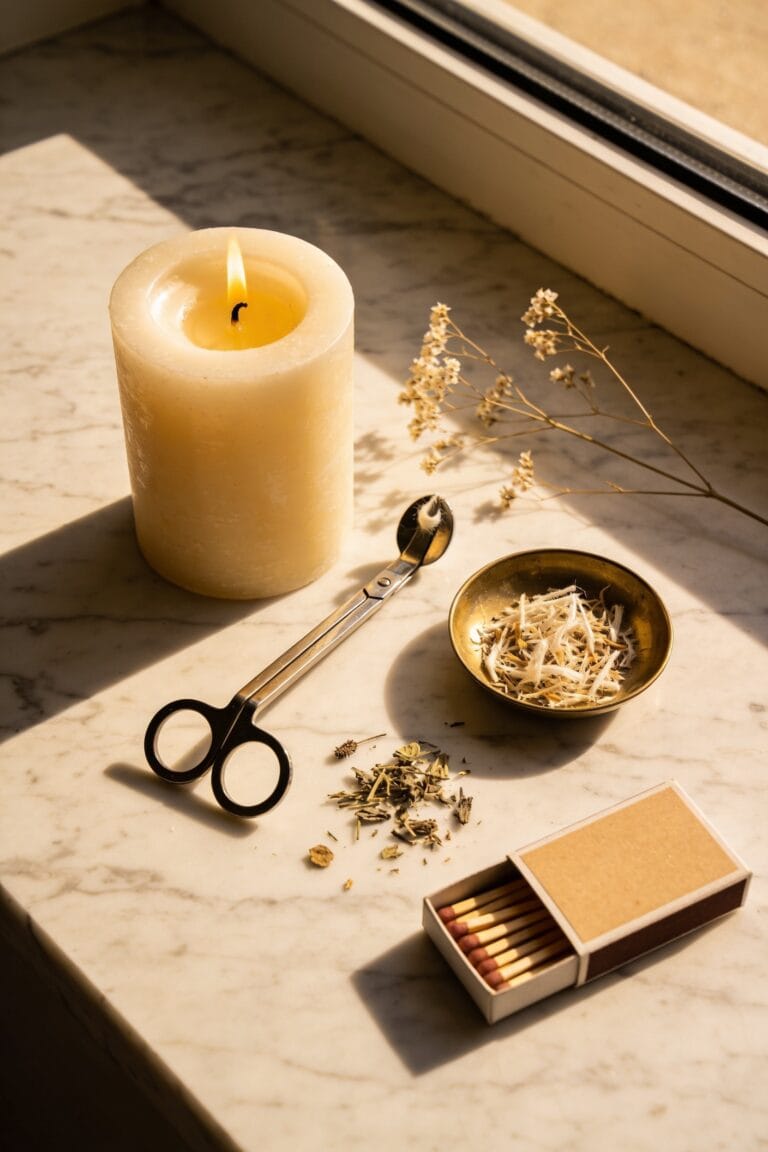
Every time you light your candle, you’ll want to trim that wick down to about 1/4 inch—and I mean every single time, not just when you’re feeling conscientious. Here’s the thing: wick maintenance is genuinely non-negotiable if you want your candle to perform well.
A long wick creates a larger flame that burns hotter and faster, consuming your wax in record time while producing excess soot. You’ll also notice flickering and uneven melting across the surface. Trimming gives you flame control—that steady, centered burn that distributes heat evenly and maximizes fragrance throw.
I’ve watched candles go from promising to disappointing simply because someone skipped this step. It takes thirty seconds and makes all the difference.
Recommended Products

Perfectly trims wicks to maintain optimal candle burn

[MUXSAM CANDLE ACCESSORY FUNCTION] -- The candle accessory set can provide you with extra candle wick care to make sure you enjoy the best from your candle. Trim candle wick to prevent soot and also add to candle burn time; Snuff candle using a wick dipper to prevent wick smoldering; Snuff tapered candles with bell snuffer to prevent wax flying off tip of the candle, allowing to lengthen the life of candles
Length: 30 cm
Burn in 2–4 Hour Sessions to Preserve Scent

Now that you’ve got your wick trimmed and your flame looking steady, it’s time to talk about how you actually burn the thing—because even perfect flame control won’t save your candle if you’re letting it run for eight hours straight. Stick to 2–4 hour sessions. Longer burns cause wick mushrooming, which means faster wax consumption and fragrance that dissipates before you’ve really enjoyed it. I learned this the hard way with a soy candle I thought I could push. The scent just vanished.
Rotate candles between sessions too. It prevents you from burning out a single favorite while giving wax time to cool and settle. This scent layering effect—switching between different candles—actually keeps your nose engaged and makes everything smell fresher. Your nose gets accustomed to constant scent, but rotation resets that.
Keep Your Candle Away From Drafts
While you’re dialing in those perfect 2–4 hour burn sessions, there’s one variable you can’t control with a wick trimmer: air movement. Drafts wreak havoc on your candle’s performance. They cause your flame to flicker and dance unevenly, which means the heat isn’t distributing properly across your wax pool. That uneven burn leads to tunneling, wasted wax, and a shorter overall lifespan.
Now, here’s what I’d do: start with airflow mapping around your burn space. Keep candles away from windows, ceiling fans, and HVAC vents. Think about curtain placement too—heavy drapes can actually help buffer air currents. You want a calm, centered flame that burns steadily and throws fragrance evenly throughout your room. That’s when you’ll really notice the difference.
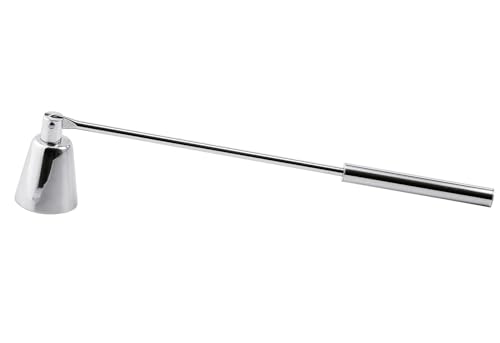
Extinguish Properly With a Snuffer
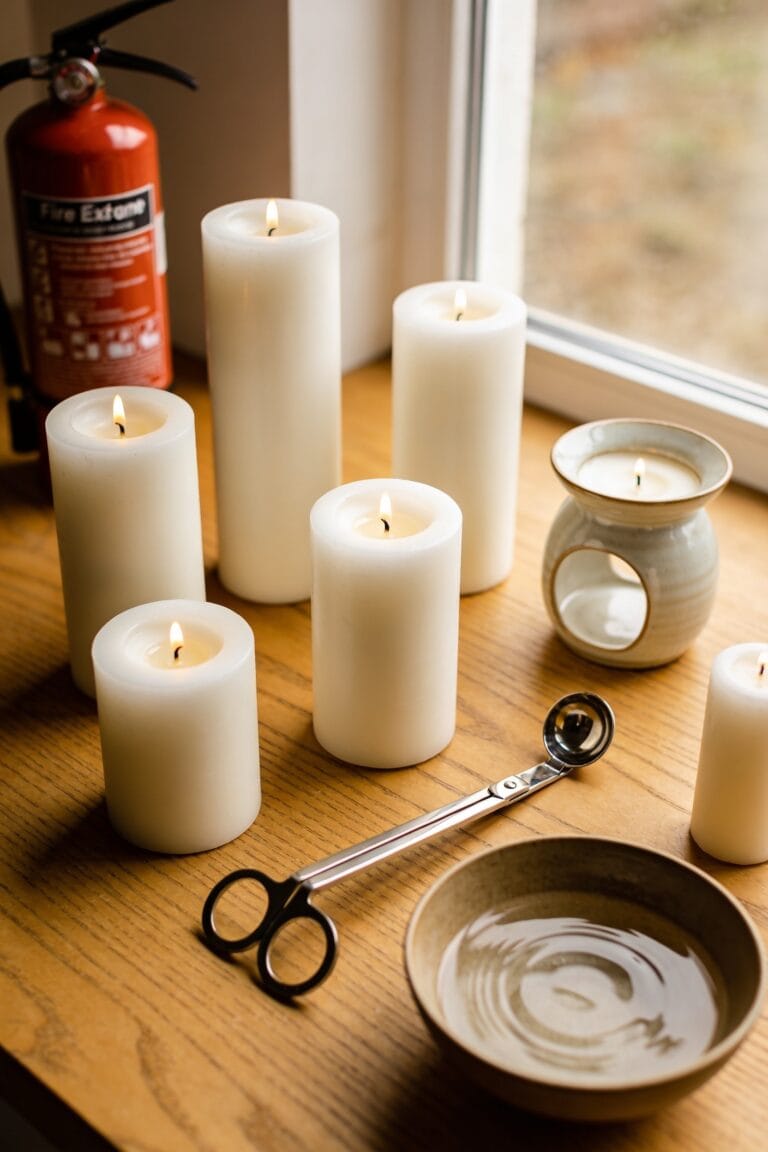
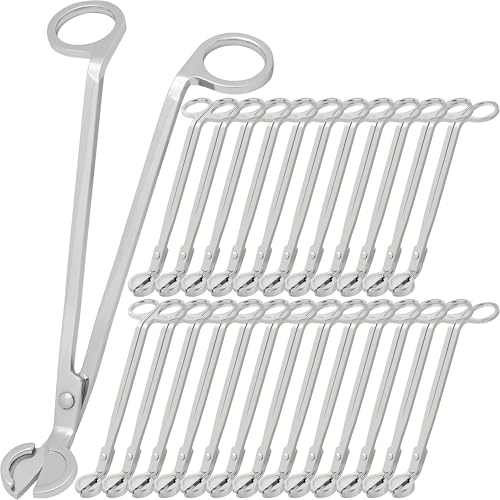
Blowing out your candle might seem harmless, but I’d genuinely urge you to resist the temptation—it’s one of those small habits that quietly undermines all the care you’ve already put in. Here’s the thing: when you blow, you’re creating soot and smoke that coats your wick and container walls. Instead, grab a candle snuffer. The snuffer technique is simple but effective—hold it over the flame for about five seconds until oxygen deprivation extinguishes it completely. This smoke reduction makes a real difference. You’ll notice less residue buildup, a cleaner burn next time, and frankly, your candle just looks nicer. It’s a small tool investment that pays dividends across every burn.
Recommended Products

Pick Your Favorite Finish: No matter your interior design preference, we have a wick trimmer tailored for you. Choose from Black, Gold, Rose Gold, Silver, Brushed Gold, and Brushed Copper to complement your candles, decor, and gifting style

100% Satisfaction Guaranteed !

Candle with "RAL Quality Mark"; is an official European quality standard that provides guarantee on the raw materials used in candles and in the burning property; products with this certification guarantee the health and safety of our consumers
Wipe Wax Buildup Before Each Burn
After you’ve snuffed out your flame, take a moment to inspect the inner walls of your container—you’ll likely spot a thin layer of wax buildup creeping up the sides. This is totally normal, but here’s the thing: that residue interferes with even burning on your next light.
I grab a paper towel and gently wipe the jar walls before each burn. It takes maybe thirty seconds. This surface dusting prevents tunneling and secures the entire melt pool reaches the edges uniformly. If buildup’s stubborn, warm water works—just avoid jar rinsing that’s too aggressive and risks cracking glass.
You’d be surprised how much this small step improves fragrance throw and extends your candle’s life. It’s one of those unsexy maintenance tasks that genuinely pays off.
Recommended Products

Include: 1 pc glass vase, carefully packaged, accessories not included

PERFECT FOR LONG STEM FLOWERS - With the shape of each bottle being tall and thin, placing a long stem artificial or fresh cut flower inside works great

Include: 12 pieces glass vase carefully packaged, accessories not included
Store Lidded in a Cool, Dark Place
Now that you’ve got your burn sessions dialed in and you’re wiping down those jar walls like a pro, storage becomes your next line of defense. Here’s the thing: what you do between burns matters just as much as what happens during them.
Keep your candles lidded when they’re not burning. That lid creates airtight storage that locks in fragrance—preventing those volatile scent molecules from evaporating into thin air. I’ve watched people skip this step and wonder why their candles smell weaker after a few weeks.
Store them somewhere cool and dark. Direct sunlight causes UV damage that fades wax color and degrades fragrance quality. A shelf away from windows, heat sources, and fluctuating temperatures? That’s your sweet spot. Your future burns will thank you.
Recommended Products

BLANK 2 INCH WHITE GLOSS ROUND LABELS - printable medium white circles - customizable - 20 labels per sheet - compatible with inkjet printers only

BLANK 2.5 INCH WHITE GLOSS ROUND LABELS - printable large white circles, 12 labels per sheet - compatible with inkjet printers only

CUSTOMIZABLE 12 OZ. MASON JARS – Perfect for crafting, DIY projects, and promotional events, these classic canning jars feature a smooth surface ideal for custom designs, logos, or labels. Great for businesses, weddings, and special occasions!
Frequently Asked Questions
How Often Should I Rotate Between Multiple Candles to Prevent Burning Them Out Too Quickly?
I’d recommend rotating between your candles weekly while tracking each burn session. This prevents any single candle from burning out too quickly, preserves scent intensity, and extends your candles’ overall lifespan markedly.
What Causes Wick Mushrooming and How Does It Affect Candle Performance?
I’ll tell you that extended burn sessions cause wick mushrooming, where carbon buildup forms a ball at the wick’s tip. This creates larger flames and faster wax consumption, so regular wick trimming prevents it.
Can I Use a Lid to Extinguish My Candle Instead of a Snuffer?
Yes, you can use a lid to gently blanket your flame, achieving smoke reduction through oxygen deprivation. I’d guarantee lid safety by confirming it’s non-flammable before extinguishing this way.
Why Does Fragrance Dissipate Faster During Prolonged Burning Sessions?
When you burn your candle longer than 2-4 hours, I find that excessive heat accelerates fragrance evaporation. Heat pooling intensifies scent saturation, causing your nose to experience scent fatigue, making the aroma seem weaker even though it’s dissipating faster.
How Should I Clean Dust or Debris From the Wax Surface Before Burning?
I’ll gently use a soft brush or compressed air to remove dust before lighting. Studies show clean wax surfaces improve fragrance throw by up to 20%. You’ll notice noticeably better scent diffusion when you start with a pristine surface.
Conclusion
I’ve learned these tips the hard way—burned through countless candles before realizing I was sabotaging my own scent experience. Here’s the thing: you’re not just lighting a candle; you’re building a ritual. Those first-burn decisions, the wick trims, the draft-free placement—they compound. Coincidentally, the practices that preserve your candle’s scent are the same ones that make burning it feel intentional. You deserve that experience.