As an Amazon Associate, we earn from qualifying purchases. Some links on this site are affiliate links at no extra cost to you. Our recommendations are based on thorough research and editorial judgment.

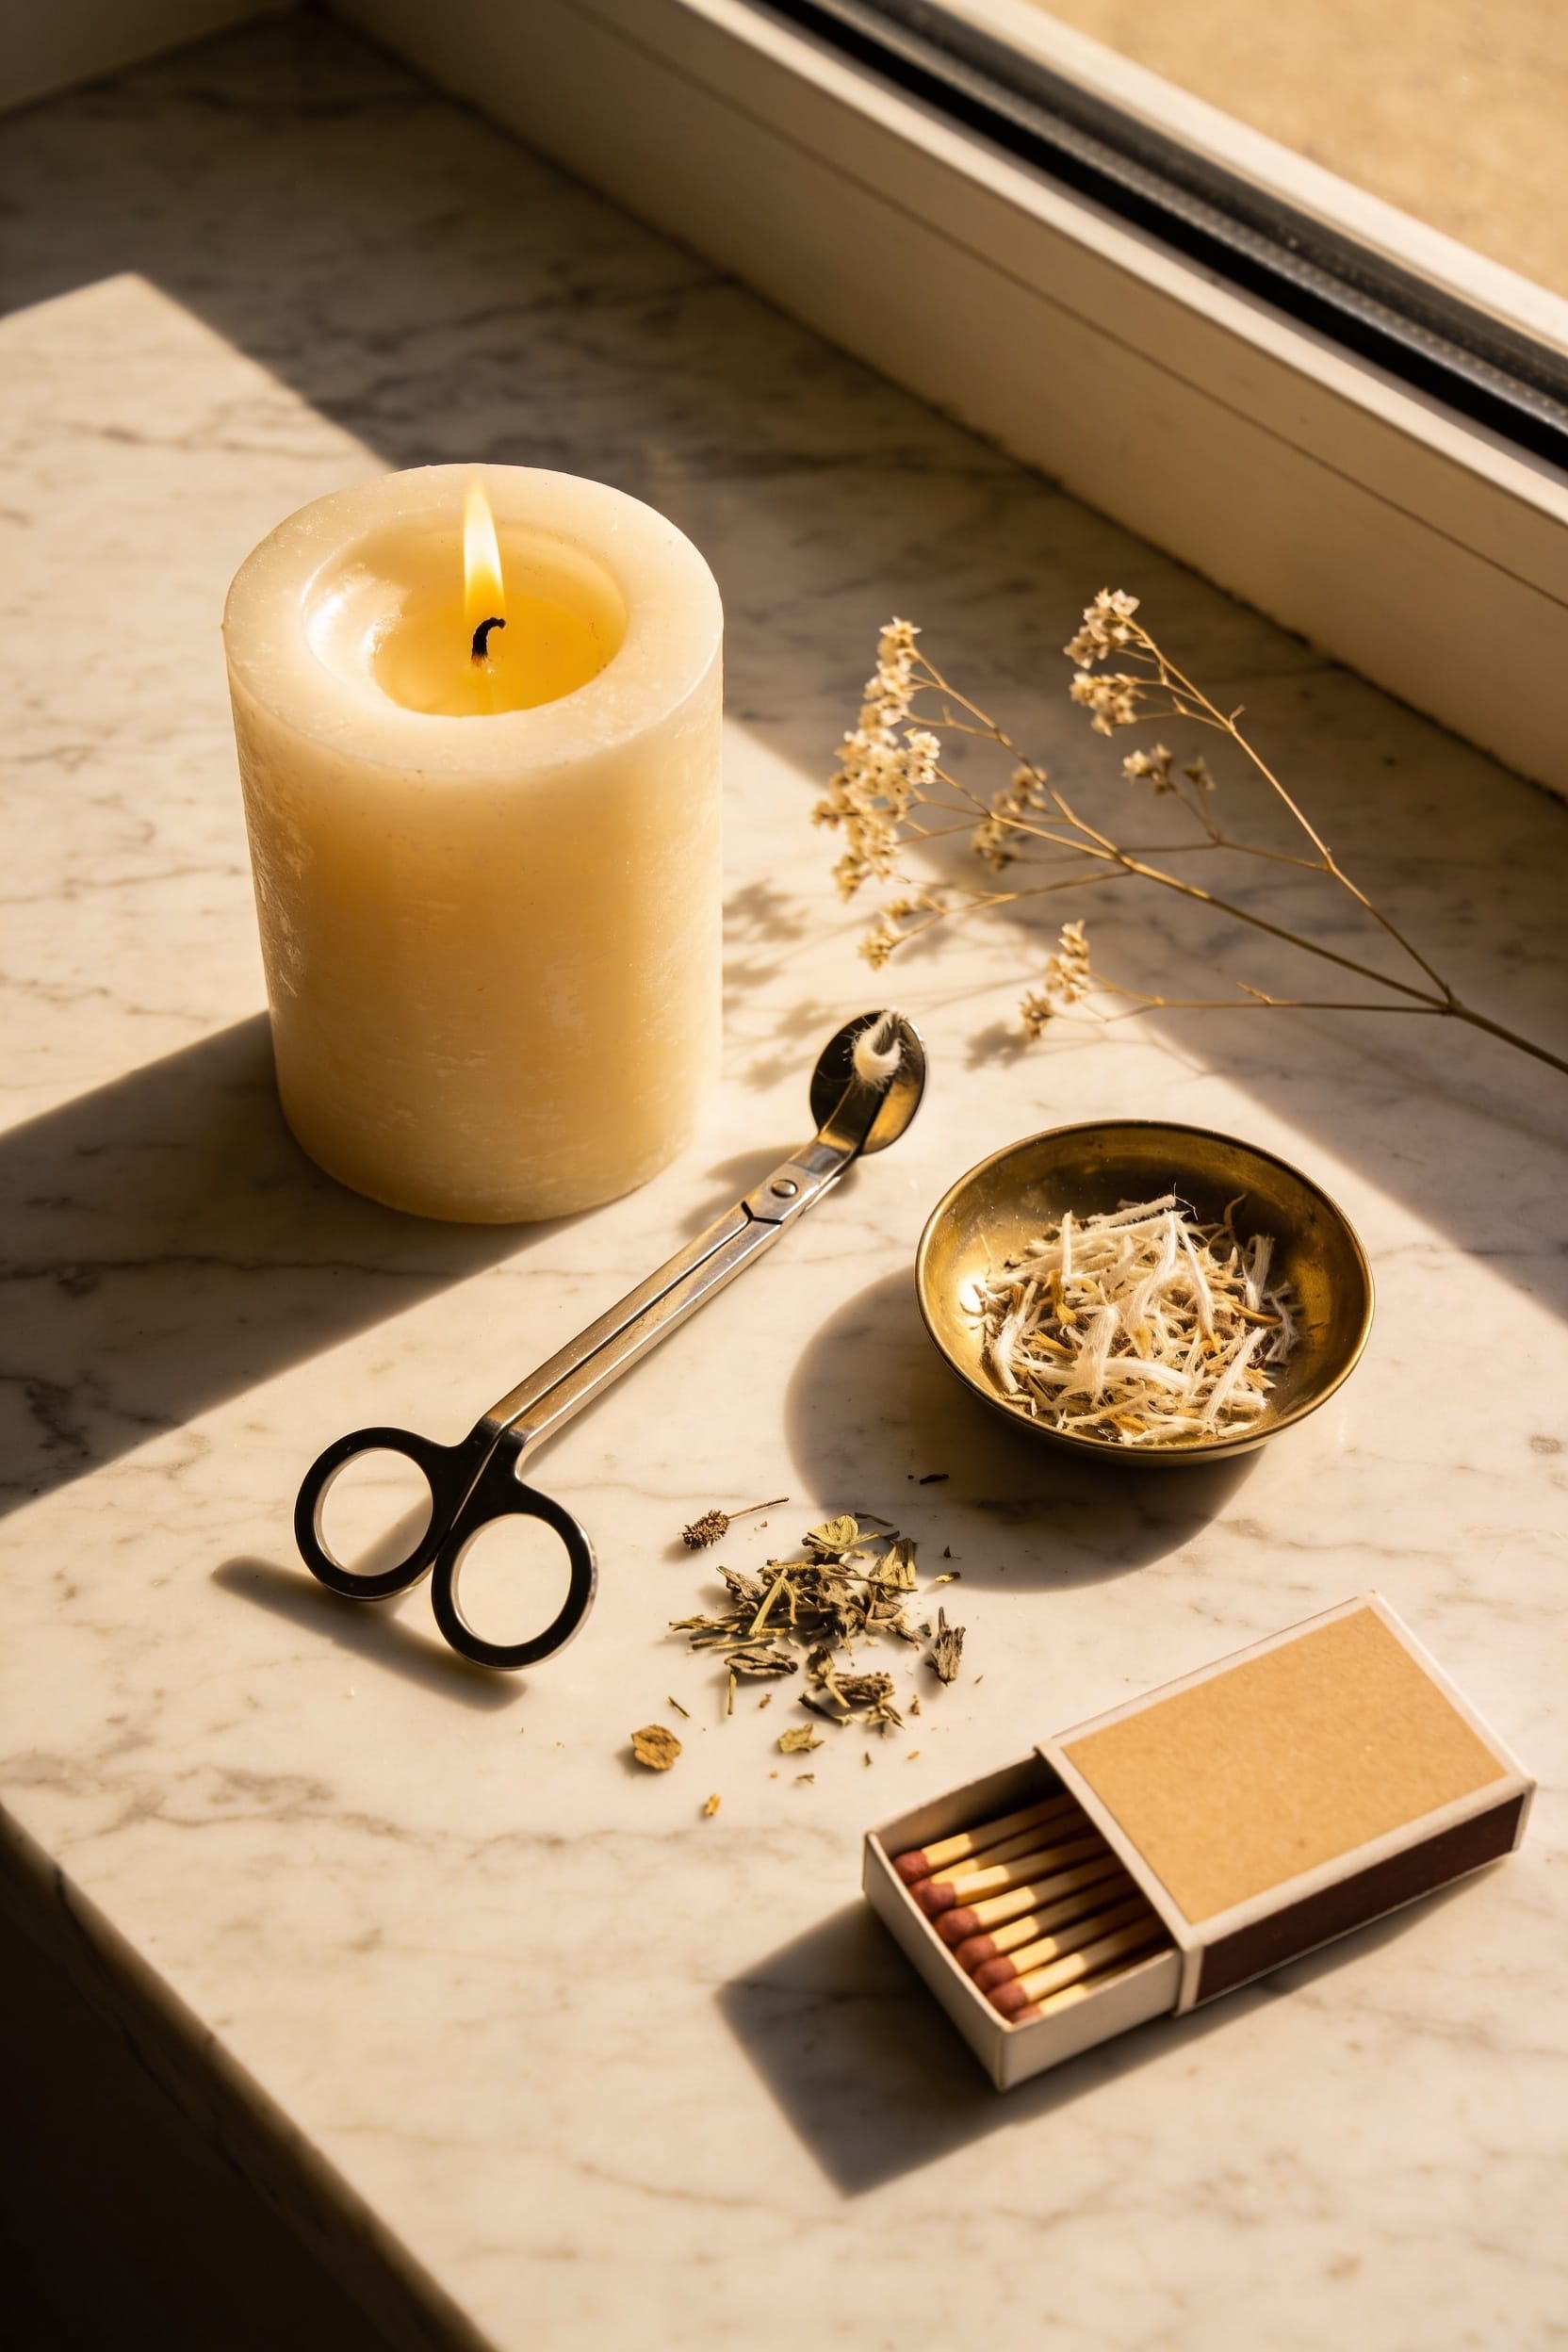
How to Burn a Candle Safely: The Complete Care Guide

All right, here’s the thing: safe candle burning hinges on three foundational practices. Trim your wick to 6mm before every light to prevent excessive smoke and soot. Position your candle at least 30 centimeters from flammable items on a heat-resistant surface, away from drafts. Let that first burn reach the glass edges—aim for 2–4 hours depending on size—to prevent tunneling later. Limit sessions to 3–4 hours, cool for at least two hours between lights, and snuff rather than blow out. Master these basics, and you’ll release weeks of clean, even burns instead of disappointment.
Key Takeaways
- Trim wicks to 6mm before lighting to prevent excessive smoke, soot, and mushrooming.
- Place candles at least 30 centimeters away from flammable items on heat-resistant surfaces.
- Allow the initial meltpool to reach glass edges during the first 2–4 hour burn.
- Limit each burn session to 3–4 hours maximum and cool for at least 2 hours between relights.
- Extinguish using a candle snuffer or wax-dipping method; never use water or lids.
Trim the Wick Before Every Light
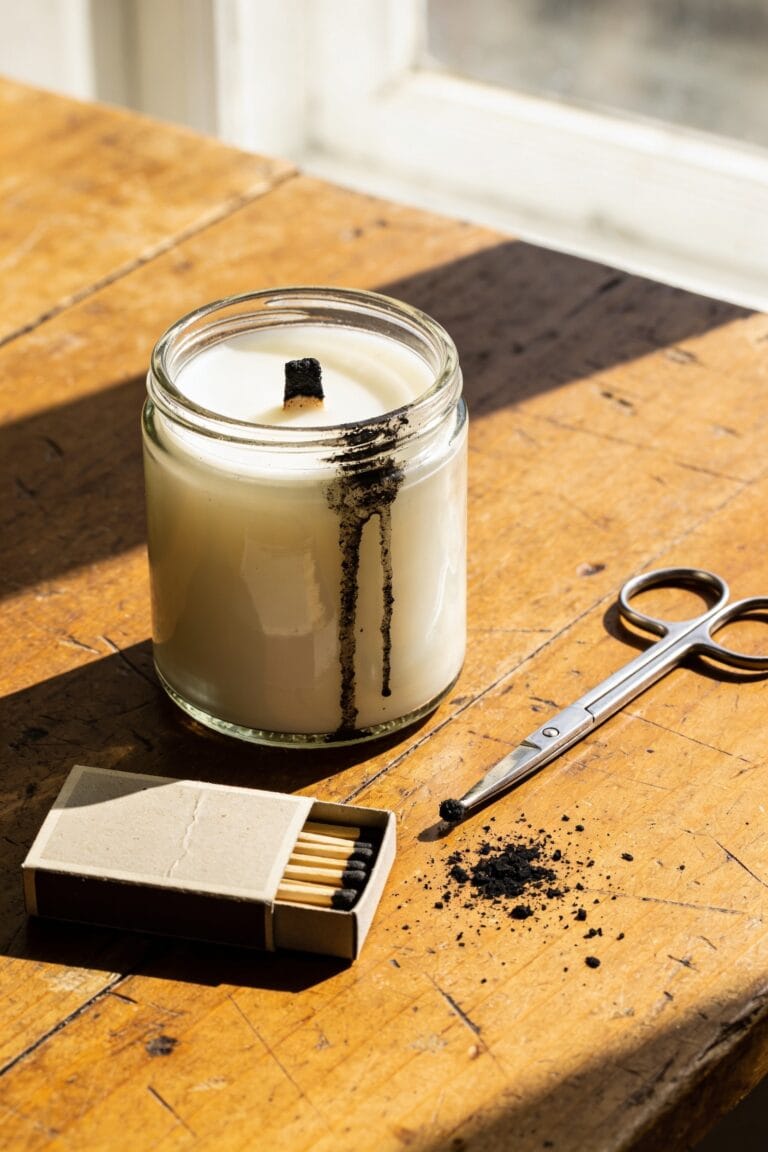
When you’re about to light a candle, that wick trim is the one thing standing between you and a smoky, sooty mess—and I learned this the hard way after ignoring the step about five times too many. Look, proper wick maintenance is non-negotiable if you want flame control and a clean burn. Trim your wick to 6mm before each lighting using sharp scissors or a dedicated wick trimmer. I can’t stress this enough: repeat it every single time you relight. A long wick mushrooms, creates excessive smoke, and basically defeats the purpose of having a nice candle. It’s honestly the easiest step in candle care, yet it makes the biggest difference. Do this consistently, and you’ll burn cleaner, longer, and without the regret I felt scrubbing soot off my walls.
Recommended Products
This is a genuine OEM (Original Equipment Manufacturer) part
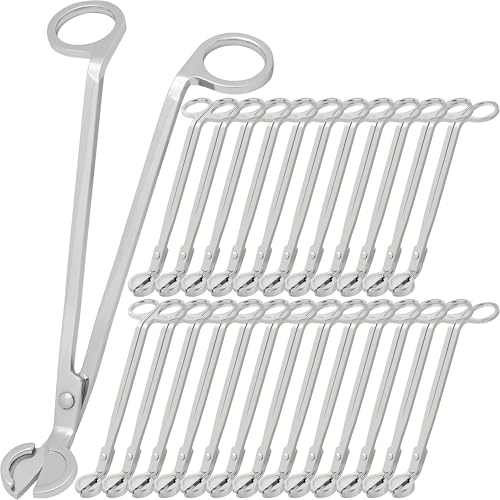
Pick Your Favorite Finish: No matter your interior design preference, we have a wick trimmer tailored for you. Choose from Black, Gold, Rose Gold, Silver, Brushed Gold, and Brushed Copper to complement your candles, decor, and gifting style

Choose the Right Placement Away From Hazards

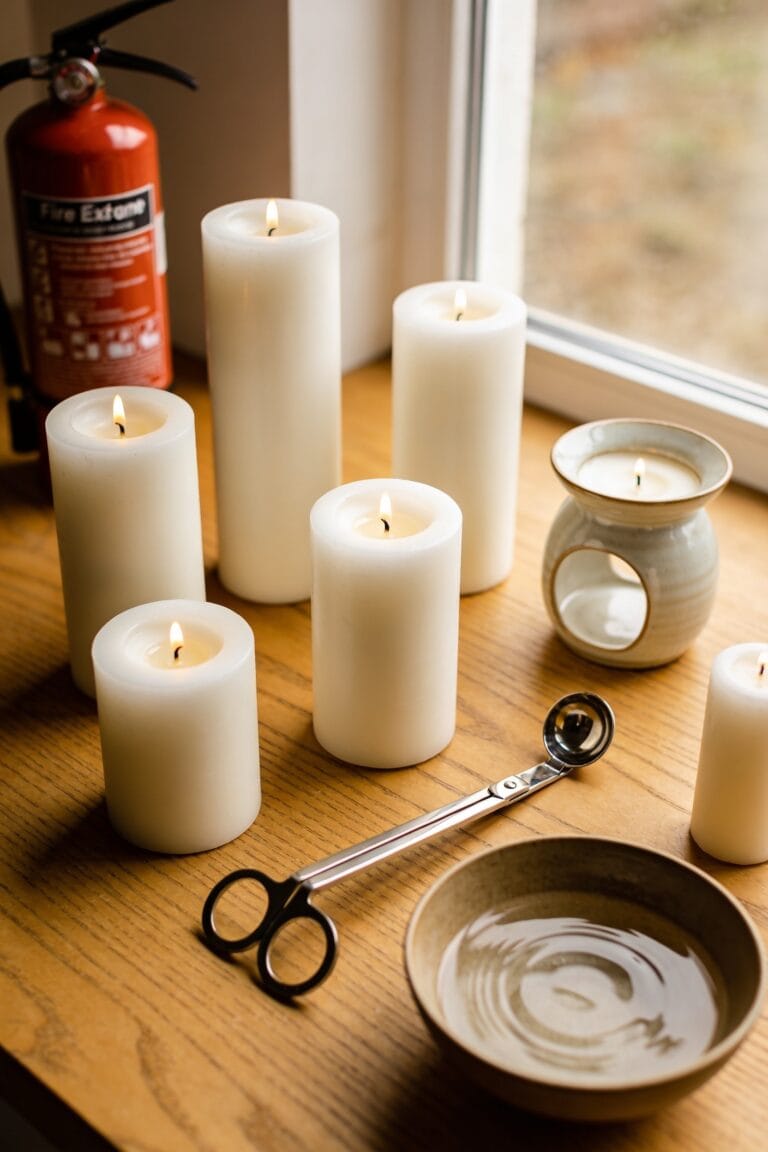
Beyond that perfectly trimmed wick lies another critical decision: where you actually place your candle. I’ve learned this the hard way—a beautiful scented candle placed near an open window created uneven burning and excessive soot on my walls. You’ll want to keep distance between your candle and anything flammable: curtains, books, papers, decorations. I’m talking at least thirty centimeters. Avoid drafts from fans, air conditioning vents, or open windows—they’re absolute burn killers. Position your candle on a heat-resistant, non-flammable surface, ideally somewhere away from foot traffic. If it’s a decorative candle, use a protective dish underneath. Think stable, protected, and away from curious hands and paws. That’s your sweet spot.
Recommended Products

Marble Bowl is made out of a single piece of marble.

Material: High-quality, water-based acrylic that provides excellent durability, clarity, and water resistance for porous surfaces.

[Keep Food Hot]: The 7Penn Chafing Dish Warmer keeps a consistent temperature for up to 6 hours to ensure hot delicious food throughout the entire catered buffet service
Nail Your First Burn (The Right Way)
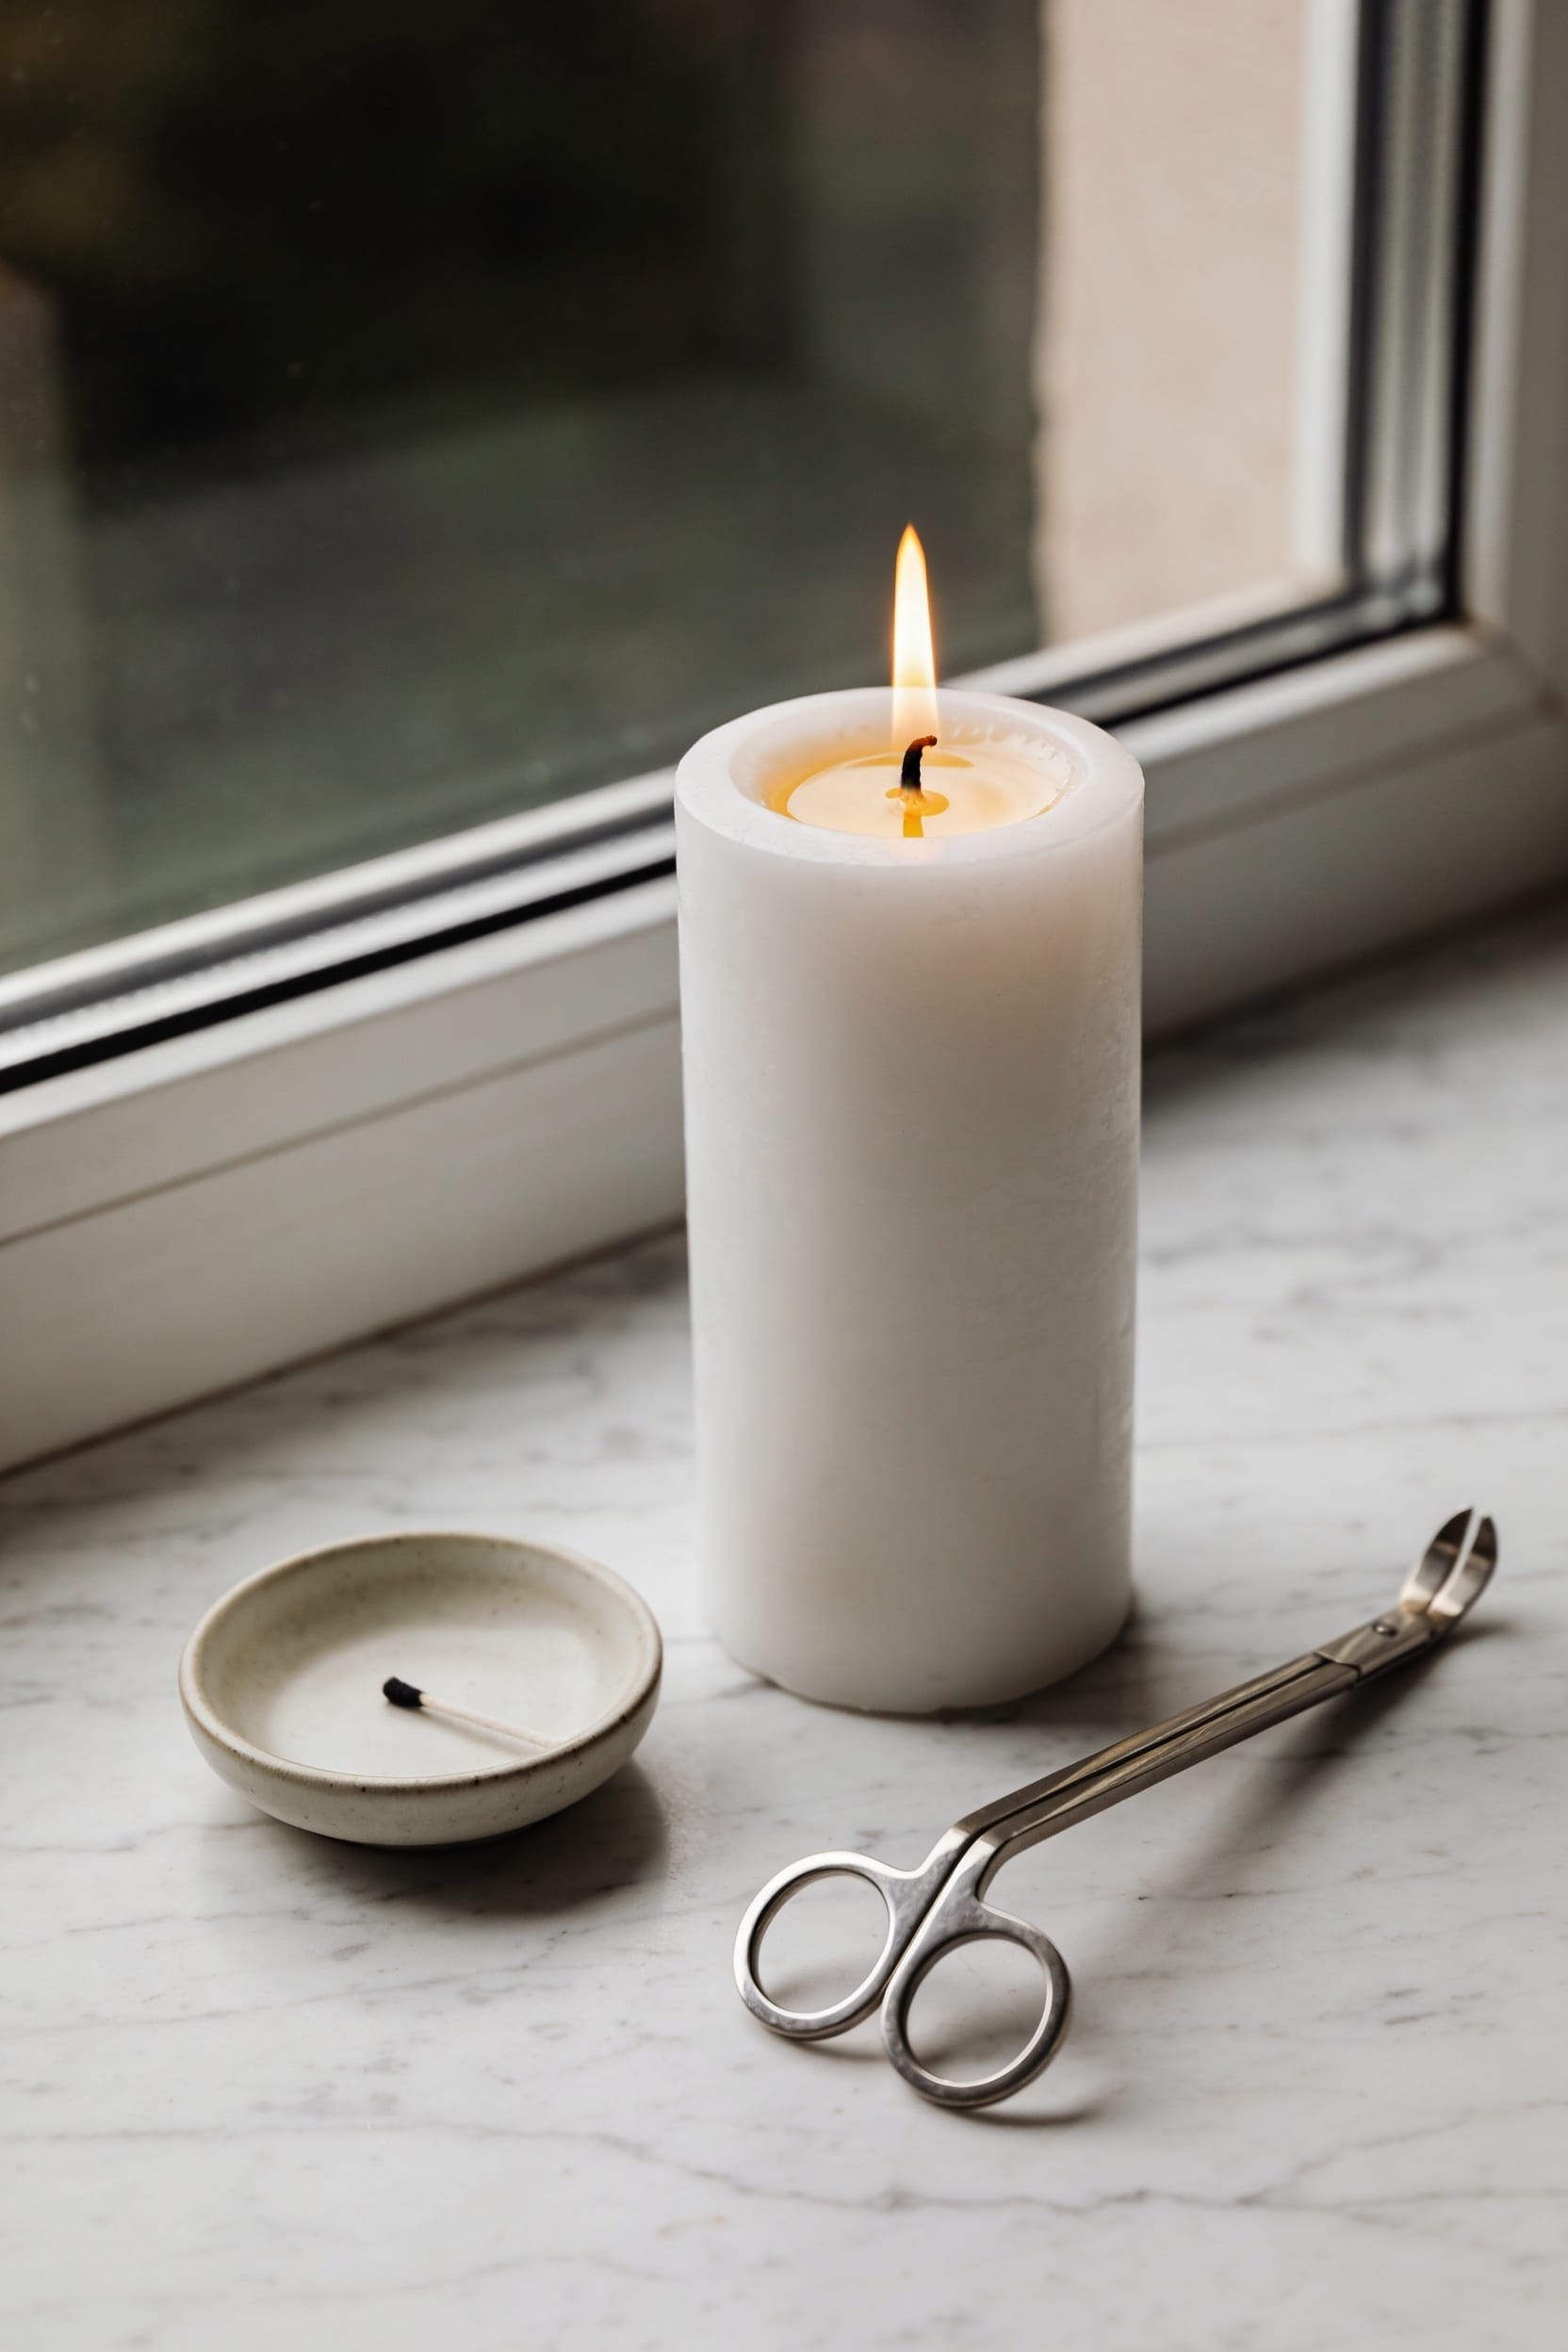
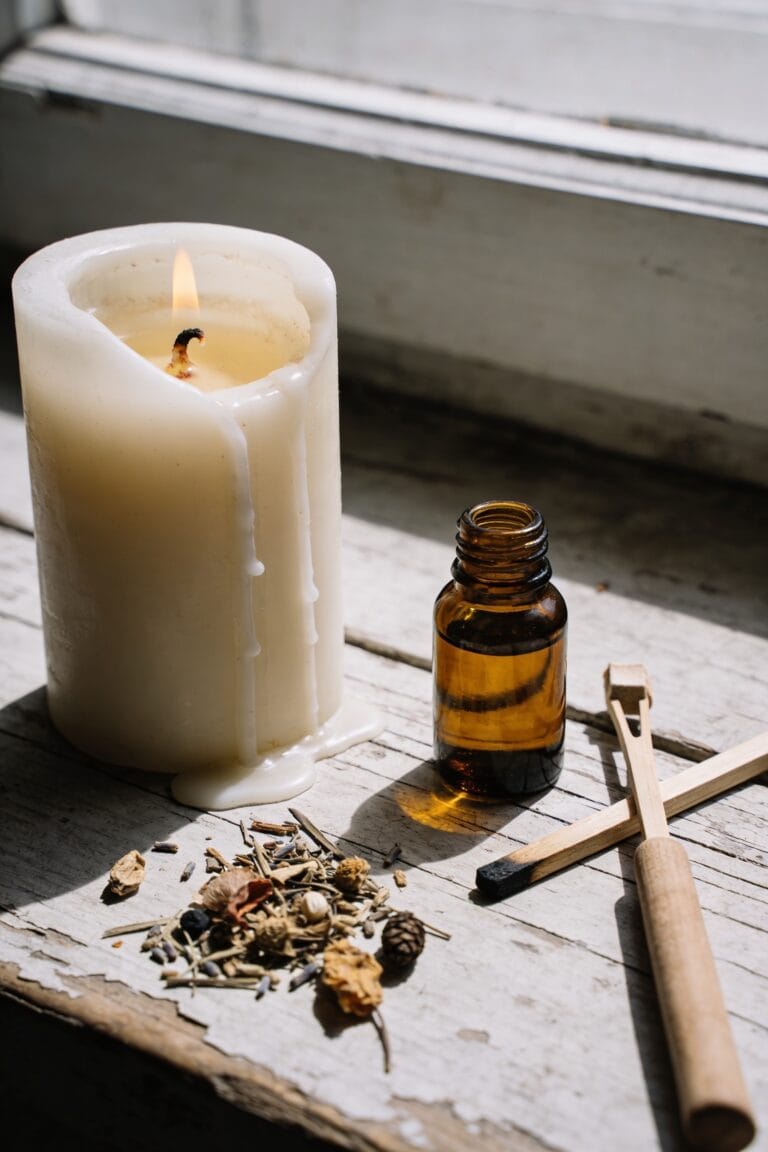
Now that your candle’s sitting in the perfect spot, you’ve got to actually light it right—and I mean that literally, because that first burn sets the stage for everything that follows. Here’s the thing: that initial meltpool is vital. You’ll want to let your candle burn long enough for the wax to melt completely across the surface, all the way to the glass edges. This is your memory burn, and it prevents tunneling later. I’m talking 2-4 hours depending on your candle’s size. Use long matches to avoid singed fingers, trim that wick to 6mm beforehand, and keep the flame centered. Don’t rush this. A proper first burn literally determines whether your candle burns evenly for its entire lifespan.
Recommended Products

10-INCH LONG DECORATIVE MATCHES – Longer than standard wood matches, these 10-inch long stick matches keep your fingers safely away from the flame. Designed with a thicker head that burns longer without blowing out. Set includes 500 premium large match sticks.

✔ Perfect accessory for lighting candles, cigarettes, cigars, grills and fireplaces.

📦 Convenient 50-Count Box – Includes 50 durable safety matches per box, giving you long-lasting use for multiple fires.
Safe Burn Duration and Cooling Times
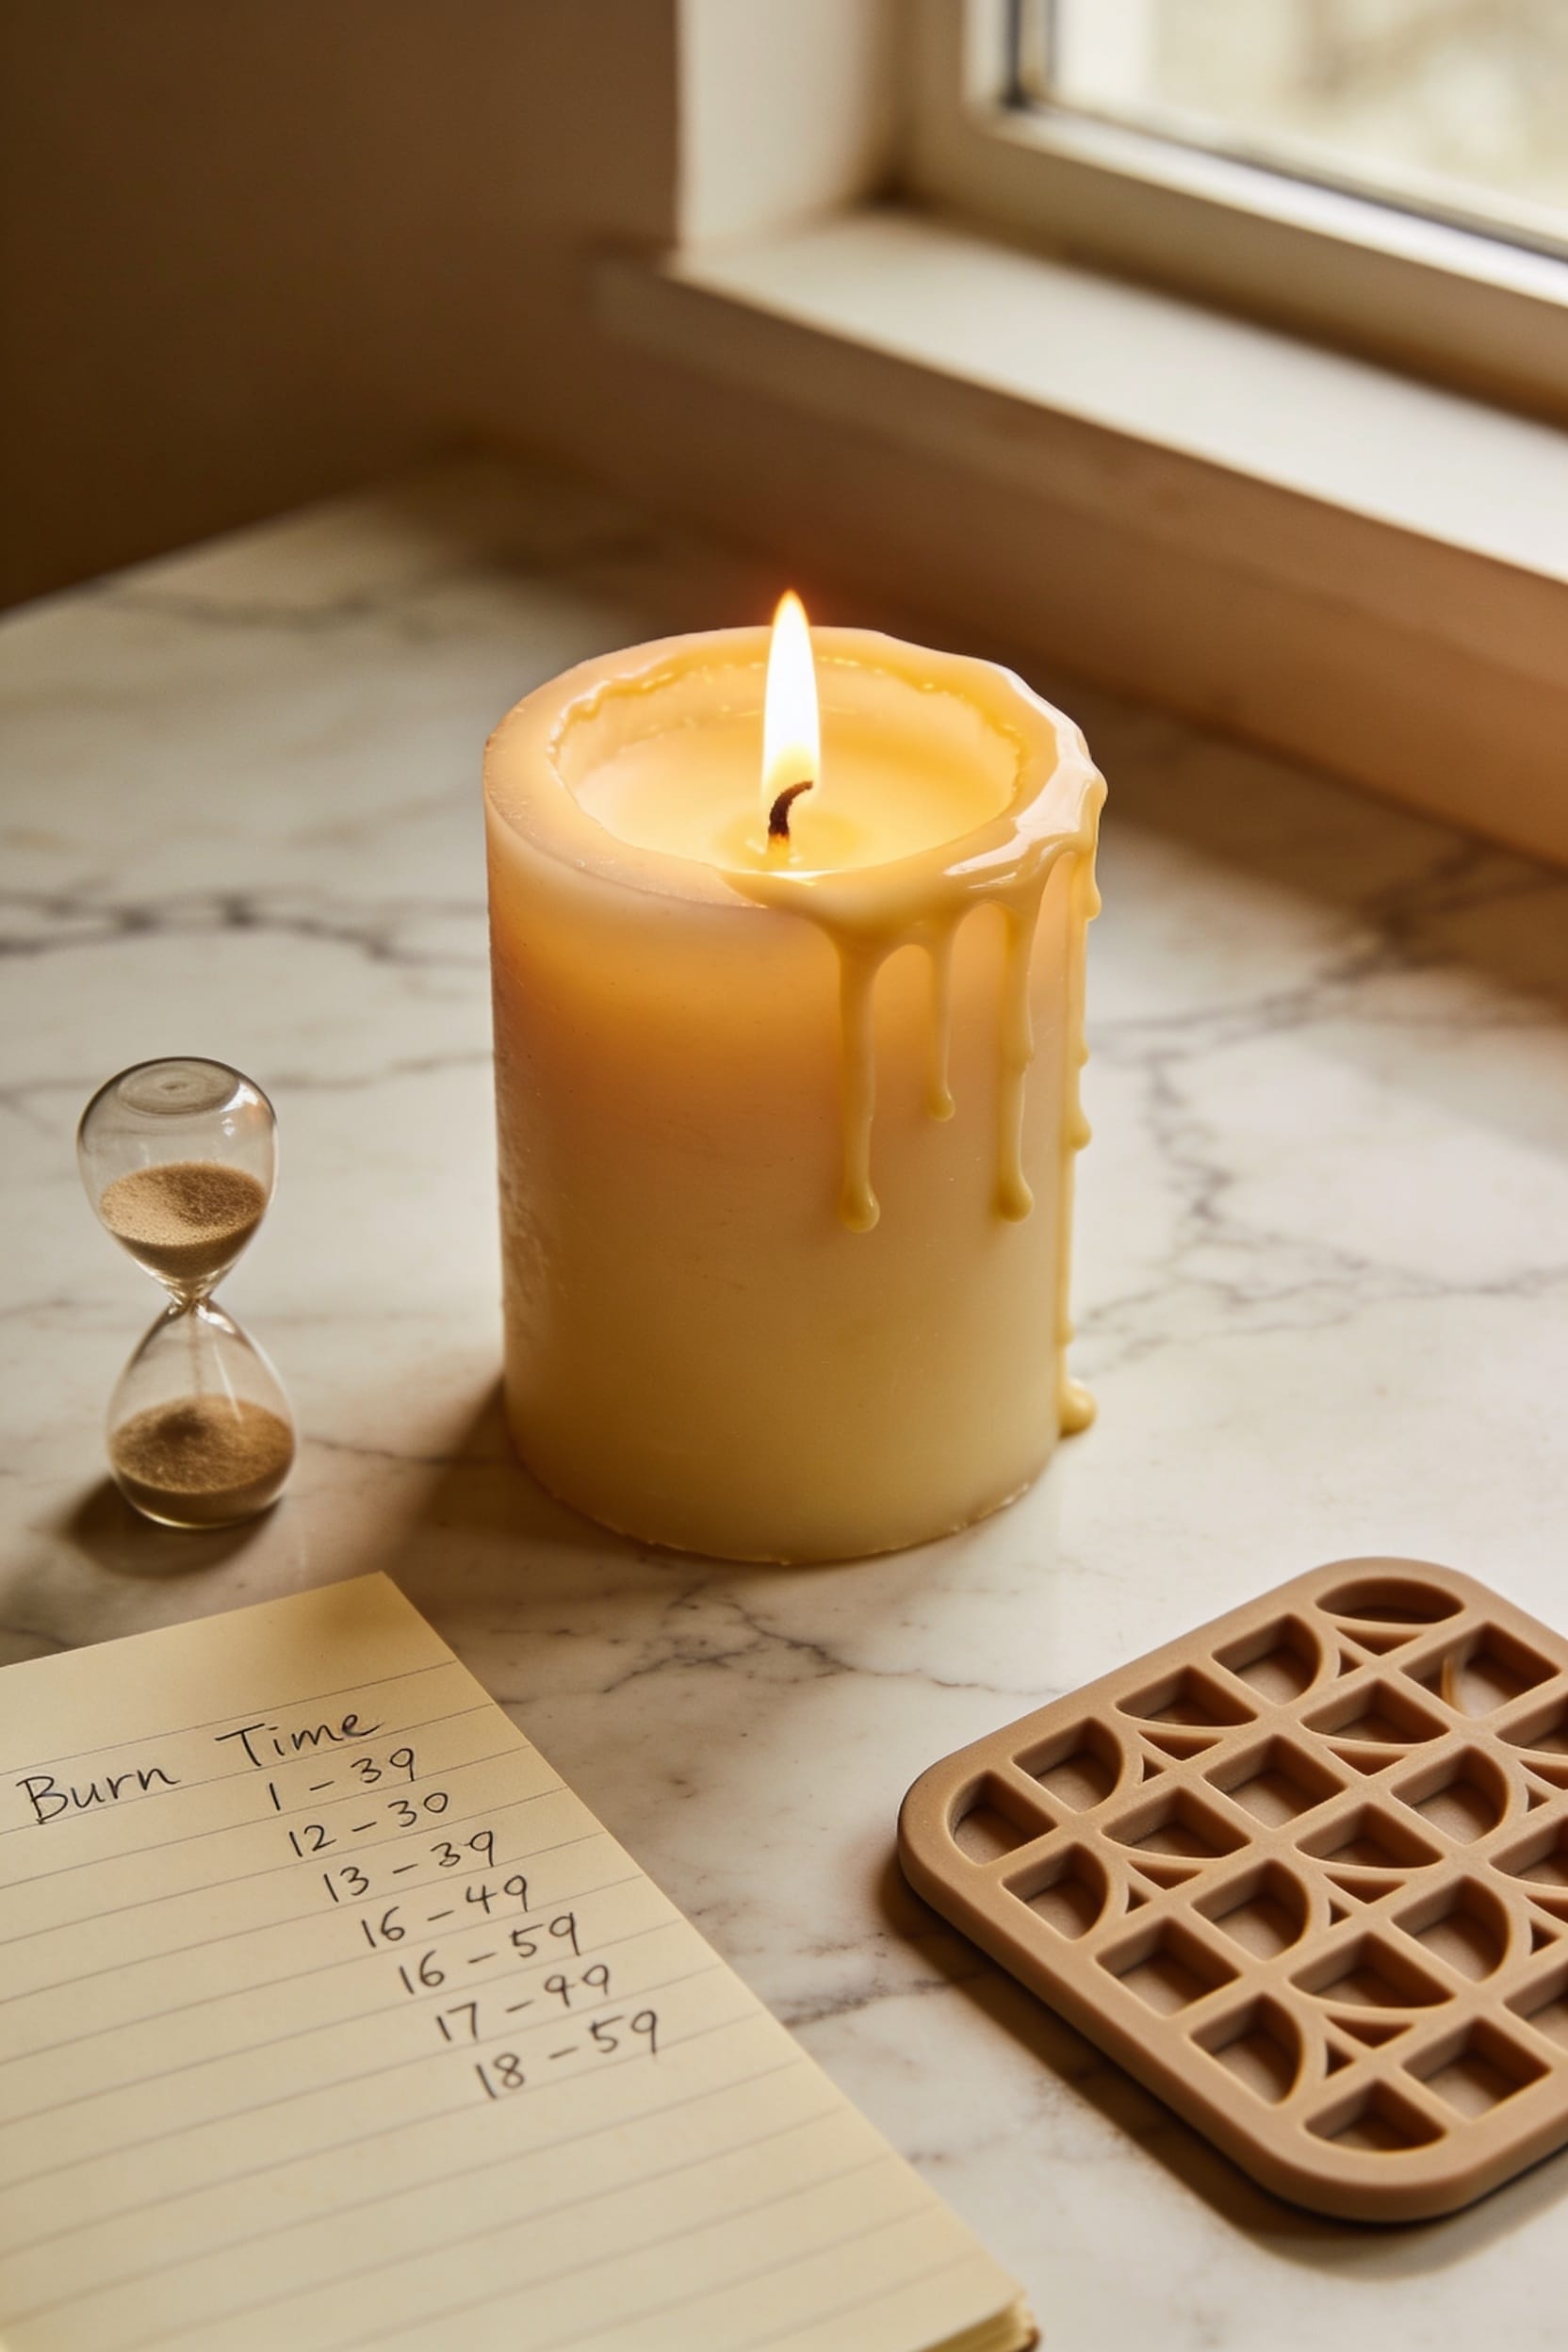
Once you’ve nailed that first burn, the real work is managing how long your candle stays lit—because honestly, it’s where most people slip up. The maximum duration you should burn any candle is three to four hours at a time. I know that feels short, but trust me, it prevents mushrooming wicks and excessive soot buildup. After you extinguish it, give your candle a proper cooling interval of at least two hours—preferably longer—before relighting. This lets the wax solidify completely and prevents tunneling. Stop burning when roughly half an inch of wax remains at the bottom. Follow your candle’s specific manufacturer instructions too; some premium varieties have different requirements. Respecting these timing rules transforms your burn experience entirely.
Recommended Products

Beautiful flameless candles are made from 100 percent real paraffin wax

Large TV Compatibility: This stylish fireplace TV stand comes with a 68.11 in wide desktop, which can accommodate TVs up to 80 inches,The TV stand desktop comes with 2 standard sockets and 2 USB ports, allowing you to power your TV or other electronic devices at any time. The combination of fashion and function makes your daily life more convenient. The media console is suitable for living rooms and bedrooms

TRADITIONAL DESIGN. Drawing inspiration from traditional furnishing and décor, our wide range of traditional style lights incorporate timeless designs that add a touch of elegance and blend in perfectly in your home.
Extinguish Without Smoke or Splashing
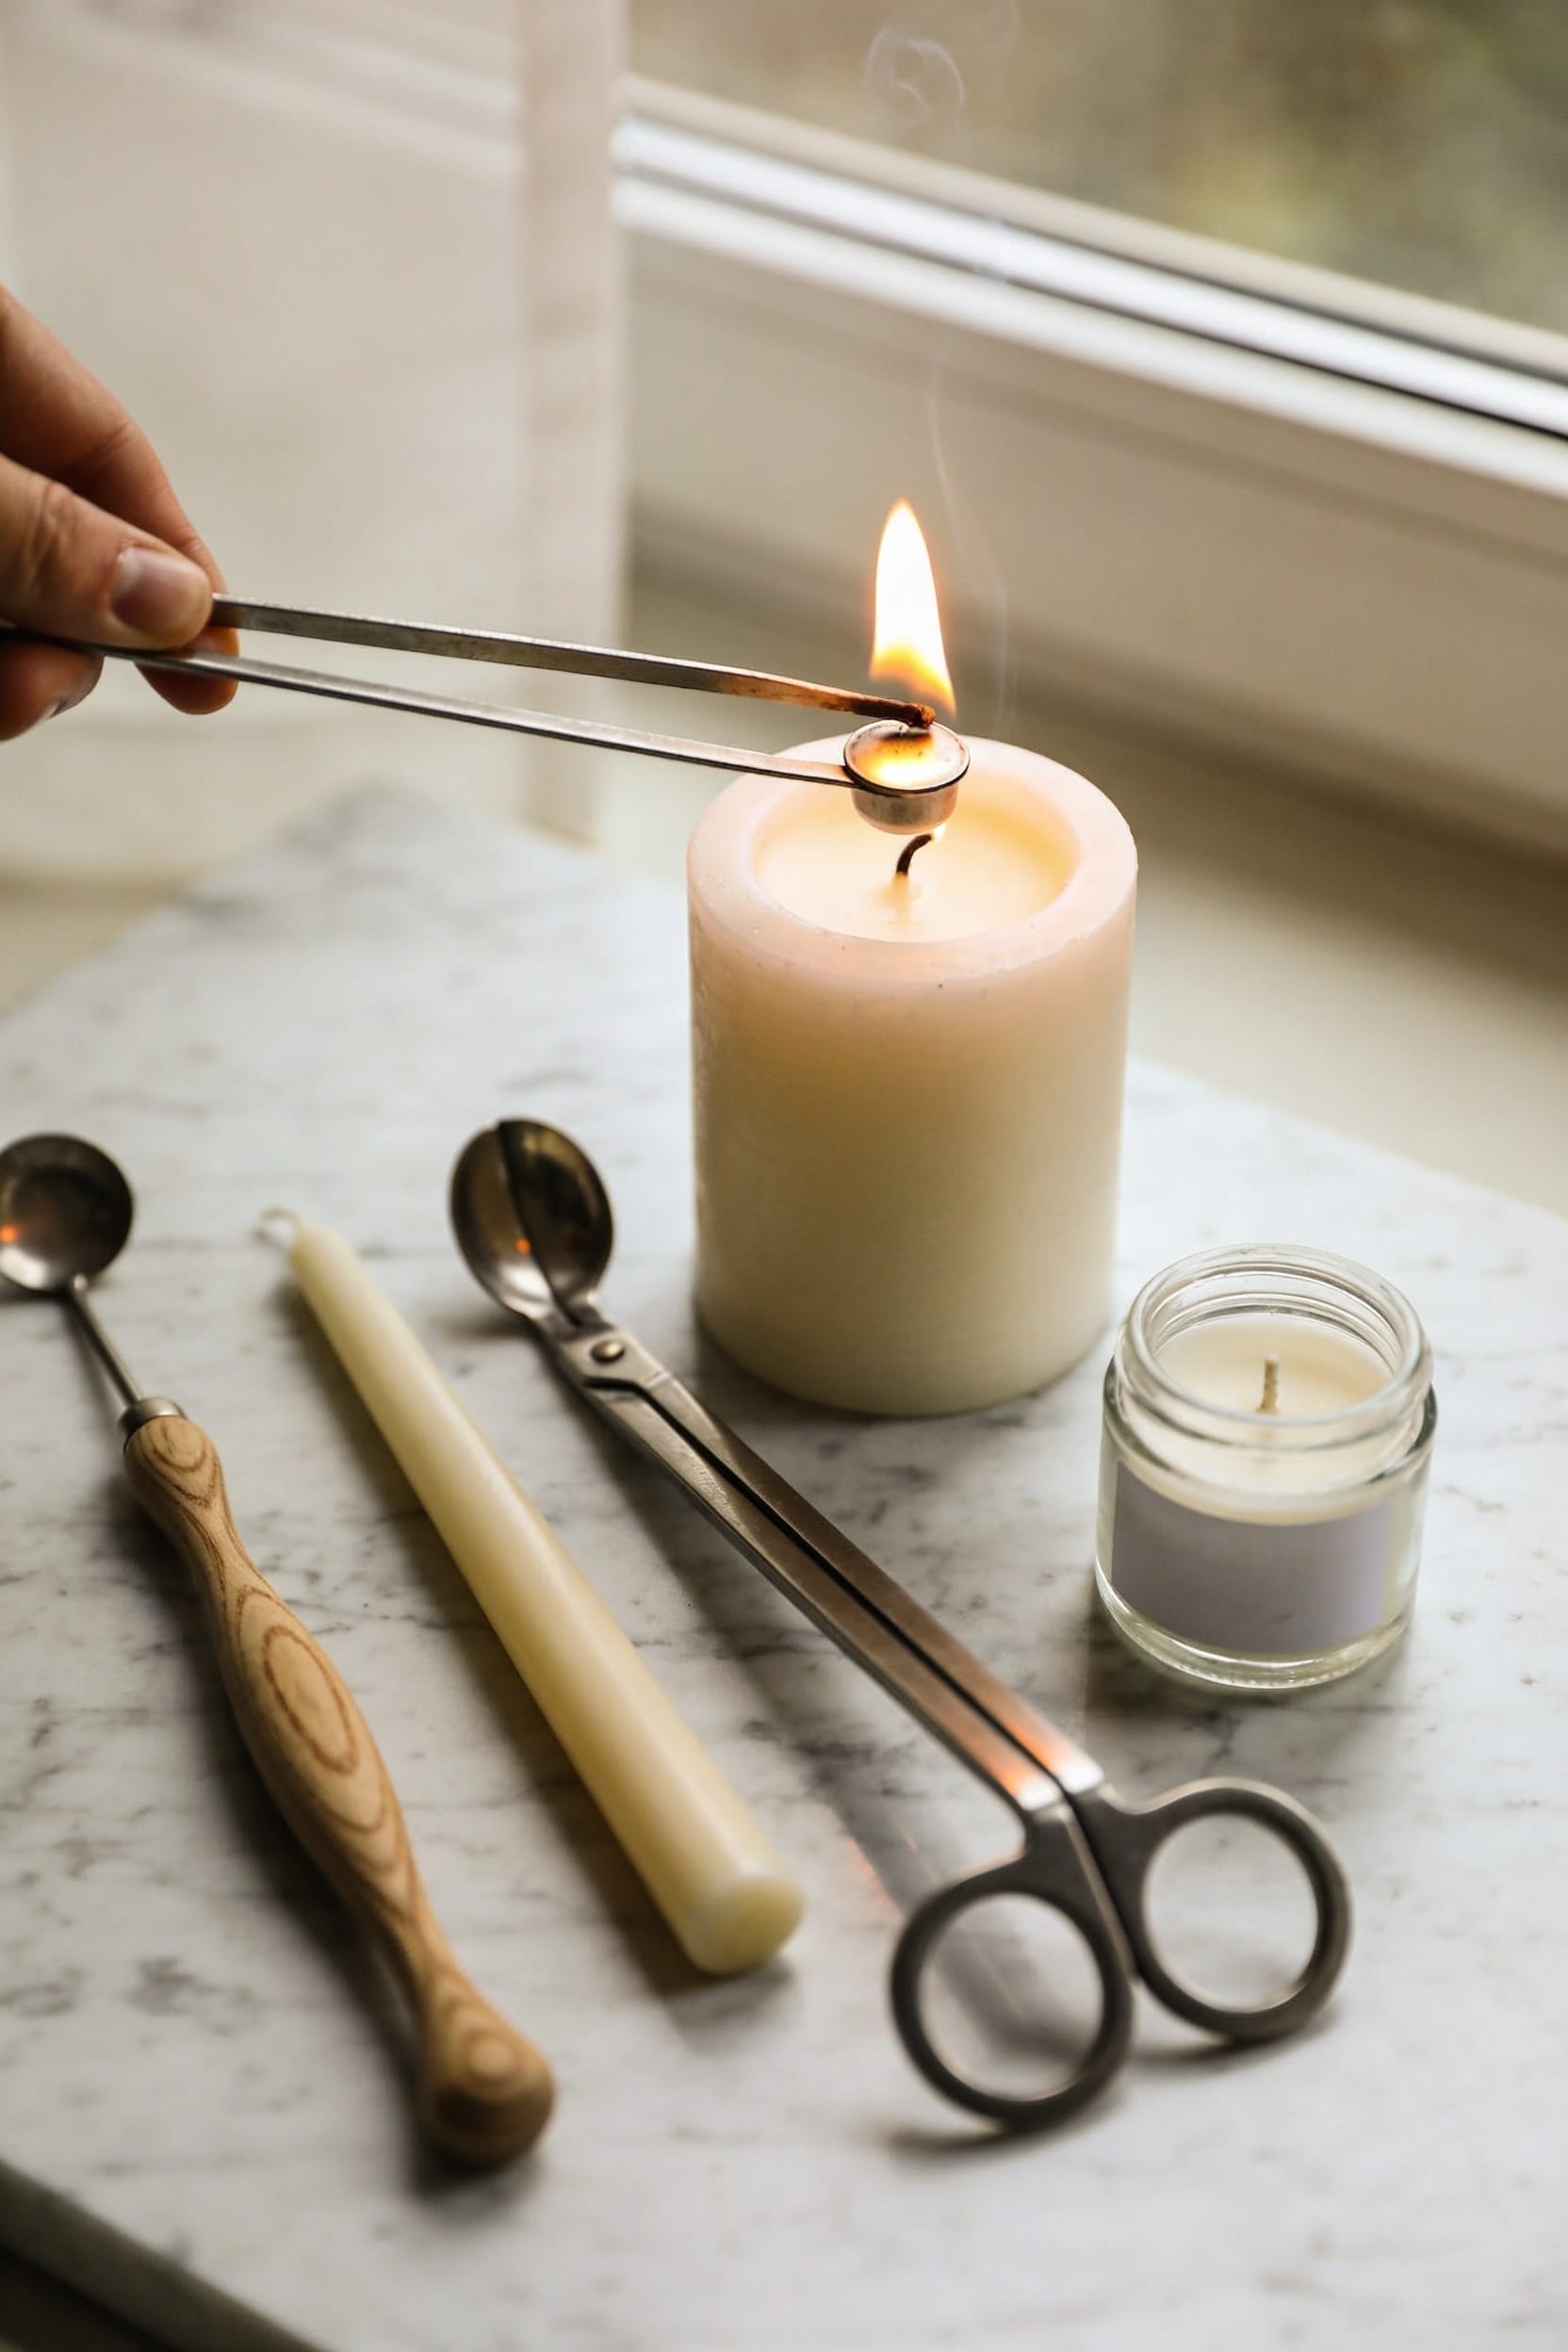
Blowing out your candle might seem like the quickest exit, but I’d urge you to resist—it kicks up smoke, sends hot wax spattering everywhere, and often leaves your wick leaning off-center for the next burn. Instead, invest in snuffer techniques: a proper candle snuffer is your best friend here. Just lower the cone gently over the flame until oxygen cuts off and the fire extinguishes quietly. Alternatively, try the wax safe dipping method—carefully push your wick into the melted wax pool and straighten it back up. You’re effectively suffocating the flame without drama. Never use water, lids, or move a burning candle. These methods protect your wax, your walls, and your sanity.
Fix Tunneling, Soot, and Uneven Burn
Watch your candle burn for the first time, and you’ll quickly spot the difference between a well-behaved flame and one that’s already causing trouble.
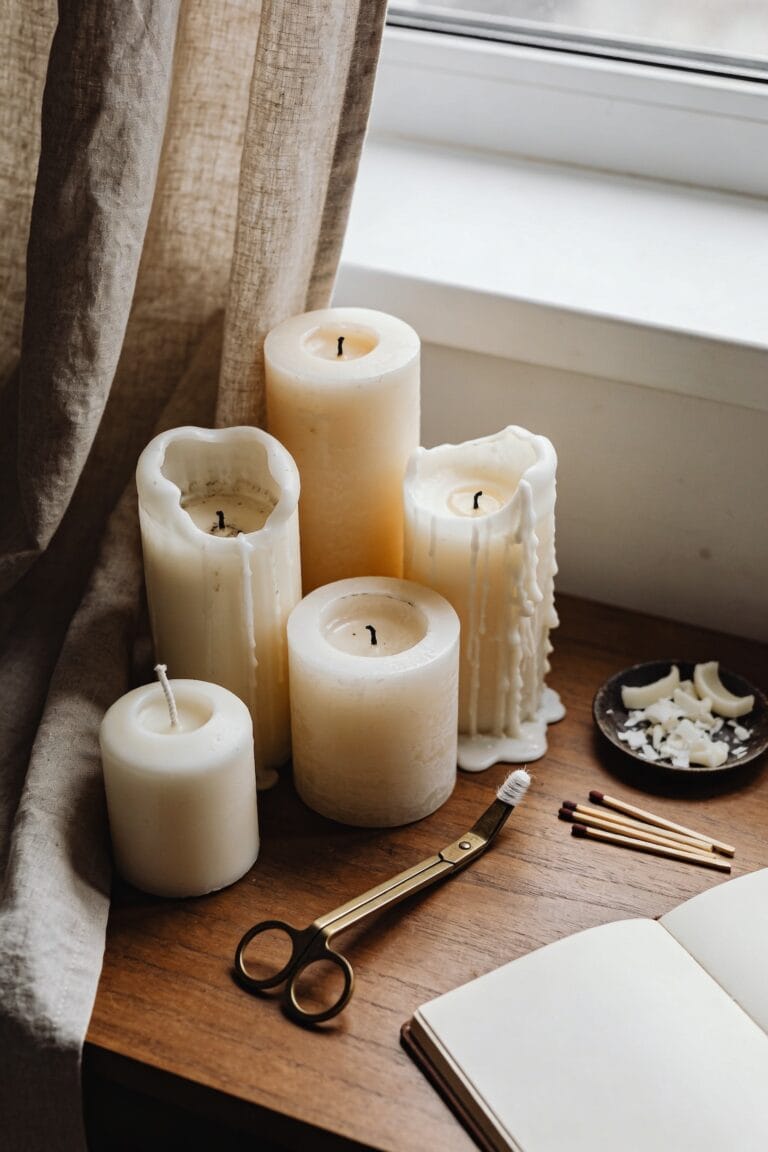
Tunneling—that hollow tunnel down the middle—happens when you don’t let the wax pool reach the glass edges initially. Fix it by burning longer on your first light, or carefully wrapping foil around the top to redirect heat. Soot and uneven burns usually signal a wick that’s too long or your candle’s sitting in a draft. I’ve learned that proper wick conditioning during that first burn matters tremendously.
Some candles benefit from quality wax additives that improve burn performance. Here’s the real talk: trim that wick to 6mm, let it pool completely, and keep it away from air currents. You’ll eliminate most problems right there.
Recommended Products

Perfectly trims wicks to maintain optimal candle burn

[MUXSAM CANDLE ACCESSORY FUNCTION] -- The candle accessory set can provide you with extra candle wick care to make sure you enjoy the best from your candle. Trim candle wick to prevent soot and also add to candle burn time; Snuff candle using a wick dipper to prevent wick smoldering; Snuff tapered candles with bell snuffer to prevent wax flying off tip of the candle, allowing to lengthen the life of candles
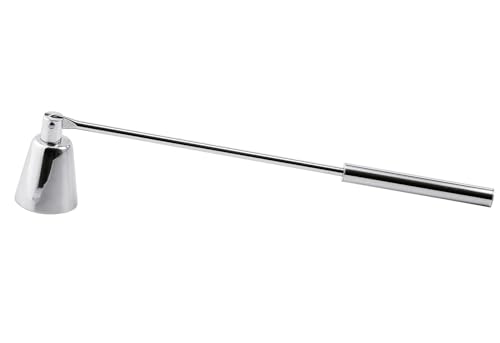
Length: 30 cm
When to Retire Your Candle
Even the best candle’s got an expiration date, and knowing when to call it quits will save you from wasting money on a guttering flame or, worse, dealing with a safety hazard. Here’s the thing: when your candle reaches end of life, you’ll notice the flame struggling to stay lit or the wick drowning in leftover wax. Stop burning once about half an inch of wax remains at the bottom—that’s your cue. For container disposal, let the wax cool completely, then pop it in the trash or compost if it’s soy-based. Glass containers? Wash them out and repurpose them as holders or storage. Discontinue use immediately if you spot cracks, blackening, or excessive soot. Retiring your candle properly keeps you safe and prevents wasteful, disappointing burns.
Frequently Asked Questions
Can I Use a Regular Lighter Instead of Long Matches to Light My Candle?
I’d recommend using a long lighter over a regular one for safety comparison. Long lighters keep your fingers farther from the flame, reducing burn risk. While a regular lighter works, a long lighter provides better protection and control when igniting your candle.
How Do I Know if My Candle’s Glass Container Is Truly Heat-Resistant?
I’d compare checking your glass like testing a diamond’s strength. Look for manufacturer labels stating “heat-resistant” or “borosilicate glass.” I’d avoid thermal shock by ensuring the container withstands temperature changes without cracking during glass testing procedures.
What Should I Do if My Candle Produces Black Smoke Despite Proper Wick Trimming?
If I’m still seeing black smoke after trimming the wick properly, I’ll test other smoke sources like ventilation issues. I’d adjust my candle’s placement away from drafts, fans, and air currents that’re causing incomplete combustion and soot.
Is It Safe to Burn Multiple Candles in the Same Room Together?
You might think multiple candles create ambiance, but I’d caution you. Yes, it’s safe if you space them 30cm apart to prevent heat buildup and scent layering issues. Monitor them closely—never leave them unattended together.
Can I Reuse Leftover Wax From Burned-Out Candles to Make New Ones?
Yes, I can reuse leftover wax from burned-out candles to make new ones. I’ll need to melt the recycled wax carefully and can blend it with scented oils or combine different scented blends for unique fragrance combinations.
Conclusion
I learned this the hard way: I once ignored a tunneled candle for weeks, watching it waste away like a neglected houseplant. That’s when it clicked—candle care isn’t complicated, but it matters. You’re not just preserving wax; you’re protecting your home and getting your money’s worth. Follow these steps, and you’ll burn smarter every single time.