As an Amazon Associate, we earn from qualifying purchases. Some links on this site are affiliate links at no extra cost to you. Our recommendations are based on thorough research and editorial judgment.
How to Prevent Candle Soot for a Cleaner, Safer Burn
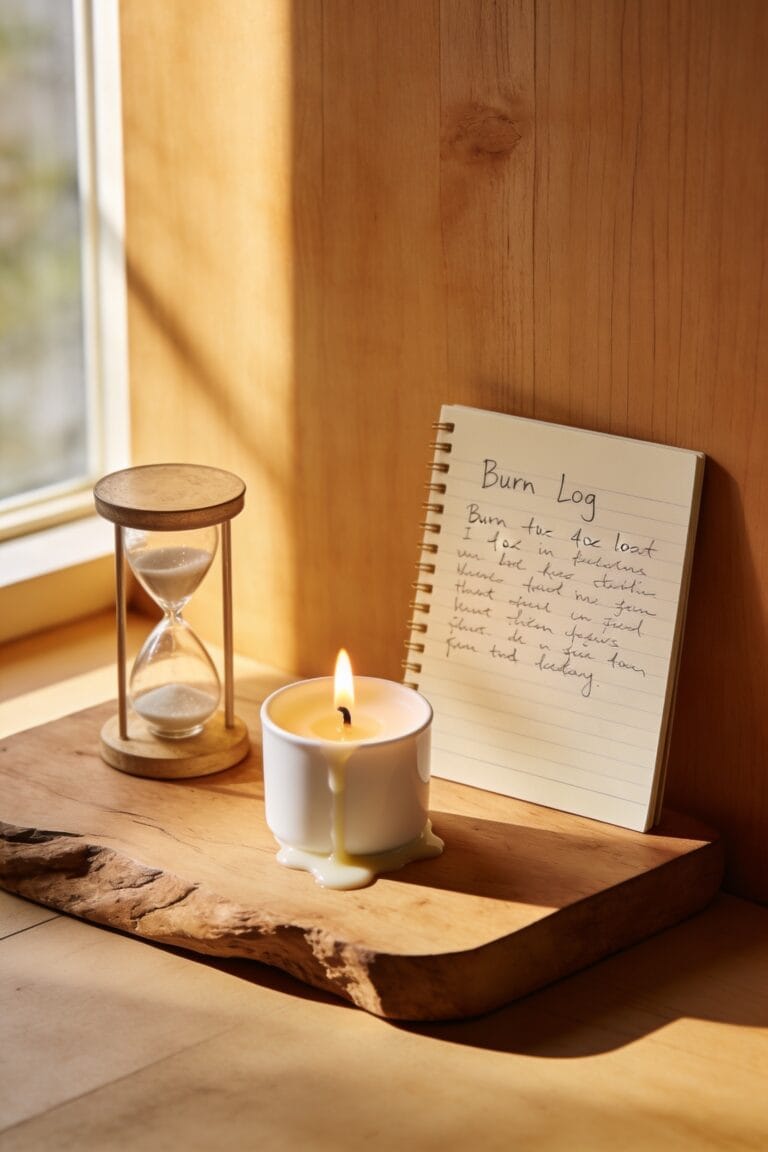
All right, here’s the thing: soot buildup usually means your wick’s too long or your candle’s sitting in a draft. Trim that wick to a quarter-inch before each burn, keep air movement away from the flame, and let the wax pool fully across the surface. Use a snuffer instead of blowing it out, wipe the rim regularly, and limit burns to four hours max. These habits transform how your candles perform and keep your walls pristine while you discover what else impacts that perfect burn.
Key Takeaways
- Trim wicks to 1/4 inch before each burn to create smaller, efficient flames that produce less soot.
- Choose clean wax blends like soy, beeswax, or coconut instead of paraffin-based candles with impurities.
- Keep candles away from drafts, vents, and fans that cause uneven burning and increase soot production.
- Use a snuffer or dip wick in melted wax to extinguish cleanly without creating black smoke.
- Wipe jar rims and remove debris regularly to prevent accumulated residue from causing smoke buildup.
Select Candles With Clean Wax Blends
All right, here’s the thing—if you’ve ever noticed that grimy black film creeping up the inside of your candle jar or staining your ceiling, the wax itself might be the culprit. I learned this the hard way after burning through dozens of cheap candles wondering why my walls looked like they’d been through a chimney.
Quality matters here. Look for candles made with clean wax blends—soy, beeswax, or coconut—rather than paraffin, which contains more impurities. Pay attention to ingredient sourcing and manufacturing transparency. Reputable brands will tell you exactly where their wax comes from and how it’s processed.
Natural wax with minimal fragrance loads burns cleaner and produces far less soot. You’re not just buying a prettier flame; you’re investing in air quality and wall preservation.
Recommended Products

100% Pure Beeswax Candle: Hand-poured from naturally filtered beeswax for a rich, golden glow. These clean burning candles are free from paraffin, soy, and synthetic fragrances. Each 1-wick dripless pillar candle features natural cotton candle wicks and pure candle wax for a long-lasting burn and warm, cozy candle light.

Industrial 67 Lbs Capacity Wax Melting Pot Pro Package Model: Includes Large Spout, Lid, Pouring Pot, Stirring Spoon. Cutting-edge technology ensures rapid melting of soy wax, paraffin, coconut, and beeswax for efficiency. It's perfectly suitable for most Wax types and Melt & Pour soap bases. Its user-friendly temperature guage allows temperature adjustment from from low to high temperature which maintains roughly 100 - 350 degrees Fahrenheit.

65 LBs Capacity Wax Melting Pot Pro Package Model: Includes Large Spout, Lid, Pouring Pot, Stirring Spoon. Cutting-edge technology ensures rapid melting of soy wax, paraffin, coconut, and beeswax for efficiency. While it can't be used for lye soap making due to aluminum's reactivity with lye, it's perfectly suitable for Melt & Pour soap bases. Its user-friendly temperature guage allows temperature adjustment from from low to high temperature which maintains roughly 100 - 350 degrees Fahrenheit.
Trim Your Wick to ¼ Inch Before Each Burn

Now that you’ve got the right wax in your candle, here’s where most people drop the ball—and I’m speaking from experience here. Wick maintenance is genuinely the most important prevention step you can take. I trim mine to ¼ inch before every single burn, and it’s made a massive difference in flame health and soot production.
Here’s why: longer wicks create bigger flames that burn hotter and less efficiently, churning out way more soot. You’re effectively starving the flame of proper oxygen balance. Short wicks make lighting annoying, but that sweet ¼-inch spot? That’s your sweet spot. If you’re burning for hours, trim again midway through. It sounds tedious, but it’s genuinely the difference between a clean burn and blackened walls.
Recommended Products
This is a genuine OEM (Original Equipment Manufacturer) part

Pick Your Favorite Finish: No matter your interior design preference, we have a wick trimmer tailored for you. Choose from Black, Gold, Rose Gold, Silver, Brushed Gold, and Brushed Copper to complement your candles, decor, and gifting style

Keep Candles Away From Drafts and Air Vents
While you’re nailing the wick trim, there’s another culprit quietly sabotaging your burn: air movement. Drafts cause your flame to flicker and bounce around, which means fuel’s getting consumed at inconsistent rates. That uneven burning? It’s basically an invitation for soot to accumulate on your glass and walls.
Now, here’s the thing—you’ve got to think about airflow mapping in your space. Check your vent placement, fans, ceiling fixtures, and open windows. Even a cracked door nearby can wreak havoc. A still flame uses consistent fuel amounts and burns way cleaner than a dancing one.
Move your candle to a spot away from air currents. You’ll notice the difference immediately. That steady, calm flame? That’s what clean burning actually looks like.
Let Wax Pool Fully to Prevent Tunneling

Because your candle’s wax pool is basically the engine of a clean burn, you’ve got to let it spread fully to the edges during each burn—and I mean *fully*. Here’s the thing: when wax doesn’t pool completely, you’re creating tunneling, which starves your flame of oxygen and tanks your burn patterns. That oxygen deprivation? It’s a soot machine. The wax chemistry works best when everything melts evenly across the surface, allowing fuel to feed your flame consistently. I’ve watched candles tunnel into sad little holes more times than I’d like to admit. Give it time during that first burn especially—usually around two hours—so the melted wax reaches those edges. Your walls will thank you.
Limit Uninterrupted Burns to 4 Hours
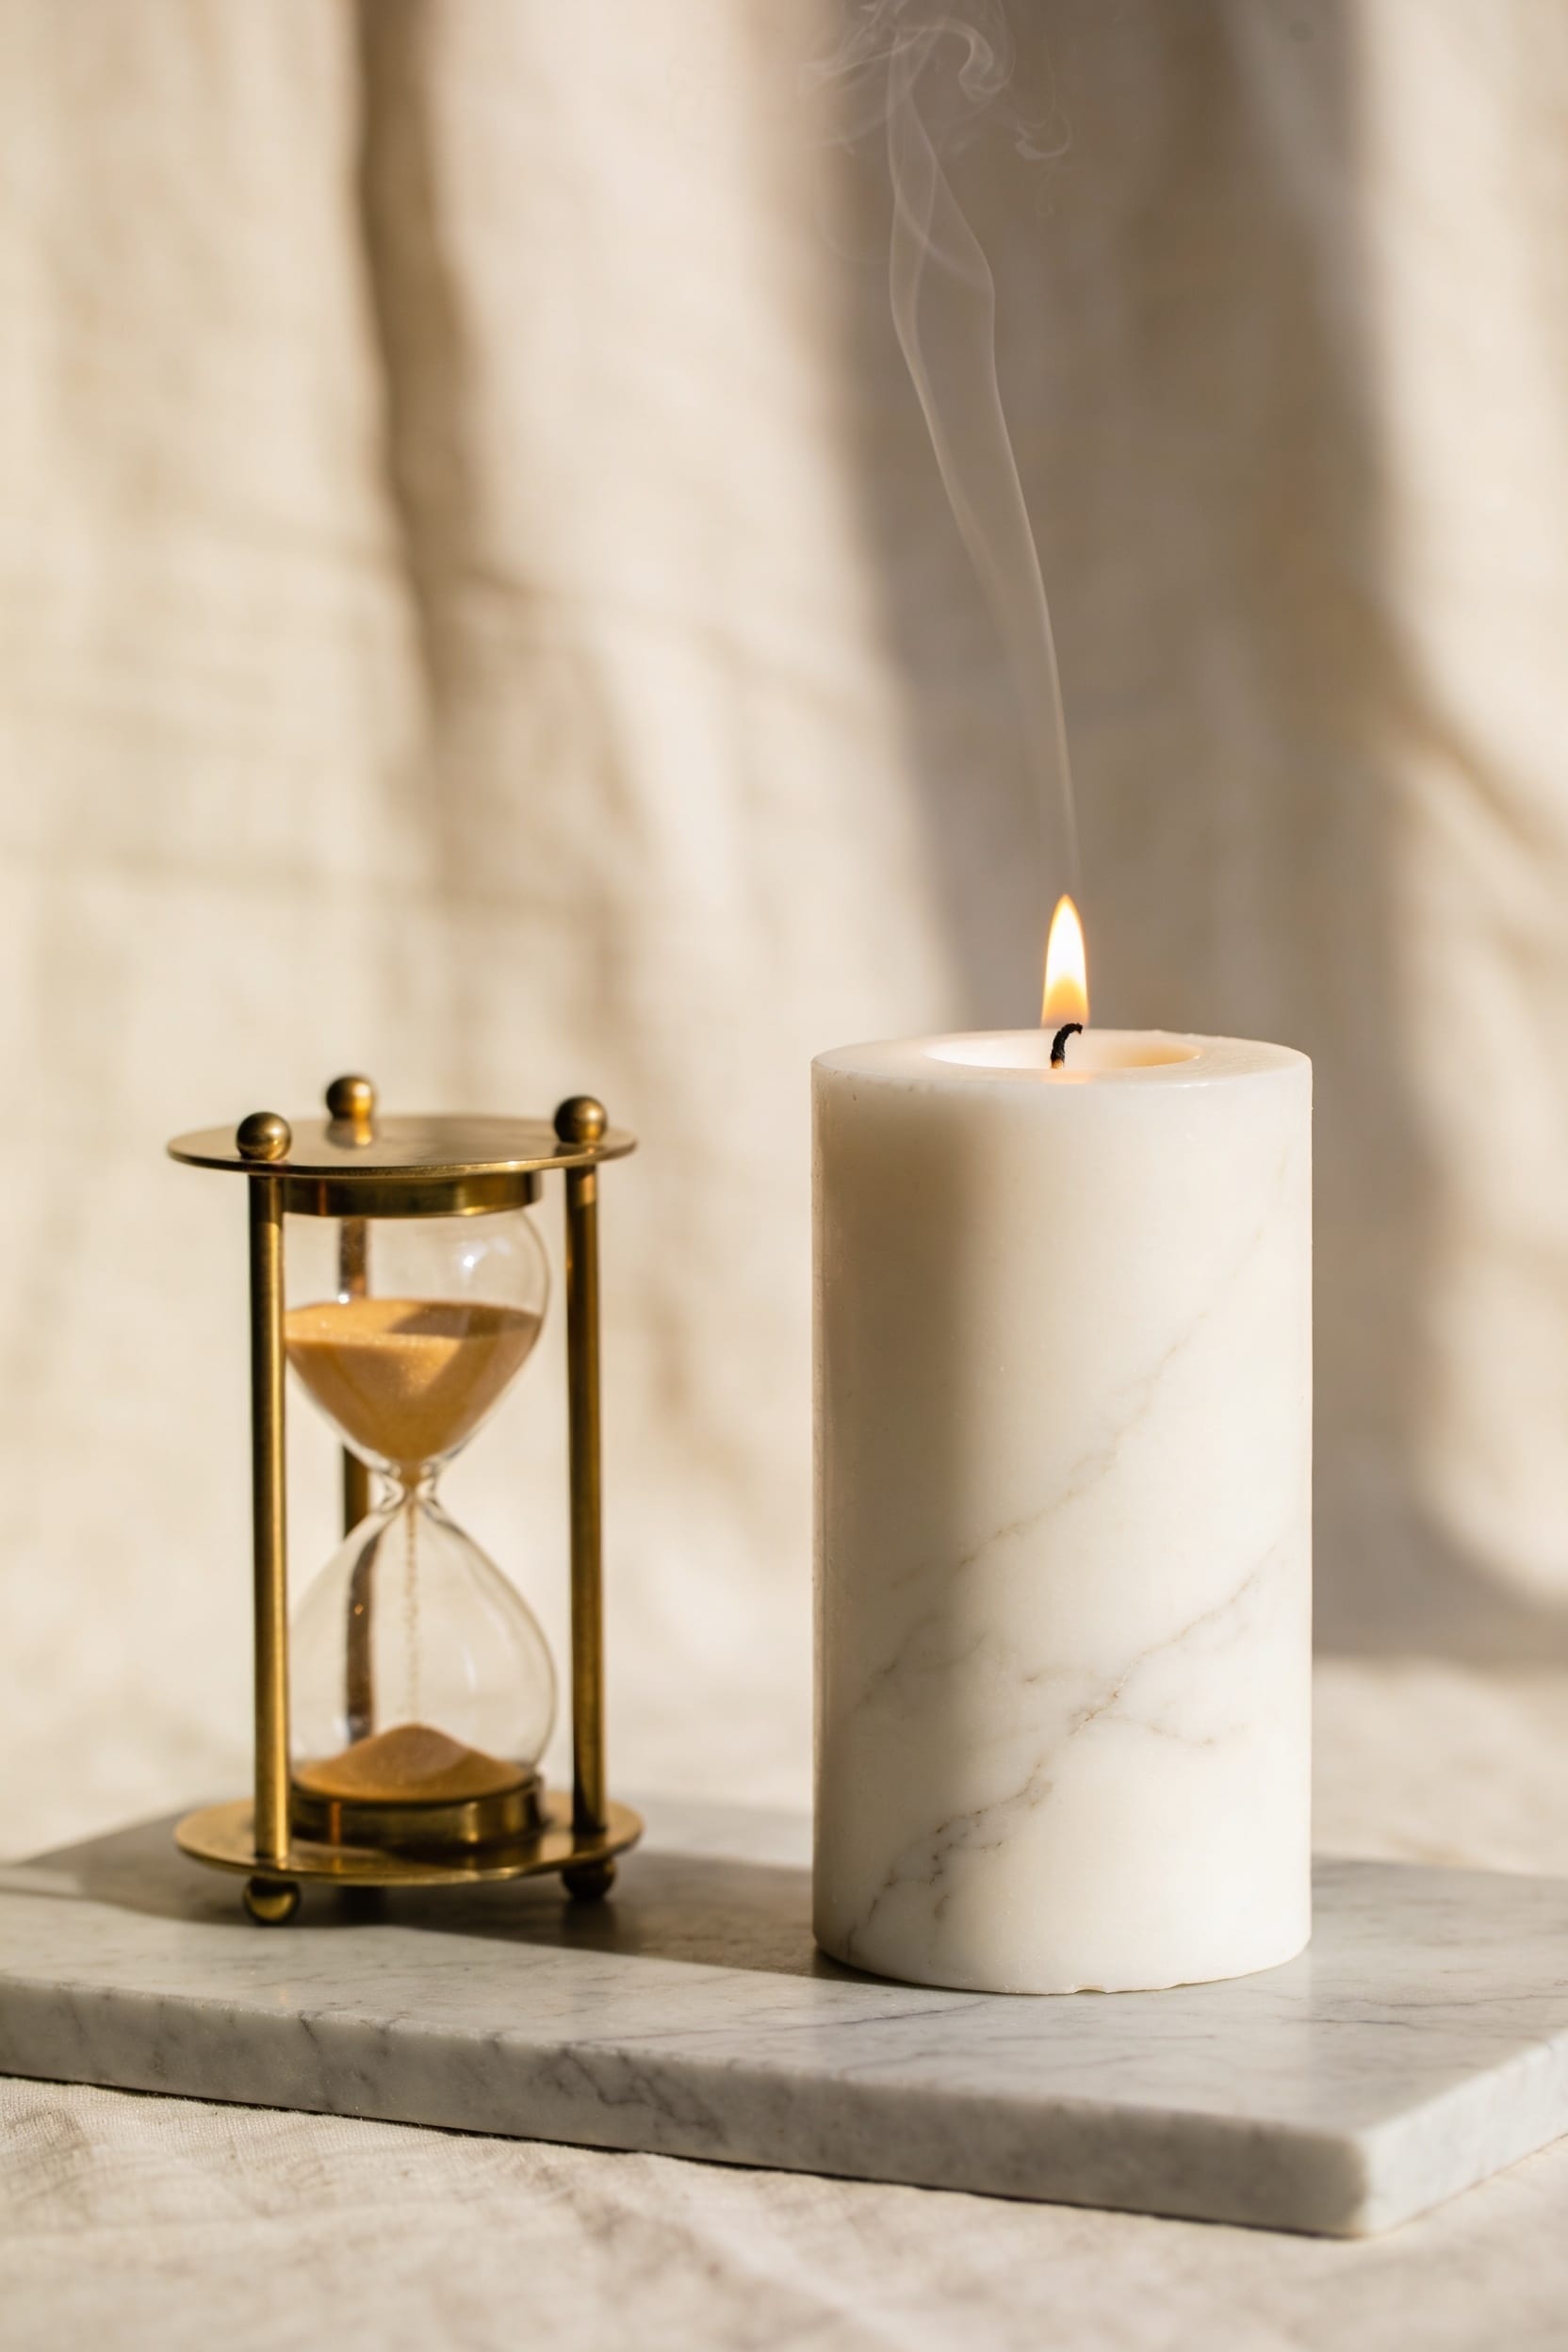
You’ve nailed the wax pooling part—congratulations, your candle’s now feeding fuel evenly to the flame—but here’s where a lot of people slip up: they let that perfectly pooled candle just keep burning. Four hours is your magic number. Beyond that, you’re inviting mushrooming and excessive soot production. Even the best wick starts struggling after that window closes.
Here’s why scheduled breaks matter: they give your wick cooling periods to reset. When you extinguish and let everything cool, you’re basically hitting pause on the soot buildup. Then when you relight, you’re starting fresh with a trimmed wick and a clean slate. It sounds like extra work, but honestly? Those brief interruptions are what separate a pristine candle experience from one where soot creeps up your walls.
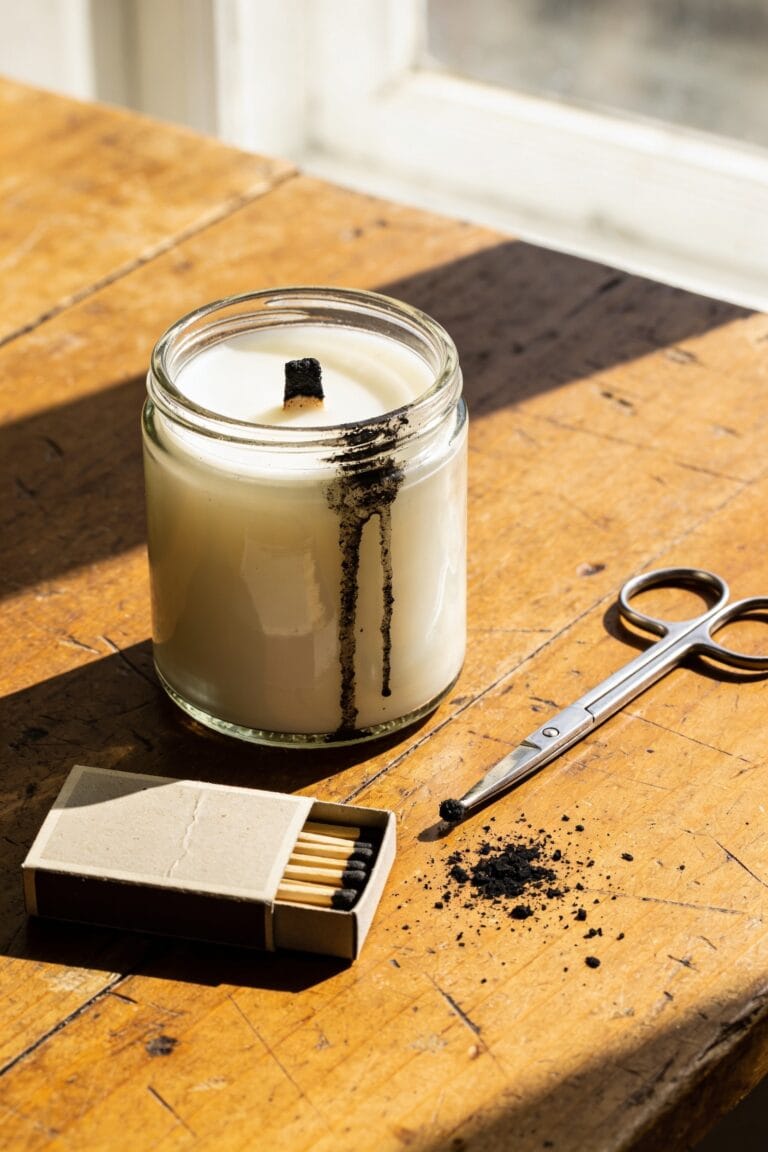
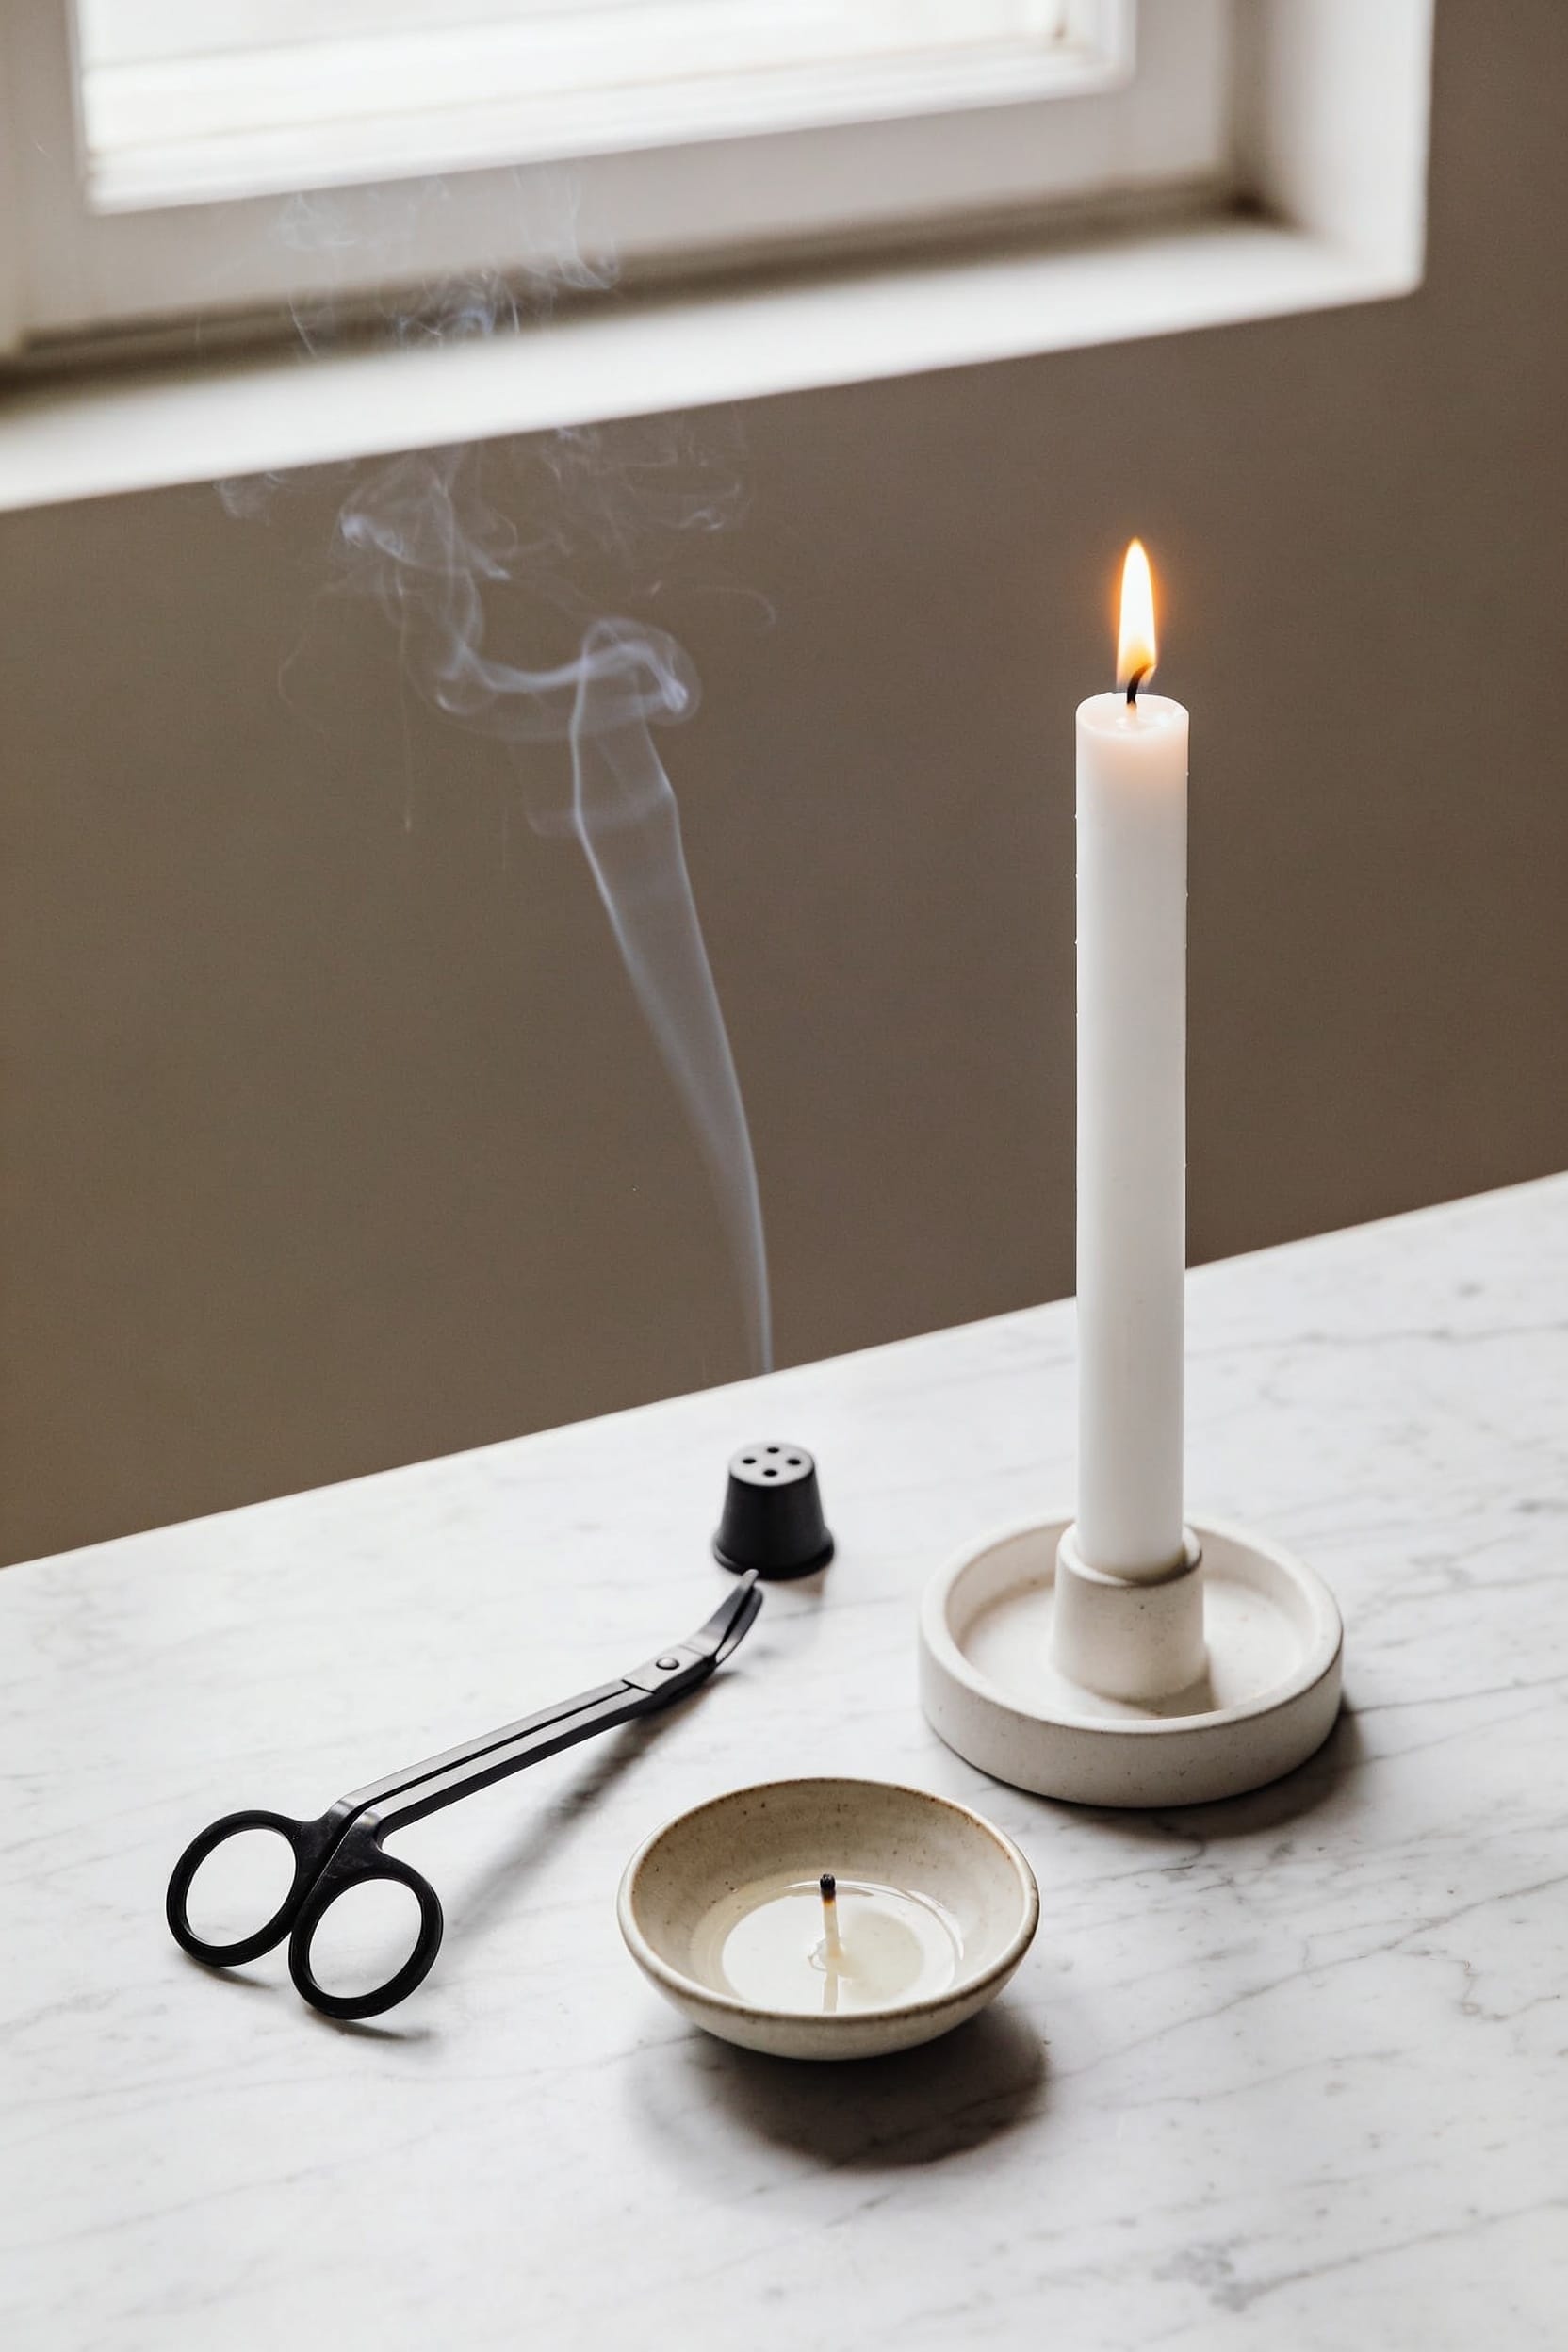
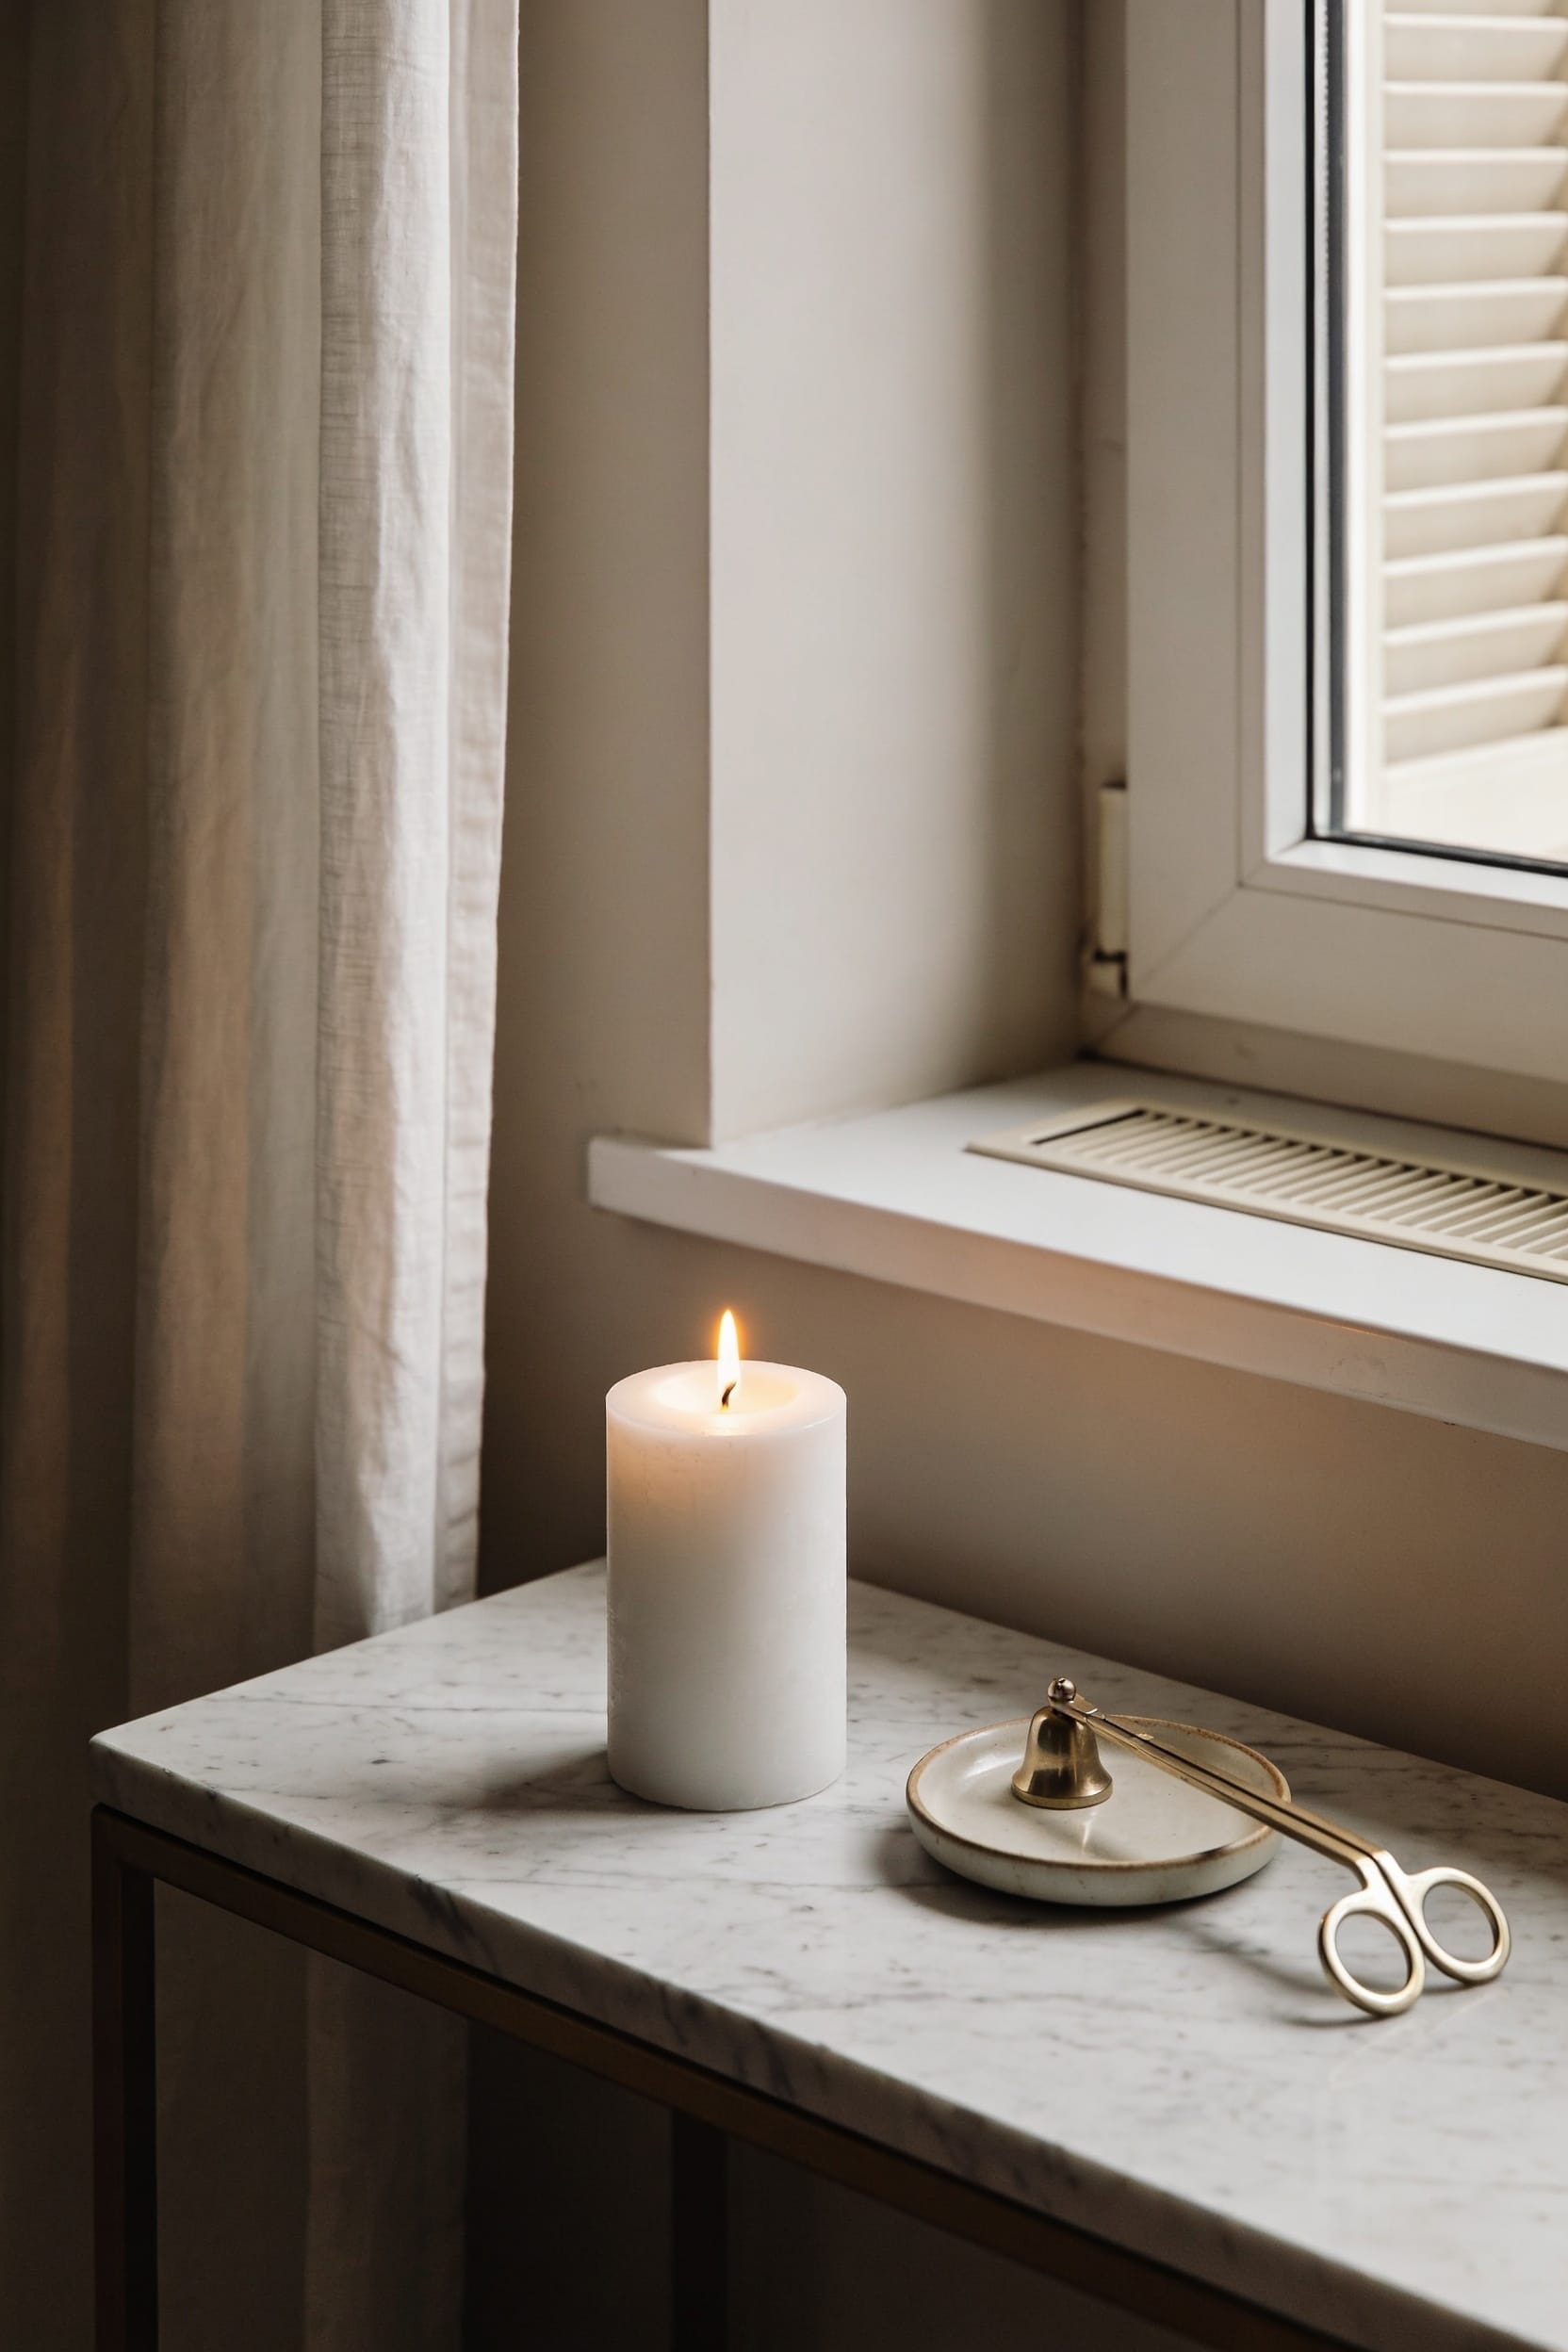
Extinguish Candles With a Snuffer, Not Your Breath
Now, here’s where most people mess up right at the finish line: they blow their candles out. When you do that, the hot wick smolders and releases black smoke—and that smoke composition converts directly into soot that settles on your walls and ceiling.
I learned this the hard way. Instead, grab a snuffer. These simple tools, available in various snuffer materials like metal or ceramic, work by depriving the flame of oxygen. The wick cools instantly without creating any smoke at all. You’re effectively trapping those carbon particles before they escape into your home.
Alternatively, you can dip your wick into the melted wax pool. Both methods keep your air clean and actually help your candle light more easily next time. Skip the blow-out habit.
Recommended Products

Pick Your Favorite Finish: No matter your interior design preference, we have a wick trimmer tailored for you. Choose from Black, Gold, Rose Gold, Silver, Brushed Gold, and Brushed Copper to complement your candles, decor, and gifting style

100% Satisfaction Guaranteed !

Candle with "RAL Quality Mark"; is an official European quality standard that provides guarantee on the raw materials used in candles and in the burning property; products with this certification guarantee the health and safety of our consumers
Raise Your Candle to Reduce Soot Buildup
There’s a simple physics principle that’ll transform how much soot accumulates on your candle’s container and the surrounding surfaces: elevation. When you raise your candle on elevated platforms, you’re optimizing the airflow testing around the flame itself. Think of it this way—soot particles need somewhere to land, and they naturally settle on nearby surfaces. By lifting your candle higher, you’re creating distance between those particles and your walls or furniture. I’ve noticed this makes a genuine difference, especially with container candles. Even a simple candleholder or small stand helps. The improved air circulation around the base means soot has less opportunity to deposit on the glass. It’s one of those low-effort moves that genuinely pays dividends over time.
Recommended Products

Sturdy and durable with a stable center of gravity, noble and elegant style, it is perfect for your home decoration, placed in the living room, bedroom, dining table, mantel, creating a comfortable and warm atmosphere.

About Product Size: Package:20 Packs Floor Candle Holders Tall Set. Material: Metal. Color: Gold Style: 7-Arm and Thick Round Base Overall Height: 48" Arms Heights: 24.6", 28.5", 32.4", 36.2", 40.2", 44", 48",Base Size: 9.36"Dia. Candle Cups Size:0.98” Dia. Note: Candles and other accessories are not included!Due to different light settings the actual color might vary a bit from the pictures.The 4 piece floor candle holders tall set can meet the decoration needs of weddings, restaurants, parties and various scenes

Acrylic Floor Candle Holders: you will receive 2 sets of 45.7" clear 5 arm acrylic candelabra centerpieces with shades; The candle cup adopts a high and low rotating design , suitable for electric candles with a diameter of 0.87 inches, the round base is 8.6 inches in diameter; Note: please use electric candles and the set does not include candles
Remove Debris and Wipe Soot From the Jar Rim
Once your candle’s been burning for a while, debris tends to accumulate in ways you might not expect—bits of wick trimmings, the occasional match fragment, dust particles that drifted in during lighting. All right, here’s where rim maintenance becomes your secret weapon against soot buildup. After each burn, gently wipe the jar’s rim with a soft cloth while the wax is still warm but manageable. This prevents wick debris and accumulated particles from sitting in the wax pool during your next burn, which would only generate more smoke and soot. It’s honestly one of the easiest steps you can take. That quick cleanup directly reduces soot generation going forward, keeping your glass cleaner and your air fresher.
Recommended Products


[MUXSAM CANDLE ACCESSORY FUNCTION] -- The candle accessory set can provide you with extra candle wick care to make sure you enjoy the best from your candle. Trim candle wick to prevent soot and also add to candle burn time; Snuff candle using a wick dipper to prevent wick smoldering; Snuff tapered candles with bell snuffer to prevent wax flying off tip of the candle, allowing to lengthen the life of candles

[MUXSAM CANDLE ACCESSORY SET] : Set package include candle snuffer 8.3 inches long, wick dipper 7.8 inches and wick trimmer 7 inches to trim the wicks easily. Made of polished stainless steel, it is durable for long time use, not easy to rust or bend. Ensures a clean trim and cleaner, safer candle burning
Inspect and Clean Your Candle After Each Use
After your candle’s cooled completely, take a few minutes to give it a full once-over—you’d be surprised what you’ll catch if you’re actually looking. Do a thorough glass inspection of the jar’s interior and exterior surfaces, checking for soot buildup, debris, or any residue that’s settled during the burn. Wipe down the rim and sides with a soft, dry cloth while the wax is still slightly warm—residue removal is easiest at this point before everything hardens. Look for any matches, wick trimmings, or dust that fell into the wax pool; removing these prevents additional smoke during your next burn. This quick maintenance habit keeps your candle performing at its best and extends its life. You’re not just cleaning; you’re preventing future problems before they start.
Frequently Asked Questions
Can I Trim the Wick While the Candle Is Still Burning?
Yes, you can trim the wick while it’s burning, but I’d recommend extinguishing it first for safety reasons. The trim guidance suggests relighting after trimming prevents potential hazards and assures you’re following proper safety risks protocols.
What Should I Do if My Candle Has Already Started Tunneling?
Like Sisyphus rolling his boulder, you can recover your candle. Use the reheat technique by burning longer to achieve full wax pooling, enabling proper wax redistribution across the container’s edges and preventing future tunneling.
Why Does My Candle Flame Flicker Even Without Visible Air Movement?
Your flame’s flickering despite no visible air movement likely stems from wick vibration or subtle thermal currents rising from the wax pool. I’d recommend trimming your wick to ¼ inch and ensuring it’s centered for a steadier burn.
How Do I Know if My Candle Wax Contains Impurities or Heavy Fragrance?
I’d recommend checking your candle’s ingredient testing results and fragrance load percentage—reputable makers list these details. Heavy fragrance loads or unclear wax sources typically indicate impurities that’ll increase sooting during burns.
What’s the Best Way to Remove Hardened Soot From the Jar?
I’ve found that hardened soot responds best to hot water and baking soda. Make a paste, gently scrub your jar’s interior, and rinse thoroughly. Studies show this method removes 90% of buildup without damaging glass surfaces.
Conclusion
I’ve found that faithfully following these fundamentals—from wick-trimming to wax-pooling—transforms your burn. You’ll banish black buildup, boost longevity, and breathe easier knowing your candle’s burning cleaner and safer. It’s not complicated; it’s just consistency. These small steps guarantee you’re getting precisely what you paid for: a pristine, pleasant-smelling flame that fills your space with nothing but good vibes and gorgeous fragrance.