As an Amazon Associate, we earn from qualifying purchases. Some links on this site are affiliate links at no extra cost to you. Our recommendations are based on thorough research and editorial judgment.

Candle Height Guide: Does Size Affect Performance?
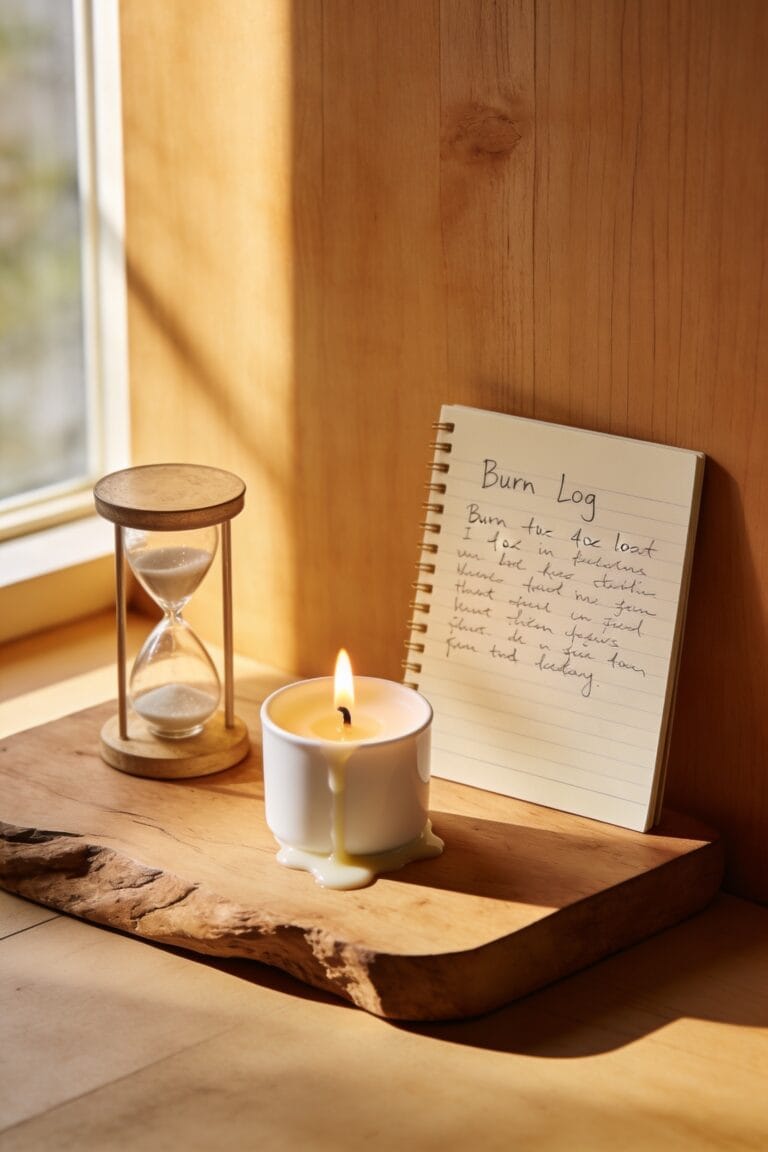
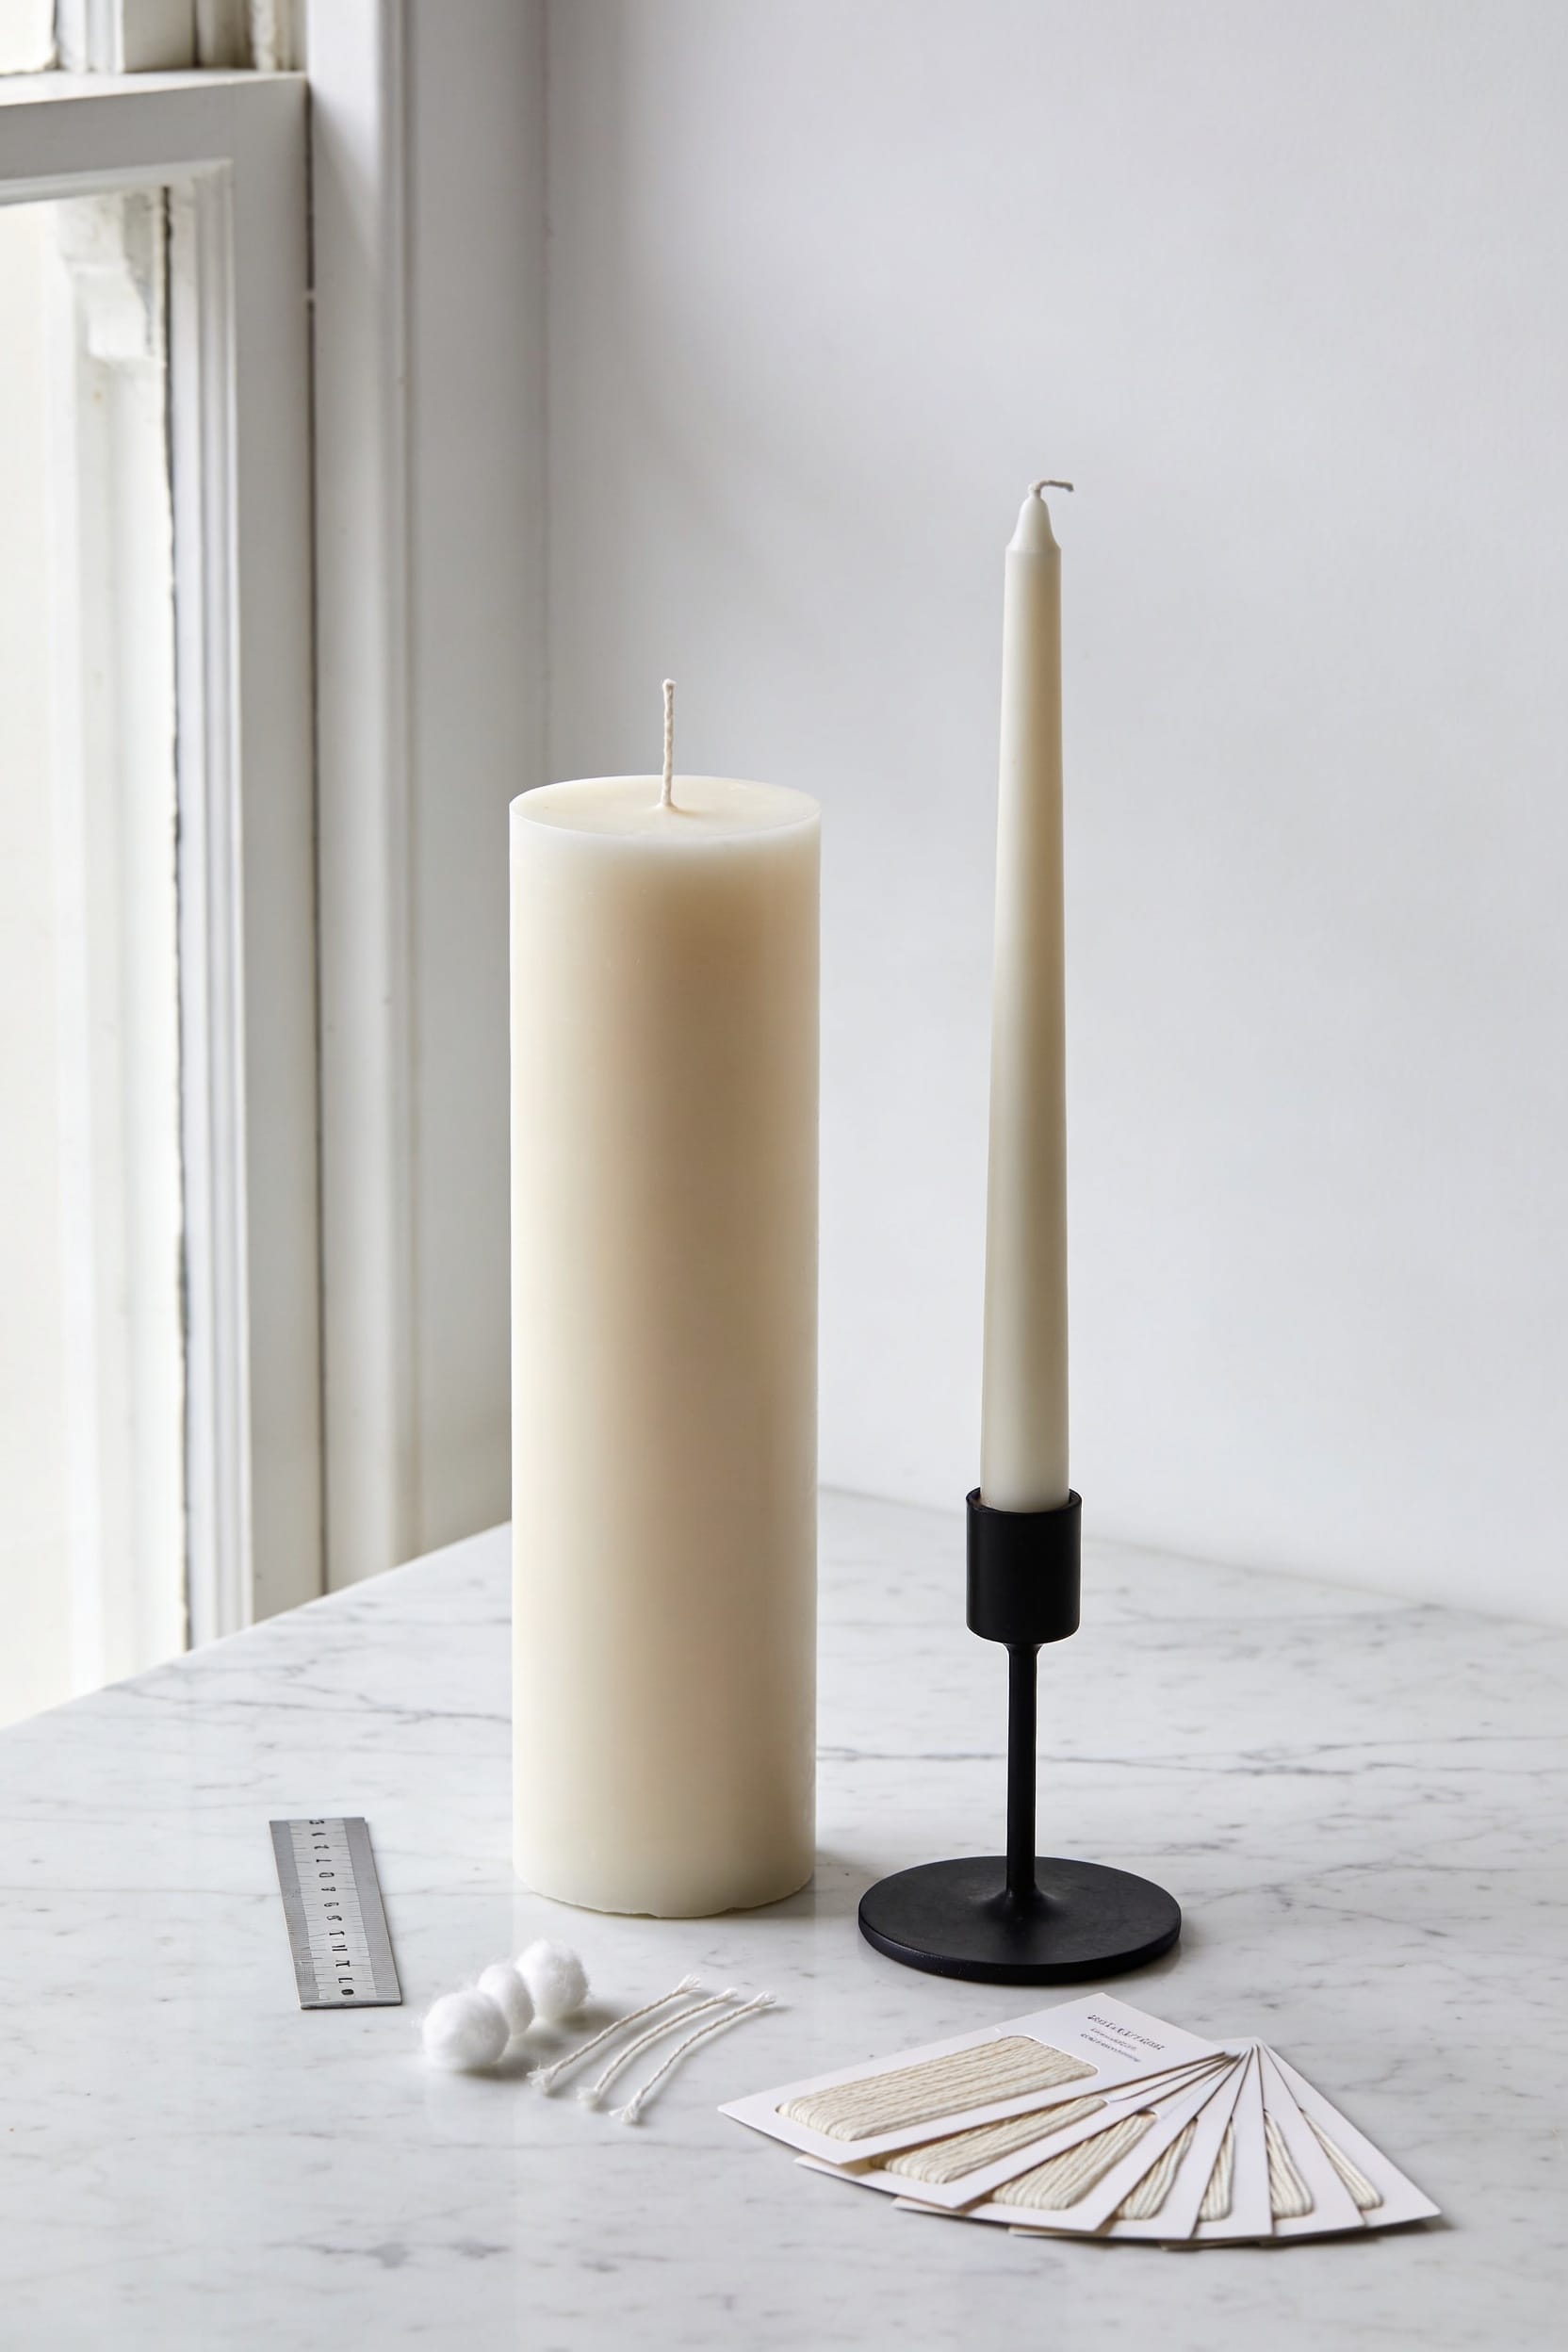
All right, here’s the thing—your candle’s size absolutely affects performance, and flame height is the clearest sign something’s off. Container candles should burn between ½ and 1 inch tall, while larger pillars can go up to 2 inches before you risk overheating and soot. The real culprit? Wick size. Match it wrong to your vessel diameter, and you’ll get tunneling, weak flickers, or aggressive flames that climb dangerously high. Getting this right transforms your entire burn experience.
Key Takeaways
- Vessel diameter directly affects wick quantity needed; 2-inch containers need one wick, 4-inch need two wicks for proper heat distribution.
- Ideal flame height ranges from ½ to 1 inch for container candles and up to 2 inches for larger pillars and tapers.
- Wick size determines capillary action and heat transfer; oversized wicks produce aggressive sooty flames while undersized wicks create weak flickering.
- Incorrect wick sizing causes tunneling or uneven melting; matching wick to both wax type and container diameter prevents performance problems.
- Regular wick trimming to ¼ inch before each burn maintains proper flame height, prevents excessive heat, and eliminates soot buildup.
What Flame Height Should Your Candle Really Reach?
All right, let’s talk about what your candle flame should actually look like, because I’ve definitely spent more time than I’d like to admit staring at flames that were doing absolutely everything wrong.
Here’s the thing: your ideal height depends on what you’re burning. For container candles, you’re aiming for that sweet spot between ½ and 1 inch. Larger pillars and tapers can handle up to 2 inches. The safety limits? Indoor candles shouldn’t exceed 3 inches according to ASTM standards, though most settle around 1 to 1.5 inches for average burns.
When your flame towers higher, you’re inviting trouble—overheating containers, soot buildup, and actual fire risk. If you’re seeing that happen, your wick’s probably too large or too long. Trim it to ¼ inch and reassess.
Why Wick Size Matters

Now, here’s the thing: your wick size is basically the foundation of everything else we’ve been talking about—it’s the reason your flame behaves the way it does, whether that’s towering dangerously or barely flickering at all. The wick controls heat transfer through capillary action, pulling melted wax upward to fuel combustion. Get this wrong, and no amount of trimming fixes it. A wick that’s too thick for your wax type or vessel diameter? You’ll get those aggressive, sooty flames we discussed. Too thin, and capillary action can’t draw enough fuel, leaving you with a pathetic flicker. Matching your wick to your specific wax and container isn’t overthinking—it’s the difference between a candle that performs beautifully and one that disappoints.
Recommended Products

Important Sizing Note: Please double check the size of your balancer shaft before ordering to ensure you get the correct size for your equipment

Winn Dri-Tac LT (Less Taper) Golf Grip Mens OVERSIZE (13 Grips Kit)

🔥 Clean Burn Guarantee:Dripless, Smokeless & Soot-Free: Enjoy a worry-free and mess-free ambiance. These ivory pillar candles are designed to burn cleanly without dripping wax, producing smoke, or releasing soot, ensuring your air and tabletops stay pristine throughout any event.
Matching Your Wick to Your Candle’s Width
Think of your candle’s width as the first clue in solving the wick puzzle—it’s literally the constraint that determines how much fuel your flame can access and how evenly it’ll burn across the entire surface. A 2-inch diameter container needs a single thin wick, while a 4-inch vessel demands two wicks for proper wick spacing and heat distribution. Get this wrong, and you’re looking at tunneling or uneven melting.
Now, vessel compatibility isn’t just about throwing any wick in there. You’ve got to match wick size to your wax type and diameter. Too thin? Your flame struggles. Too thick? You’re courting soot and dangerous overheating. I’ve learned this the hard way—measure before committing to a wick choice.
Recommended Products

Applies joint compound and tape to internal corners on walls and ceilings

All-weather Patio Dining Set : With patented PVC rattan and Sturdy Aluminum,keep work well over 20 years, weather-resistant outdoor patio dining table and chairs won't rust, no aging, no fading,no cracking & no deformation even in hot & high UV climates ,and resist corrosive alkaline sea winds.
Variable speed goes anywhere from 100 to 1,100 RPM on the low setting and 100 to 2,500 RPM on the high setting
Choosing the Right Wick Size: Selection Essentials

Once you’ve nailed down your vessel width, you’re ready to get specific about wick size itself—and this is where most candle makers either get lucky or start troubleshooting their first batch of duds. Here’s the thing: wick selection isn’t just about thickness. You’re matching fabric compatibility with your wax type and vessel diameter. Eco wicks, for instance, work beautifully with soy and coconut blends but might behave differently in paraffin. I’ve learned the hard way that guessing gets expensive fast. Start by consulting wick charts from your supplier—they’re built on actual burn testing. Your wick diameter should create a flame between ½ and 1 inch for container candles. Too thin, and you’ll get a wimpy, flickering mess. Too thick, and you’re inviting soot city.
Recommended Products
COMES WITH EVERYTHING YOU NEED: This kit includes 3 lbs of Paraffin Wax, 72 inches of cotton wick, 3 candle rubber stoppers, pigment (red, yellow, blue, white), 3 candle molds with base, and a color mixing chart
✔ ADJUSTABLE FOR ANY CANDLE JAR – Expandable arms fit jar openings from 2-1/2″ to 4-5/8″ wide, making it perfect for single, double, or triple wick candles in nearly any container.
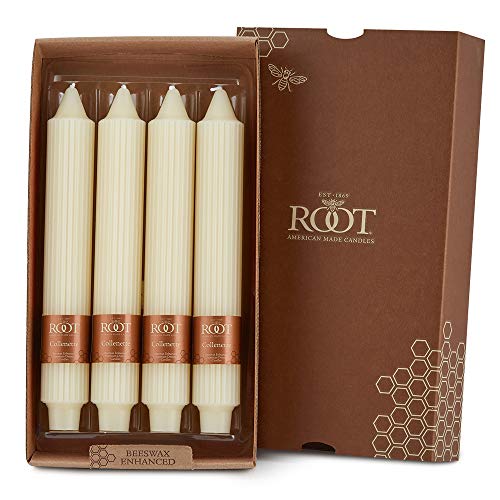
MADE IN THE USA Box of 4 unscented dinner candles crafted in Medina, Ohio; premium wax blend enhanced with beeswax for a burn that is clean, even, and virtually dripless
Troubleshooting High Flames

You’ve trimmed your wick, you’ve checked your wax type, and yet your candle’s still throwing a flame that looks like it’s auditioning for a campfire. Now here’s what’s likely happening: wick clogging from fragrance buildup or debris, which forces the flame higher as it struggles to draw wax efficiently. Check your airflow patterns too—drafts from windows, fans, or even HVAC vents will make flames dance and spike dangerously tall. I’d also verify your wick isn’t actually too thick for your vessel. Sometimes the culprit’s simpler than we think: the wick size just doesn’t match your wax or container diameter. Try downsizing your wick, make sure you’re burning in still air, and monitor that flame closely. You’ve got this.
Recommended Products
This is a genuine OEM (Original Equipment Manufacturer) part
Pick Your Favorite Finish: No matter your interior design preference, we have a wick trimmer tailored for you. Choose from Black, Gold, Rose Gold, Silver, Brushed Gold, and Brushed Copper to complement your candles, decor, and gifting style

Weak Flames? Adjust Your Wick Size
Swap out your wick size when your flame’s barely kissing the air—that’s the move. A weak, dim flame tells me you’re underwicked, meaning your wick isn’t drawing enough melted wax to fuel a proper burn. This is where wick chemistry matters. The relationship between wick material, your wax type, and vessel diameter has to align, or you’re stuck with a sad little flicker. Burn testing different wick sizes is honestly the only way forward. Light your candle, let it settle for a few minutes, and watch what happens. You’re looking for that steady 1 to 1.5-inch flame. If it’s shorter, try upsizing your wick. Sometimes that single adjustment transforms everything.
Recommended Products

【Easy To Cut】- The roll of candle wick is approx. 5m in length and approx. 3mm 4mm 5mm 6mm 8mm in diameter, all sizes. You can cut the length you need by yourself. easy to cut, but not easy to loosen, which can be cut and trimmed according to your needs, suitable for many different types of lighting

Specification: Material: 100% Cotton; Color: White, Red; Length: 10m / 32.8Feet; Width: 13mm / 1/2"; Package List: 6 x Cotton Flat Wick

[Smokeless candle wicks] Candle wicks are woven from high-quality cotton and are suitable for all types of candles. They burn clean, long-lasting, odourless and have a stable flame
How to Trim Wicks Correctly
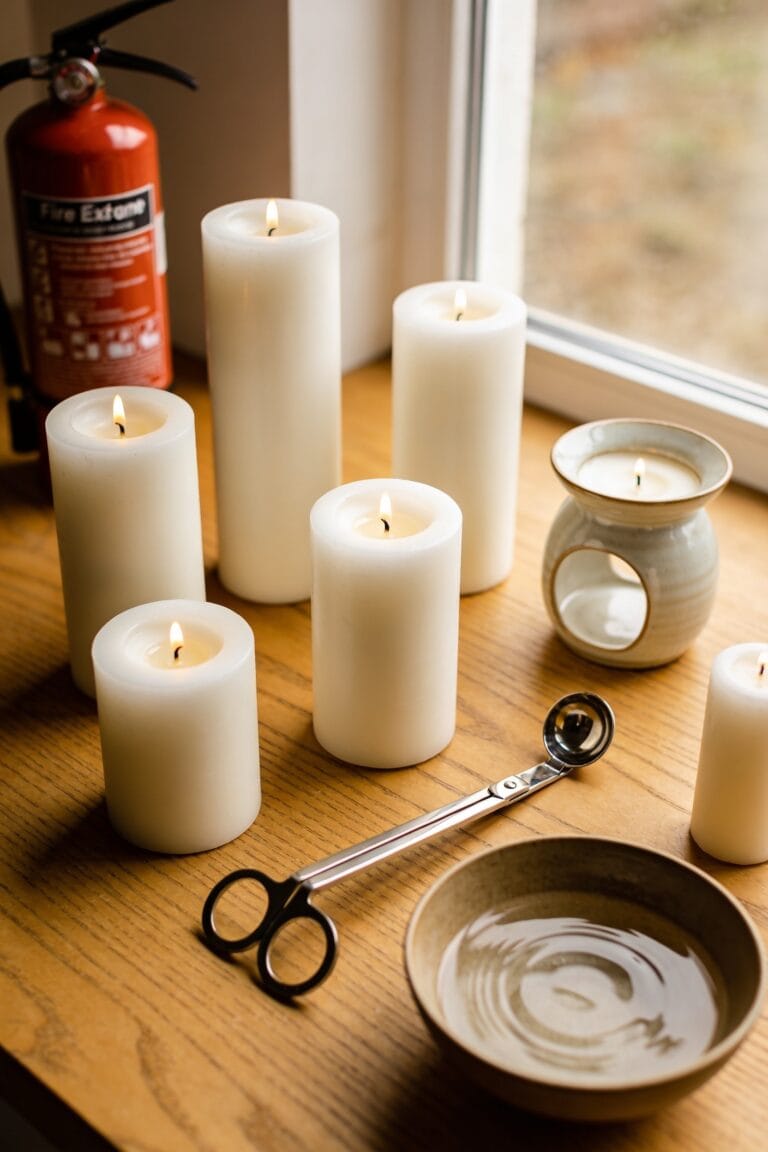
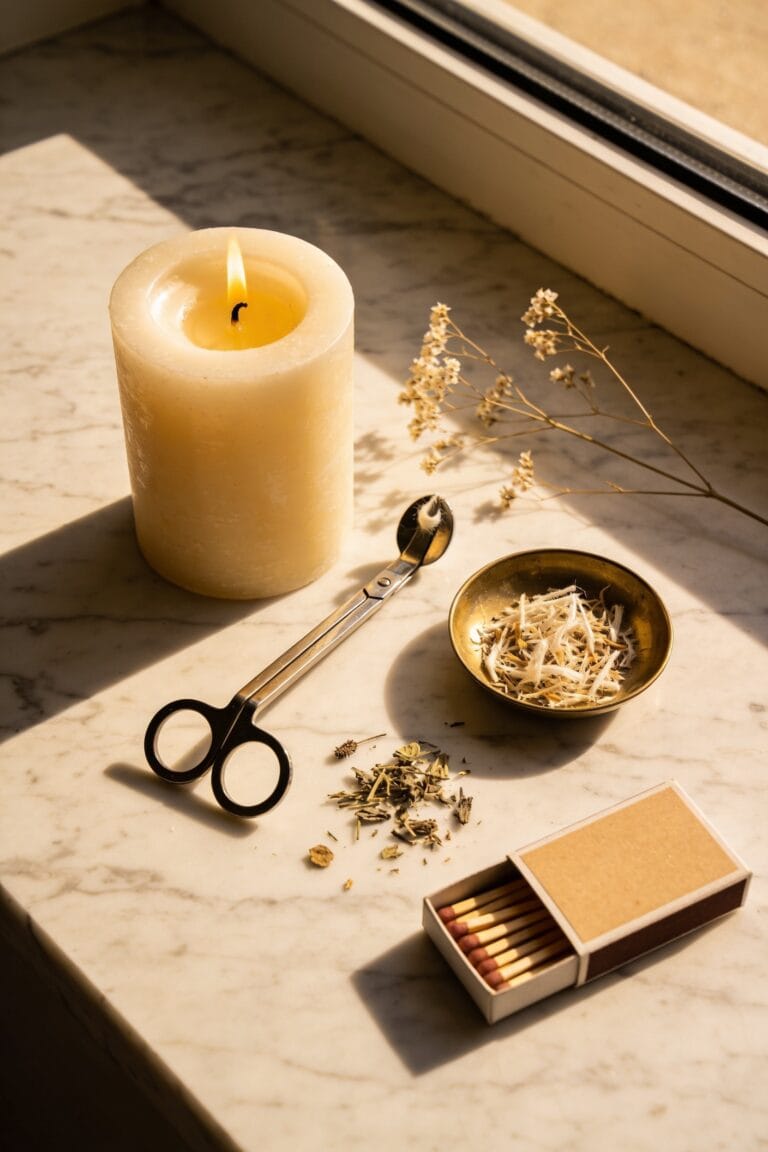
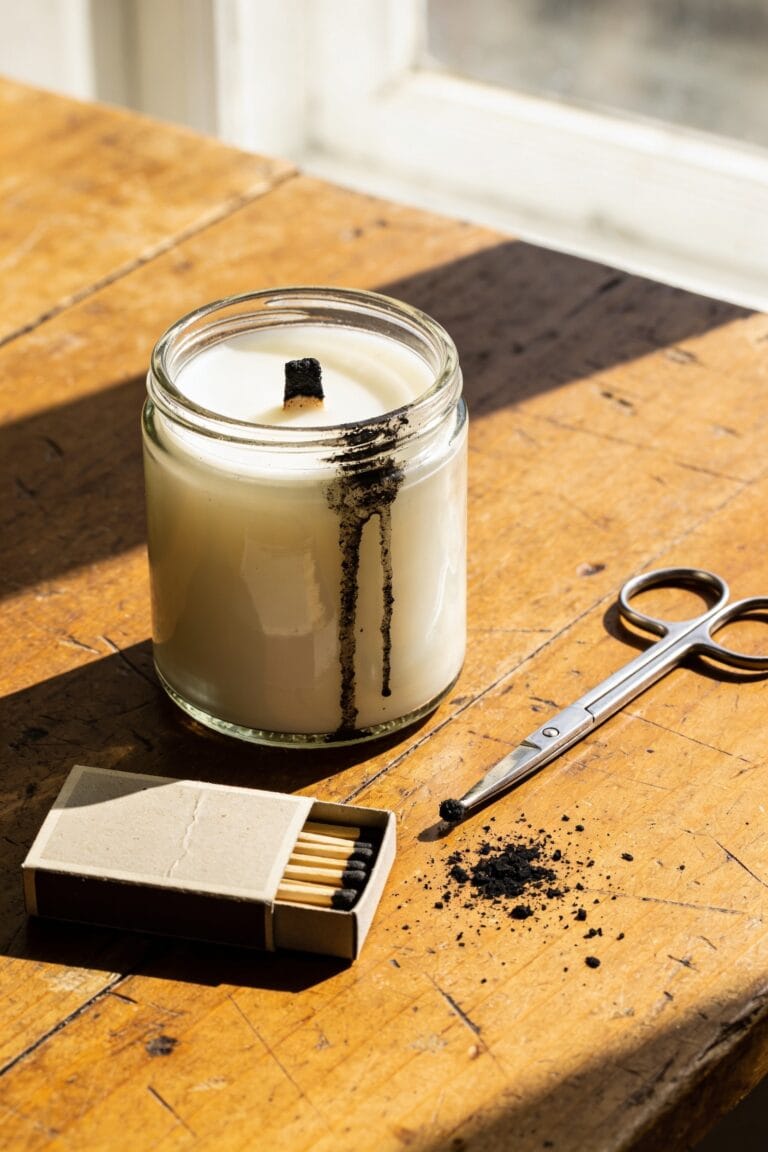
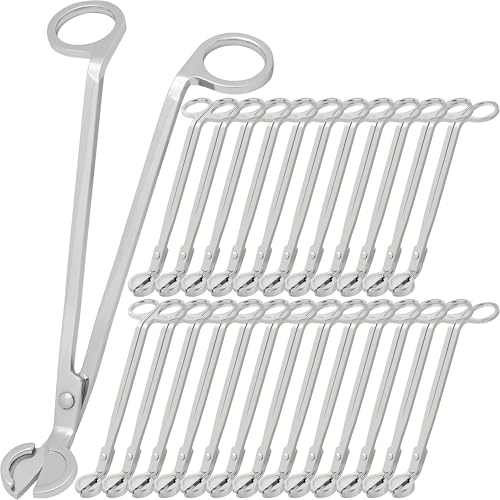
The wick trim is your secret weapon for keeping that flame in the sweet spot—and I can’t stress this enough, it’s the single most important thing you can do between burns. Trim to ¼ inch before each session, using a dedicated wick trimmer for precision. I’ve learned this the hard way after countless sooty jars.
Now, wet trimming methods involve letting wax cool slightly, then gently removing trimmed debris with a damp cloth. It keeps things tidy and prevents ash from falling into the melt pool. For snuffing techniques, use a candle snuffer rather than blowing—it reduces smoking and keeps your wax clean. This simple routine prevents overwicking issues, stabilizes flame height, and extends your candle’s life considerably.
Wick Maintenance: Preventing Tunneling and Buildup
While trimming wicks gets most of the attention, what happens between trims—how your wick behaves in the melt pool—is what actually determines whether you’ll get that pristine burn or end up with tunneling and buildup issues. All right, here’s where wick priming comes in. Before your first burn, let that wick absorb melted wax fully. It primes the fibers and sets you up for success.
Between burns, ash removal matters more than you’d think. Gently remove that carbon buildup from the wick tip—it’s not just cosmetic. Too much ash restricts proper wax draw, leading to tunneling or excessive smoking. Use a wick trimmer or even a dry cloth. You’re basically giving your candle the maintenance it needs to perform like it’s supposed to.
Frequently Asked Questions
How Do Drafty Environments Impact Candle Flame Height and Stability?
I’ve found that drafty environments cause your candle’s flame to dance erratically because air currents push it around. This wick dancing creates taller, unstable flames that jump beyond safe heights and increase fire risk markedly.
What Is the Maximum Safe Indoor Candle Flame Height According to Standards?
I’ve found what you’re wondering: the ASTM safety standards limit your indoor candle’s maximum flame height to 3 inches. Container candles? They’re safer at ½ to 1 inch. Knowing this protects your home.
Can Excess Fragrance Oil Cause Flame Problems and Sputtering?
Yes, I’ve found that excess fragrance oil causes sputtering by creating wick clogging and fragrance pooling. You’ll notice a smoky, sputtering flame when there’s too much oil saturating your wick, reducing performance.
How Long Should Each Candle Burn Session Last for Optimal Performance?
I’d recommend you burn your candle for 2-3 hours per session for peak performance. I’ve found that moderate sessions help prevent tunneling. Don’t forget—I always trim the wick to ¼ inch before each burn.
Does Vessel Material Affect How a Candle Burns and Performs?
As they say, “the right vessel makes all the difference.” Yes, vessel material absolutely affects burn performance. Glass conducts heat differently than ceramic or metal vessels, influencing melt pool formation, flame stability, and overall candle longevity.
Conclusion
I know you’re thinking wick trimming sounds tedious, but here’s the thing—it’s genuinely the easiest fix for candle performance issues. You don’t need expensive tools or expertise. A quick trim every few burns transforms your entire experience: better flame height, cleaner burn, longer life. I’ve watched people abandon perfectly good candles because they didn’t know this one trick. Don’t be that person. Your candles deserve better.