As an Amazon Associate, we earn from qualifying purchases. Some links on this site are affiliate links at no extra cost to you. Our recommendations are based on thorough research and editorial judgment.


Medieval Candle Facts: How Candles Were Made in History

All right, here’s what medieval candlemakers faced: beeswax for the wealthy and churches—it burned clean and smelled decent—versus tallow for everyone else, which was cheap but smoky and rank. They’d source materials locally, purify them through boiling and rendering, then hand-dip twisted hemp or flax wicks repeatedly into molten wax to build up layers. Late medieval molds eventually revolutionized production, replacing endless dipping with faster, consistent batches. The whole system reveals how material choices shaped medieval life itself.
Key Takeaways
- Beeswax and tallow were primary candle materials; beeswax was luxury for wealthy households, tallow cheap for common people.
- Candles were made by repeatedly dipping twisted hemp or flax wicks into molten wax until desired thickness was achieved.
- The rolling method softened beeswax and wound it around wicks to form tapers as an alternative production technique.
- Beeswax required purification through boiling in salted water with skimming; tallow was rendered by heating until sediment settled.
- Mold introduction in late medieval period enabled faster, more uniform production and eventually replaced traditional hand-dipping methods economically.
Beeswax vs. Tallow: Medieval Candle Choices
Look, when you’re diving into medieval candle-making, you’re really looking at two camps: the people who could afford beeswax and everyone else working with tallow. Beeswax was the luxury option—it burned cleaner, smelled better, and didn’t produce that acrid smoke tallow throws everywhere. That’s why you’d find it in church illumination, reserved for religious spaces and wealthy households. It became social symbolism, honestly. A beeswax candle meant you had money or status. Tallow, rendered from beef or pork fat, was what most people used. It was cheap and accessible, but it smoked like crazy and smelled terrible. So your choice came down to your wallet, really. Either way, you were dipping wicks repeatedly until you got the thickness you wanted.
Recommended Products

Religious Supply Center

Religious Supply Center

Sourcing and Preparing Your Materials
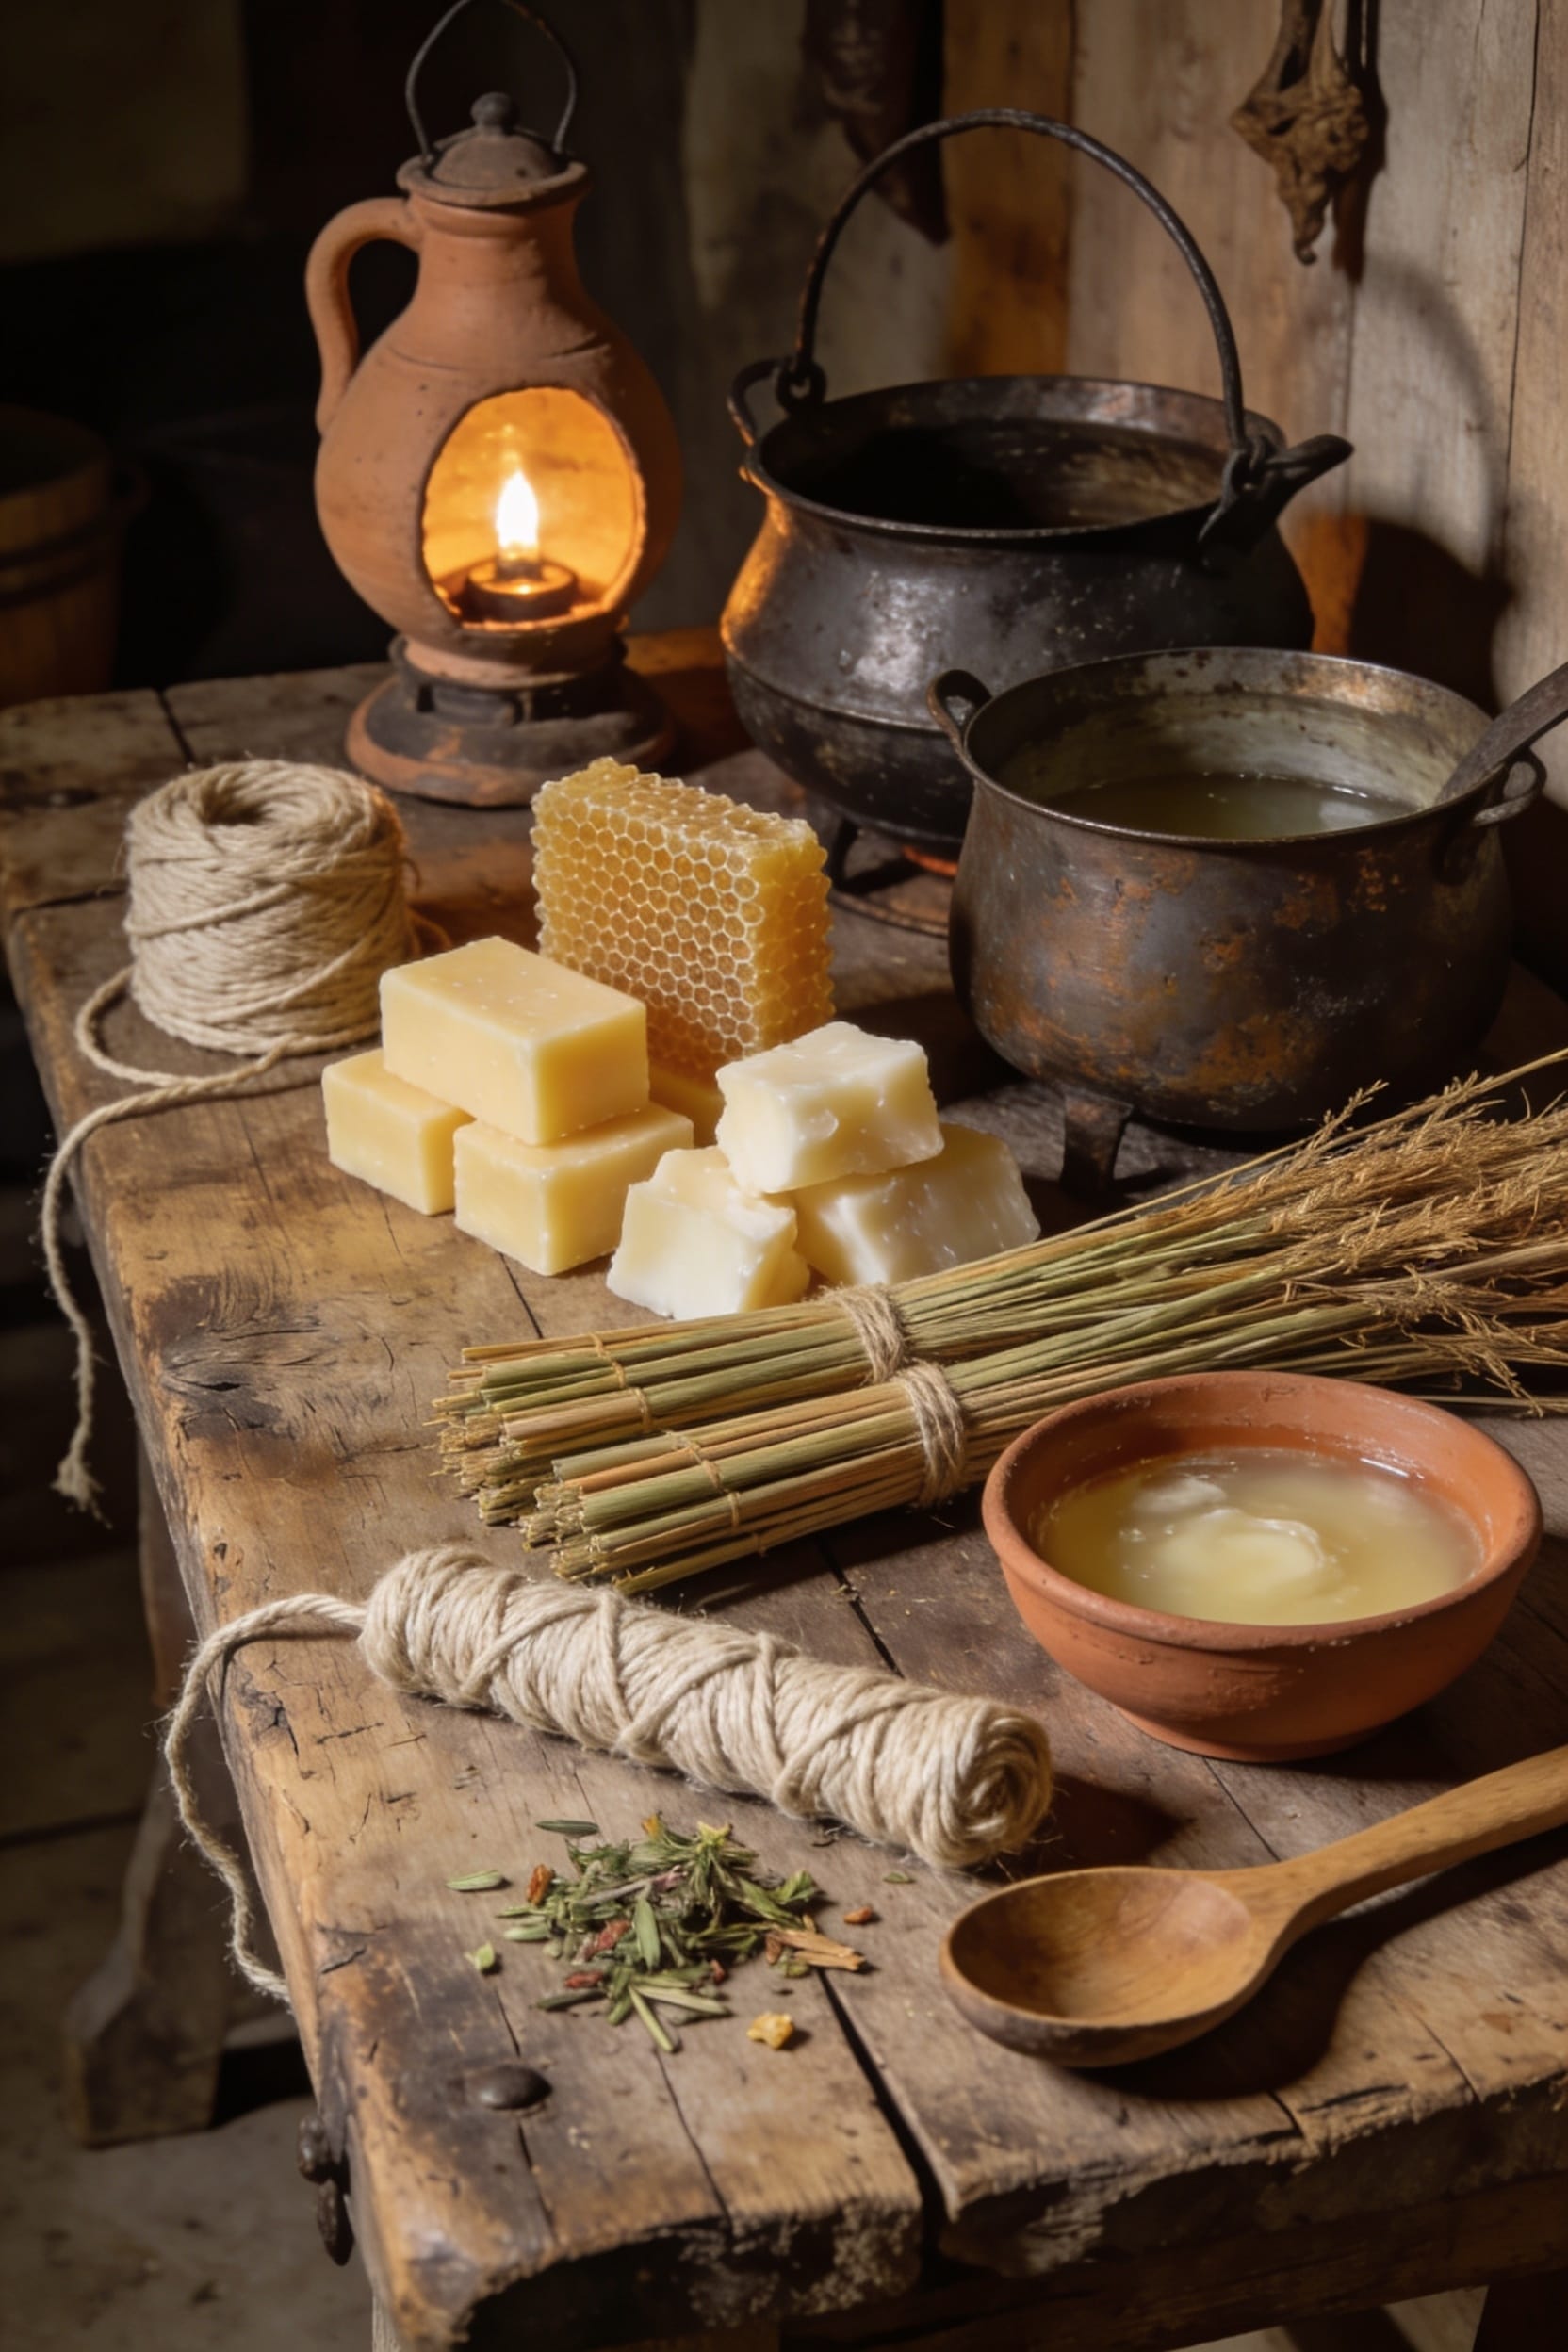
Once you’ve decided whether you’re Team Beeswax or Team Tallow—and trust me, your budget’ll make that choice for you—you’re gonna need to actually source the stuff, and that’s where things get real practical. Local sourcing was everything in the medieval household economy. You’d get beeswax from beekeepers or monasteries, tallow from butchers rendering animal fats. Both required purification before use. Beeswax needed boiling in seawater to remove impurities; tallow demanded careful heating in a cauldron. You’d also need wick materials—twisted hemp, flax, or cotton worked best. The prep work wasn’t glamorous, but it determined everything about your final candle’s quality, burn time, and scent.
Recommended Products

NATURAL SOY WAX BEADS - Best candle making supplies make the best soy candles! These safe, ethically produced, microwavable and paraffin-free soy wax beads are smooth and creamy in appearance, perfect for container candles, tealights and melts.

Beeswax candle kit: Orange Wax Melter with LED Display 1pcs,5lbs natural beeswax,8in candle wicks 30pcs,6in candle wicks 30pcs,3.5in candle wicks 30pcs,beeswax wicks 30pcs,wick stickers 100pcs,wick holder 10pcs,measuring cup 1pcs,manual instruction 1pcs.Includes Everything you need to make your own candles.

Beeswax Making Kit: There are electric wax melting pot for beeswax melting, 5lbs beeswax, 100 cotton wicks, 100 wick stickers, 1 wooden spoon, 1 AC cable in the package.
Medieval Wick Materials: Hemp, Flax, Cotton, and Reed Pith
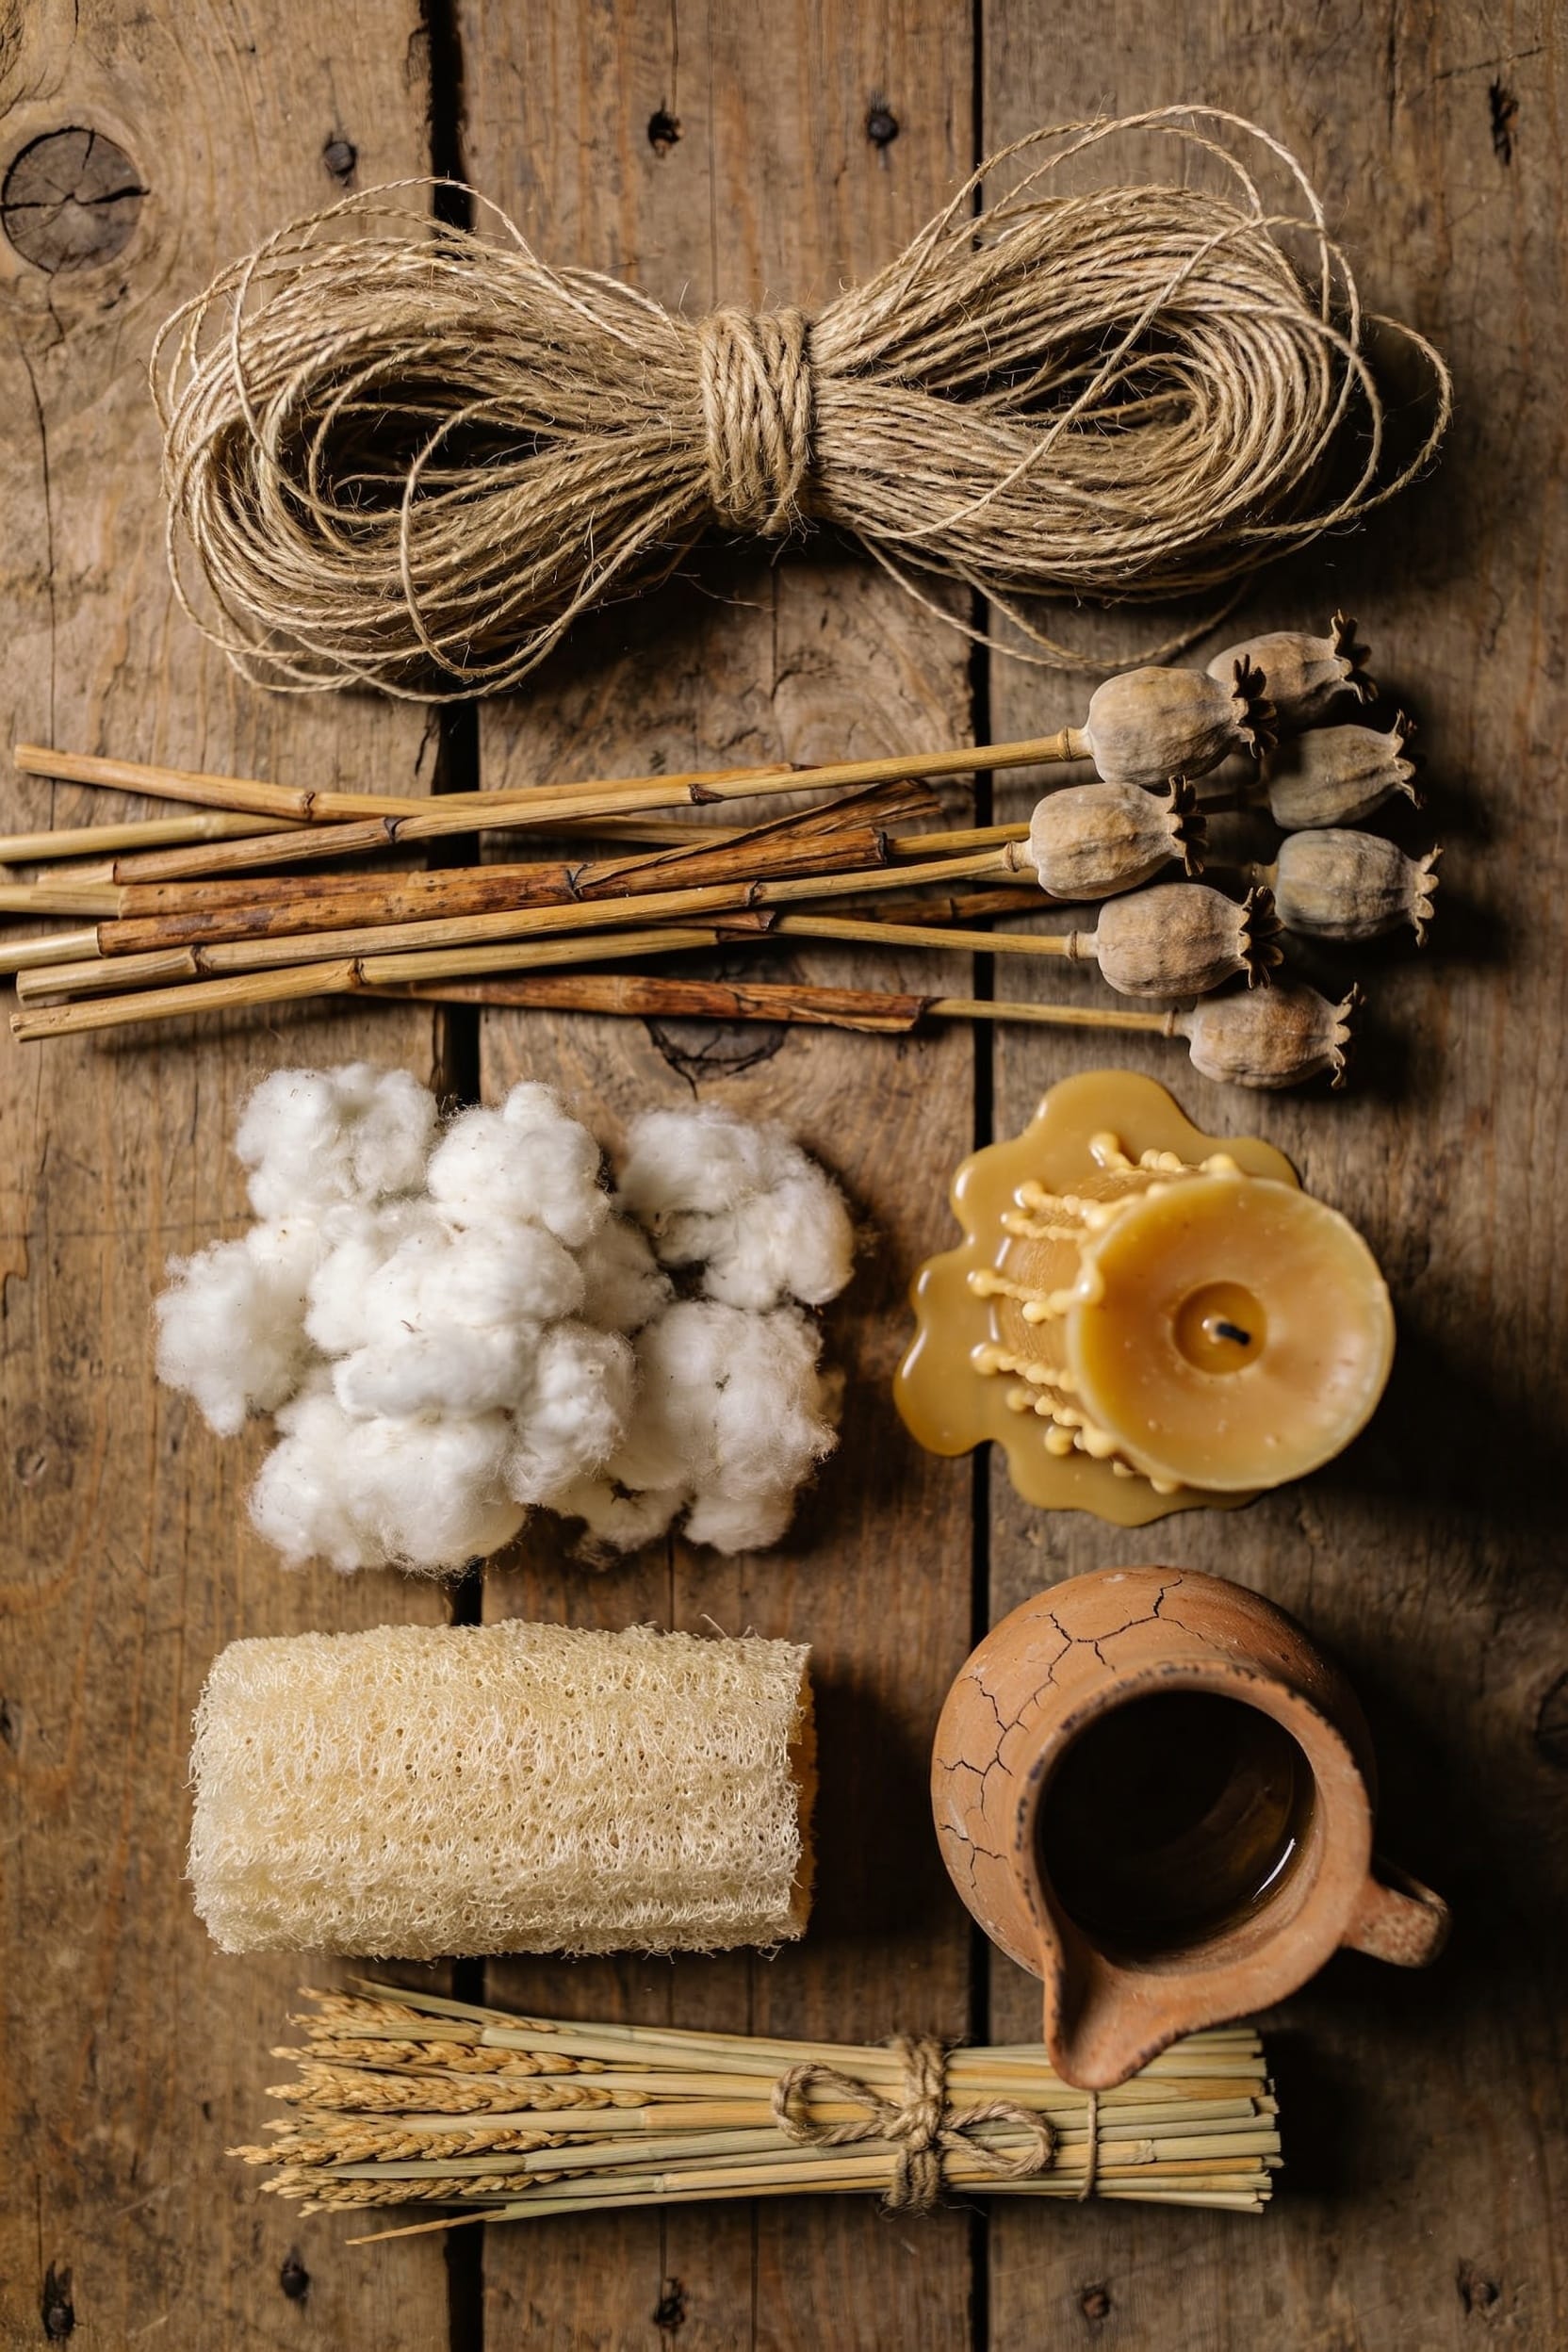
The wick’s the unsung hero of any candle, medieval or modern—it’s what actually burns and determines whether you get a clean, steady flame or a smoky mess that’ll have you questioning every choice you made. Medieval chandlers twisted hemp and flax into sturdy wicks, relying on these natural fibers’ consistency and burn characteristics. Cotton emerged later and offered a cleaner burn. Reed harvesting provided another option—craftspeople extracted pith with their thumbnails for surprisingly effective tapers. Each material had its quirks. Hemp traditions dominated European production because hemp grew readily and twisted predictably. Flax delivered similar reliability. The choice ultimately depended on what your region produced and what your budget allowed. Quality wick meant quality light.
Recommended Products

Hemp Coconut Soy Wax Hemp Coconut Soy wax is a container wax that is a blend of natural hemp, soy, coconut and food-grade paraffin wax. This is an easy to use, single pour wax with great cold & hot throw. This wax also has great glass adhesion with an even slow burn.

(20) 20' packs hemp wick

9-Inch Hemp Wicks Fit All Lux Mundi Candles: Twice the length of standard wicks and compatible with all Cathedral Candle Lux Mundi refillable oil candle holders - altar candles, sanctuary lights, advent candles, and paschal candles
Purifying Beeswax and Rendering Tallow
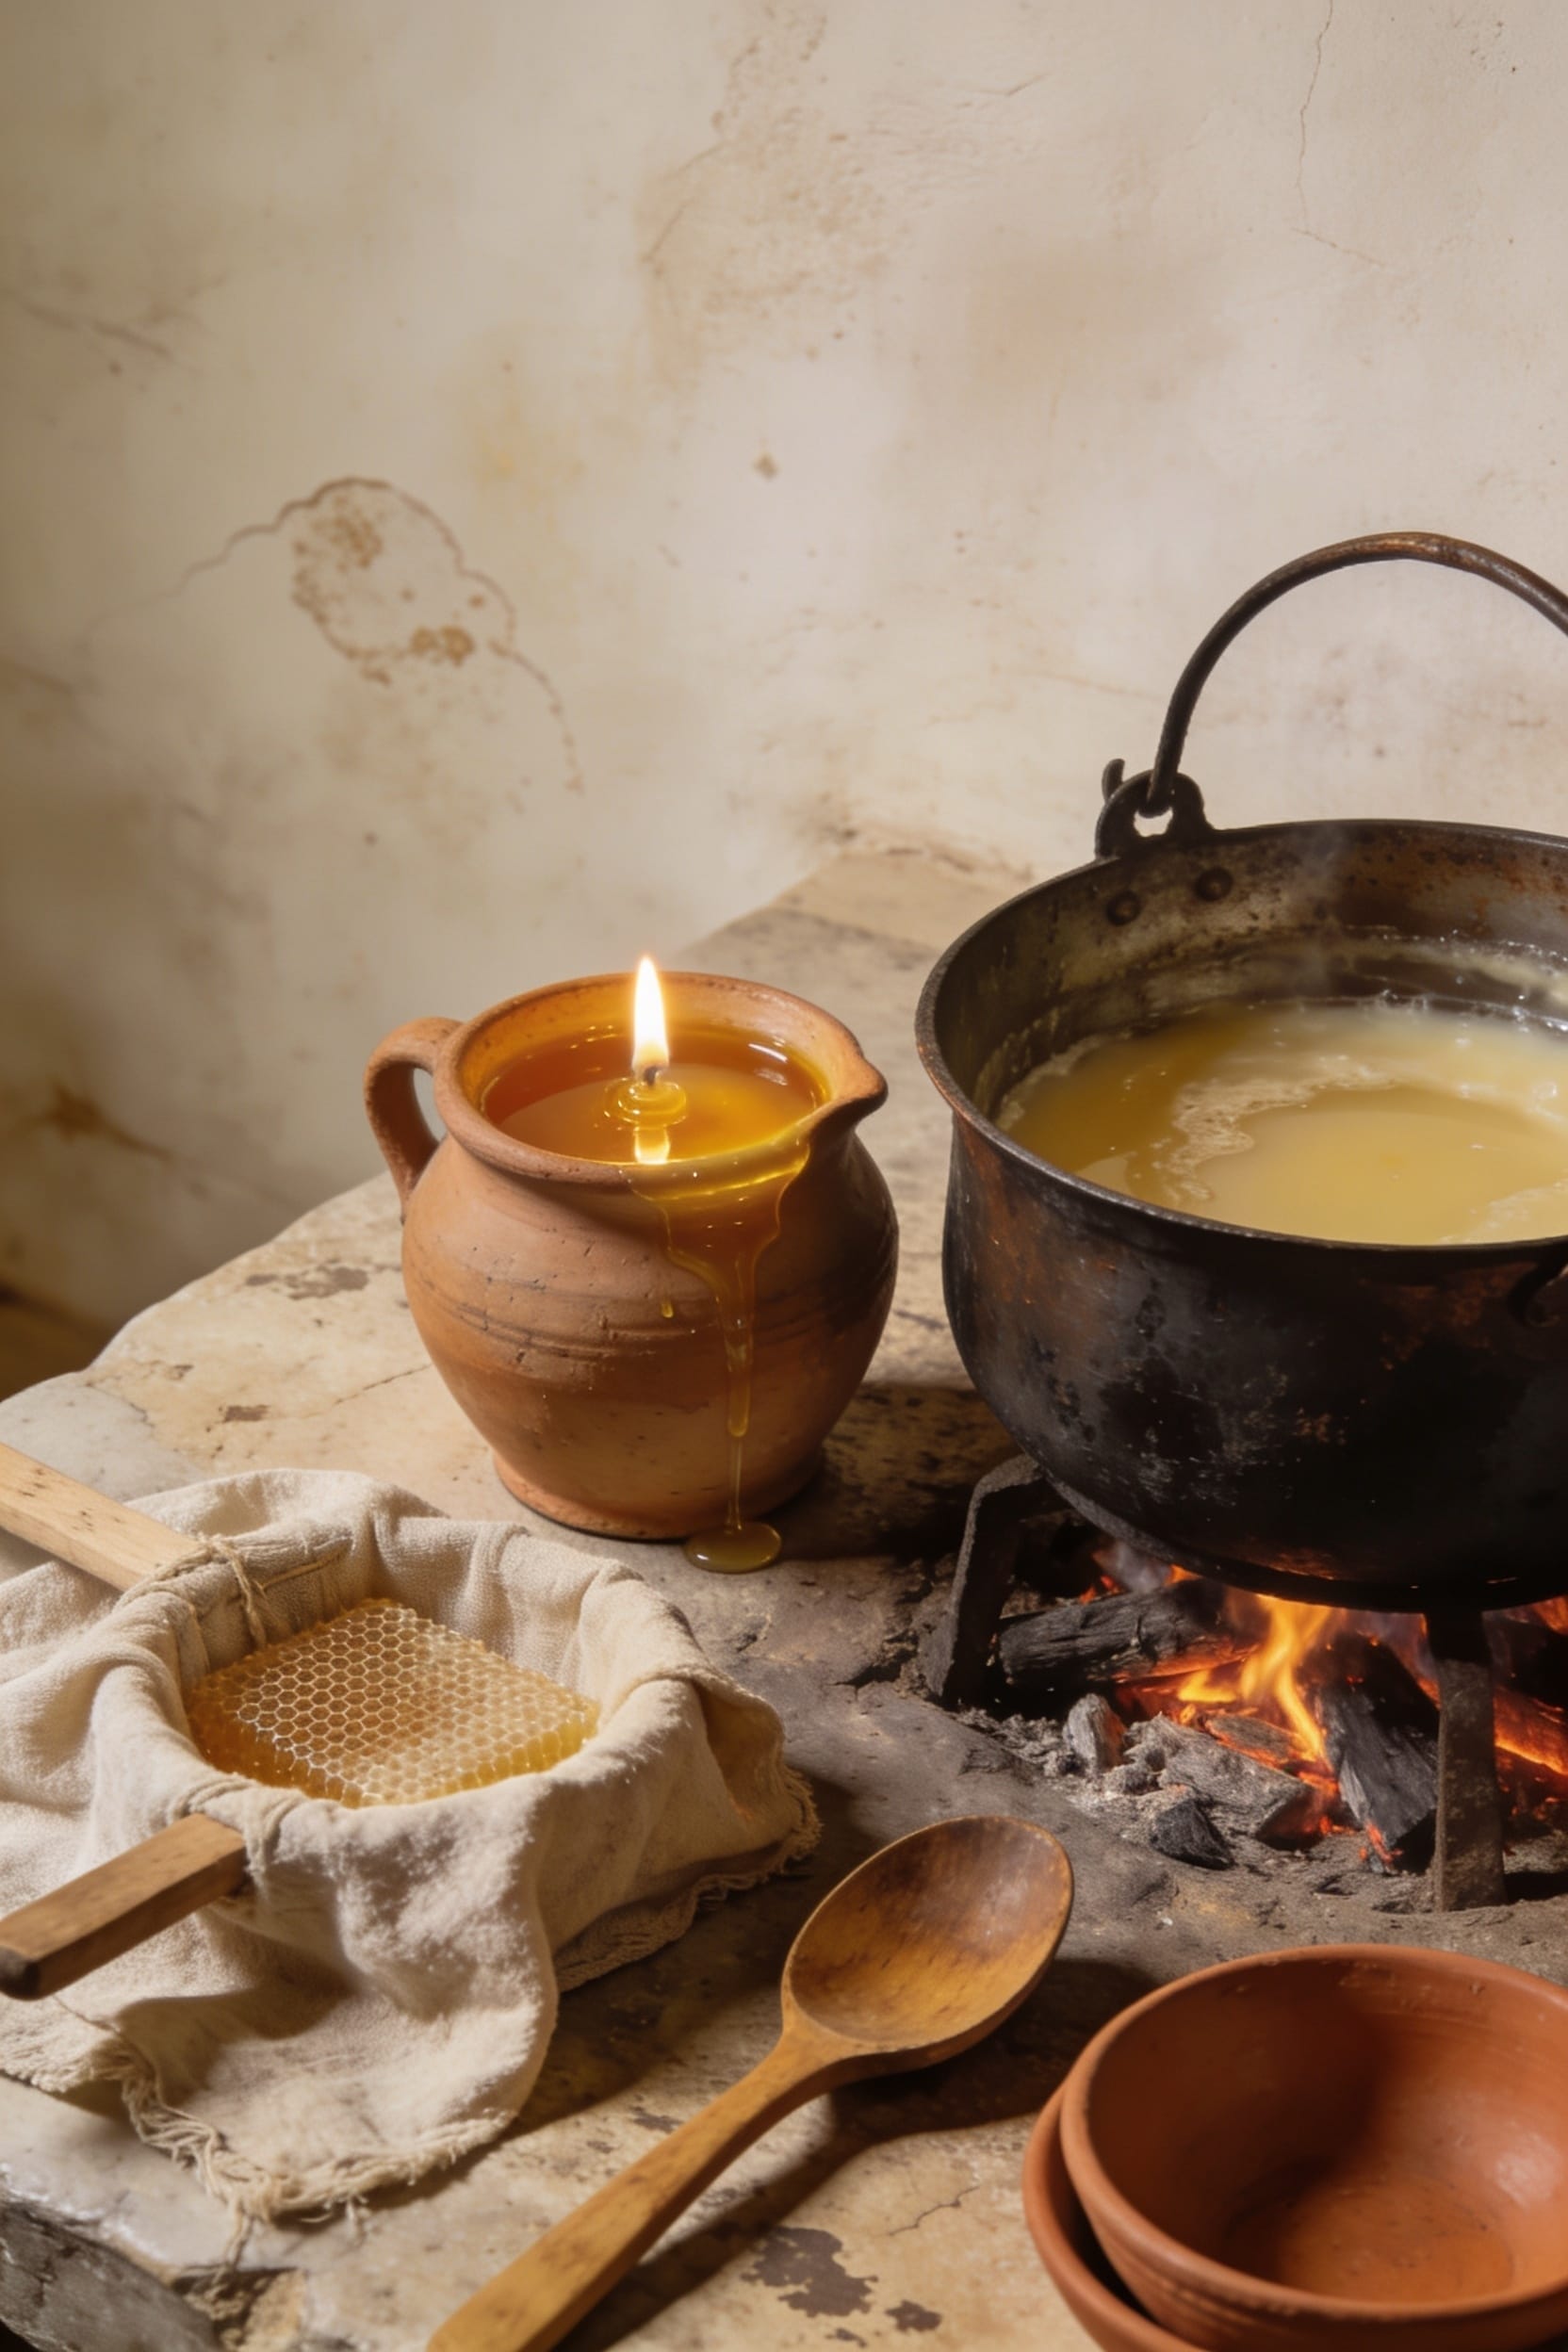
If you’ve ever wondered why medieval candles didn’t just smell like burned fat (well, some did), you’ve got purification to thank for that. Beeswax makers boiled their material in seawater or salted water, which helped trigger salt crystallization and separated the impurity odor from the good stuff. They’d skim off the gunk floating on top—leaves, wax particles, whatever else got trapped in the honeycomb.
Tallow required a different approach. Rendered animal fat got heated in a cauldron until it melted completely. Pork, beef, or sheep fat all worked, though pork was common because it was accessible. The rendering process purified the tallow by allowing sediment to settle. Both methods took patience, but they made candles actually worth burning.
Recommended Products

Yellow Beeswax is a natural wax formed by honey bees. The wax is discarded by the worker bees in or at the hive. The hive workers collect it and use it to form cells for honey storage. It becomes colored yellow from the pollen. Our 100% pure natural yellow beeswax is in pellet form, which makes working with it easy. Save time with no messy clean up from having to grate it.


🐝[Sustainable Alternative] Natural and sustainable alternative to traditional hunny bees wax melts. These melts offer a clean burn and a warm, inviting scent that's perfect for any home. 50 lbs white beeswax pellets available to fulfill all needs.
The Dipping Technique: Building Candles Layer by Layer

Before machines came along and made things easy, medieval chandlers built their candles the hard way—by hand, one layer at a time. You’d dip a wick into molten wax repeatedly—dozens of times—watching the candle grow thicker with each plunge. The layered aesthetics weren’t just beautiful; they happened because thermal control mattered. Keep the wax warm enough to coat smoothly, but not so hot it scorches or drips unevenly. Between dips, you’d hang the candle to cool slightly, letting each layer set before adding the next. This patience paid off. You’d end up with a candle that burned longer and cleaner than rushed work ever could. That’s the real magic of the dipping method.
Rolling Candles: An Alternative Method
While the dipping method demanded patience and repetition, rolling offered medieval chandlers a completely different rhythm—one that relied on heat, hand-work, and what I’d call tactile sculpting. You’d soften beeswax in warm water, then shape it around your wick by hand, winding it like yarn while the material stayed pliable. Rolled tapers required real skill—you’d work the wax laminates smooth by rolling them across a hard wooden table, building up layers until you achieved that perfect cylindrical shape. It was faster than dipping if you had the technique down, though honestly, most households stuck with dipping. Rolling demanded more finesse and worked best when you were making premium candles worth the extra effort.
Essential Tools for Hand-Dipped Candlemaking
The beauty of hand-dipped candlemaking is that you don’t need much—just a few essentials, really, and you’re ready to go. A sturdy pot or cauldron works for melting your wax over heat. You’ll want a rod or frame to suspend multiple wicks during the dipping process, keeping them organized and accessible. As your candles build up layers, a pricket candlestick spike helps them dry properly between dips. Now, here’s the thing: proper lighting techniques matter when you’re working near an open flame. I’d recommend doing this outdoors to avoid wax fumes indoors. Some folks use soldering tools for detailed wick work, though honestly, twisted hemp handles most jobs fine. That’s genuinely all you need to start.
Recommended Products

𝐓𝐎𝐏 𝐐𝐔𝐀𝐋𝐈𝐓𝐘 & 𝐐𝐔𝐀𝐍𝐓𝐈𝐓𝐘: Deluxe kit means top quality, quantity and valuable. Including all soap and candles making supplies in one kit, saving up to 40% compared to buying all accessories separately. 4 lbs soy wax and soap base, 8 dyes, 6 essential oils, 4 jars and glass cup, 7 soap molds, enough supplies for you to fully unleash your craftsmanship.

COMPLETE POTTERY + CANDLE MAKING SET: Includes all pottery sculpting & candle making supplies you need to easily craft a beautiful custom candle at home. The perfect beginner arts & crafts gift, hobby idea, and romantic date night surprise.

COMPLETE POTTERY + CANDLE MAKING SET: Includes all pottery sculpting & candle making supplies you need to easily craft a beautiful custom candle at home. The perfect beginner arts & crafts gift, hobby idea, and romantic date night surprise.
Why Medieval Candlemakers Worked Outdoors
In stepping back to medieval candlemaking practices, you’ll quickly realize that working outdoors wasn’t some quaint aesthetic choice—it was pure necessity. Those molten wax fumes? Brutal indoors. Candlemakers faced serious weather risks when working outside—rain could ruin batches, wind threatened flames, and cold temperatures affected wax consistency. But they had no choice.
Community gatherings often formed around candlemaking operations. Neighbors would watch, learn, and sometimes help with the repetitive dipping process. It was practical and social simultaneously. The outdoor setup meant adequate ventilation kept dangerous fumes from accumulating in living spaces where families slept and cooked. That cauldron bubbling away needed distance from wooden structures and thatched roofs too. So yeah, those medieval craftspeople weren’t romantics—they were pragmatists protecting their health and homes.
Candle Sizes and Output: From Tapers to Rushlights
Once you understand how candlemakers actually produced their wax and shaped it, the next logical question becomes: what’d they end up with? The answer depends entirely on method and material. Dipped tallow candles? Those burned fast and smoky—you’d need several throughout an evening. Beeswax tapers offered superior taper longevity, burning cleaner and longer, though they cost considerably more. Then there’s the humble rushlight, bundled reeds soaked in fat that provided minimal rushlight brightness but demanded almost nothing in resources. A single dip produced thin tapers. Multiple dips created thicker, longer-lasting candles. Medieval households typically kept various sizes on hand, rotating them based on needs and what they could afford that season.
How Late Medieval Molds Shifted Production Methods
While hand-dipping dominated medieval candlemaking for centuries, the introduction of molds in the late medieval period fundamentally changed how candles were produced at scale. You’ve got to understand—before molds showed up, professionals faced serious constraints. Guild regulations started emerging as mold innovation took hold, standardizing candle sizes and quality across markets. This wasn’t just about efficiency. Professional chandlers could now produce uniform tapers without endless repetitive dipping. Molds meant faster production, less waste, and consistency that customers actually noticed. The shift created tension between traditional hand-dippers and mold-users, but the economics won out. Once you could make twenty identical candles instead of spending hours on a single taper, there’s no going back.
Frequently Asked Questions
How Long Did It Take to Make a Single Candle From Start to Finish?
I’d say making a single candle took me several hours through repeated wick dipping—dozens of coatings built up gradually. Using mold casting later sped things considerably, but traditional dipping demanded patience and persistence.
What Was the Typical Burn Time and Light Output of Medieval Candles?
As they say, “you can’t burn the candle at both ends.” I’ll tell you—beeswax candles offered better average duration and typical lumenage than tallow, burning brighter and longer, though they’re costlier.
How Did Medieval People Store Candles to Prevent Damage or Deterioration?
I’ve found that medieval folks stored candles in cool, dry places away from heat and moisture. They’d keep them upright in storage boxes, controlling humidity by storing them in cellars or pantries. This prevented warping and deterioration.
What Was the Cost Difference Between Beeswax and Tallow Candles for Consumers?
I’ll paint you a picture of medieval candlelit rooms divided by wealth. Beeswax candles burned bright for nobility, while tallow’s acrid smoke filled commoners’ homes—the price gap made market access for quality light a luxury only the affluent could afford.
How Did Medieval Candles Compare in Quality to Modern Candles?
Medieval candles weren’t as refined as modern ones. You’d find beeswax purity inconsistent, and wick construction—twisted hemp or flax—couldn’t match today’s braided cotton. They’d drip more and burn unevenly compared to contemporary candles.
Conclusion
I’ve walked you through centuries of candlemaking—from choosing between beeswax and tallow to watching craftspeople dip their way toward light. Yet here’s the paradox: understanding medieval methods makes modern candles feel almost miraculous. You’re holding efficiency, safety, and choice your ancestors couldn’t fathom. That’s worth appreciating next time you light one.